Melting Moments cookies are a delightful treat that will bring a smile to your face with every bite. These delicate, buttery cookies have a unique texture that literally melts in your mouth, making them an irresistible option for any occasion. Perfect for gifting or enjoying at home with a cup of tea, you can whip up a batch with simple ingredients and straightforward instructions.
Why We Love This Melting Moments Cookies
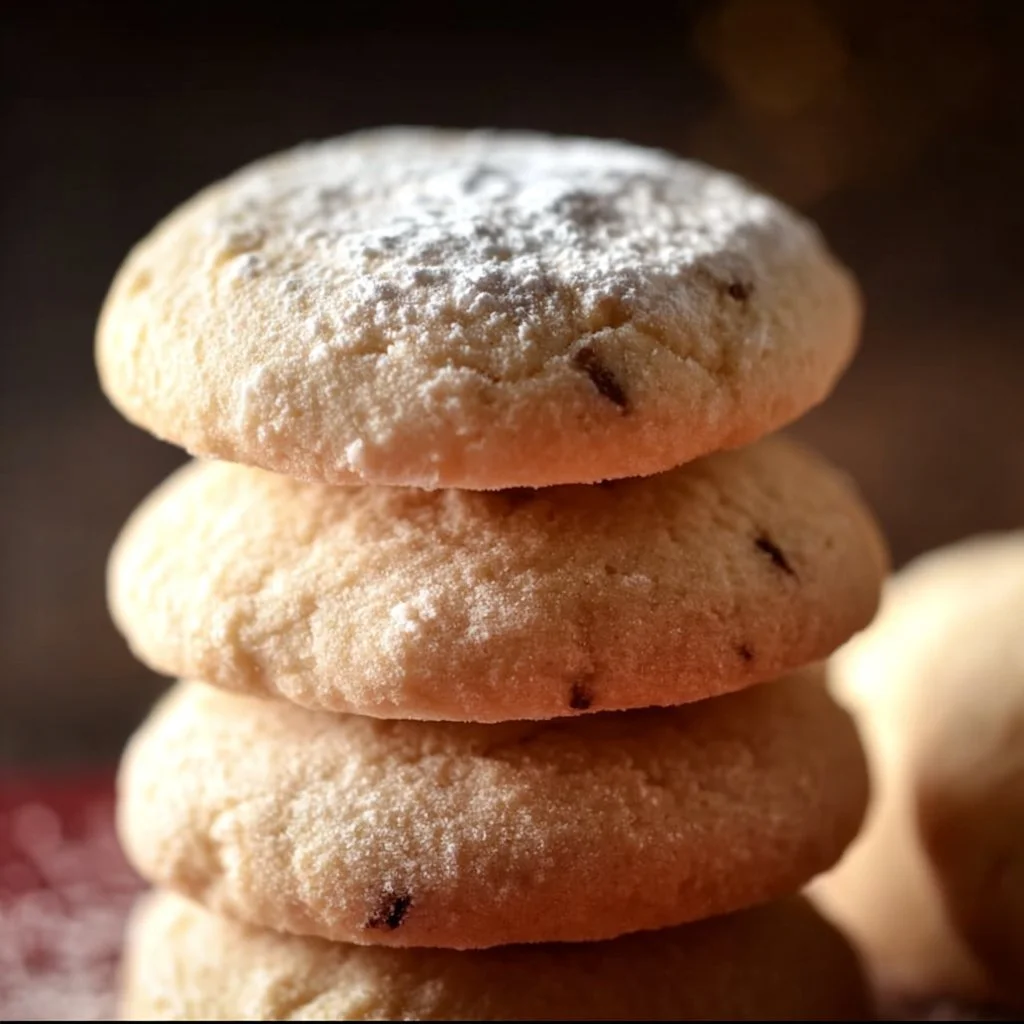
There are many reasons to fall in love with Melting Moments cookies. First, their light and airy texture sets them apart from other cookies. As you bite into one, the cookie crumbles gently in your mouth, creating a satisfying sensation that captures your taste buds. The rich buttery flavor combined with a hint of sweetness leaves you wanting more.
Additionally, these cookies are incredibly versatile. You can easily customize them by adding different flavors, fillings, or toppings. They can be made for special occasions, holiday gatherings, or simply as an everyday snack. The simplicity of the recipe also makes it accessible for bakers of all skill levels. Whether you are an experienced baker or just starting, you can create these melt-in-your-mouth cookies with confidence. Plus, the process of making them is truly enjoyable, from mixing the ingredients to watching them bake in the oven.
Ingredients for Melting Moments Cookies
- 1 cup unsalted butter, softened
- ½ cup powdered sugar
- 2 cups all-purpose flour
- 1 cup cornstarch
- 1 teaspoon vanilla extract
- A pinch of salt
- Additional powdered sugar for dusting (optional)
Directions
- Preheat your oven to 350°F (175°C). Line a baking sheet with parchment paper.
- In a large mixing bowl, cream together the softened butter and powdered sugar until light and fluffy.
- Add the vanilla extract and a pinch of salt to the mixture, and blend well.
- Gradually sift in the all-purpose flour and cornstarch. Mix until you form a soft dough.
- Use your hands to form small balls of dough, about 1 inch in diameter, and place them on the prepared baking sheet, leaving some space between each cookie.
- Flatten each ball slightly with the bottom of a glass or your fingers.
- Bake in the preheated oven for 12-15 minutes or until the edges are lightly golden.
- Remove the cookies from the oven and allow them to cool on the baking sheet for a few minutes. Then transfer them to a wire rack to cool completely.
- Once cool, dust the cookies with additional powdered sugar if desired.
How to Serve Melting Moments Cookies
Serving Melting Moments cookies can be as simple or fancy as you like. For an everyday treat, simply place a plateful of these cookies on the kitchen table for family and friends to enjoy at their leisure. They pair wonderfully with a cup of hot tea or coffee, providing a delightful afternoon snack or a sweet pick-me-up during the day.
If you’re hosting a gathering, consider creating a beautiful dessert platter. Arrange the Melting Moments cookies alongside fresh fruits, chocolate-covered treats, or even some other baked goods. This adds a touch of elegance to your spread and allows guests to choose their favorites.
For a more personalized touch, you could sandwich the cookies with a filling such as creamy frosting, fruit preserves, or flavored butter. This not only enhances the flavor but also adds visual appeal. Presentation matters, so think about placing your cookies on a decorative plate or cake stand to draw attention to them.
No matter how you serve them, be prepared for everyone to love the delicate texture and buttery flavor of these delightful cookies. They’ll surely become a favorite in your household and among your guests.
Expert Tips for Melting Moments Cookies
To ensure that your Melting Moments cookies turn out perfectly every time, keep these expert tips in mind. First, make sure your butter is at room temperature and well-softened. This step is crucial because soft butter incorporates air into the dough, resulting in lighter cookies. Avoid melting the butter, as it can alter the texture.
Next, when measuring your flour and cornstarch, use the spoon-and-level method. Spoon the flour gently into your measuring cup, then level it off with the straight edge of a knife for accuracy. Too much flour can lead to dry cookies that don’t melt in your mouth as they should.
Mix the dough just until combined. Over-mixing can develop gluten, which results in denser cookies. To keep your cookies tender, stop mixing as soon as the last streak of flour disappears.
Chilling the dough for about 30 minutes before baking can help the cookies hold their shape better, preventing them from spreading too much in the oven. Lastly, keep an eye on the cookies as they bake. They should be lightly golden around the edges but remain pale on top. If you find that they brown too quickly, adjust your oven temperature slightly.
How to Store Melting Moments Cookies
To keep your Melting Moments cookies fresh and delicious, proper storage is key. Allow the cookies to cool completely on a wire rack before placing them in an airtight container. This prevents any moisture from accumulating, which can lead to softening or spoilage.
Store the cookies at room temperature for up to two weeks, but be sure to separate layers with parchment paper to prevent them from sticking together. If you want to prolong their freshness, consider freezing them. Place the cooled cookies in a freezer-safe bag or container lined with parchment paper. They can last in the freezer for up to three months.
When you’re ready to enjoy them again, simply thaw the cookies at room temperature for a few hours. If you want to refresh their texture, pop them in a warm oven for a few minutes before serving. This will restore their delightful melt-in-your-mouth quality.
Variations of Melting Moments Cookies
One of the best things about Melting Moments cookies is their adaptability. You can easily change up the flavor or presentation to suit your taste or the occasion. For example, you might add a teaspoon of citrus zest, such as lemon or orange, to the dough for a bright, refreshing twist on the classic buttery flavor.
If you wish to experiment with various fillings, try adding flavored buttercream in between two cookies. For a simple chocolate twist, incorporate cocoa powder into half the dough and create a beautiful contrast by sandwiching the two flavors together.
Another fun variation is to use different extracts. While vanilla is classic, almond extract can add a unique flavor profile that many find delightful. Additionally, consider rolling your cookie balls in colored sprinkles or crushed nuts before baking for a festive touch on special occasions.
For a touch of decadence, dip half of the cookies in melted chocolate or drizzle it over the top once they cool. Adding various toppings can elevate these cookies and make them suitable for holidays or parties. With so many choices, you are sure to find a variation that captures your heart.
FAQ about Melting Moments Cookies
You might have some questions about Melting Moments cookies as you explore this delightful recipe. One common query is how to achieve the perfect melting texture. The key lies in the quality of butter and ensuring that you cream it well with the sugar, creating a light and airy dough.
Another question often arises about the use of cornstarch: What role does it play in the recipe? Cornstarch helps to create the cookie’s delicate crumb, contributing to their lightness and melt-in-your-mouth quality.
You may wonder if you can replace the unsalted butter with a dairy-free alternative. While you can use margarine or other substitutes, ensure they have similar fat content to achieve the best texture and flavor.
Lastly, people often ask about the shelf life of these cookies. Properly stored, they can last up to two weeks at room temperature and even longer when frozen. Just remember to keep them in an airtight container to maintain their freshness.
These cookies are not just a treat; they’re a wonderful addition to your baking repertoire. Enjoy experimenting with flavors and sharing your delicious results!

Melting Moments Cookies
Ingredients
For the Cookies
- 1 cup unsalted butter, softened Make sure the butter is at room temperature.
- ½ cup powdered sugar
- 2 cups all-purpose flour Use the spoon-and-level method for measuring.
- 1 cup cornstarch
- 1 teaspoon vanilla extract
- a pinch salt
- additional powdered sugar for dusting Optional, for serving.


Instructions
Preparation
- Preheat your oven to 350°F (175°C). Line a baking sheet with parchment paper.
- In a large mixing bowl, cream together the softened butter and powdered sugar until light and fluffy.
- Add the vanilla extract and a pinch of salt to the mixture, and blend well.
- Gradually sift in the all-purpose flour and cornstarch. Mix until you form a soft dough.
- Use your hands to form small balls of dough, about 1 inch in diameter, and place them on the prepared baking sheet, leaving some space between each cookie.
- Flatten each ball slightly with the bottom of a glass or your fingers.
Baking
- Bake in the preheated oven for 12-15 minutes or until the edges are lightly golden.
- Remove the cookies from the oven and allow them to cool on the baking sheet for a few minutes. Then transfer them to a wire rack to cool completely.
- Once cool, dust the cookies with additional powdered sugar if desired.
Send me this recipe!
Just enter your email below and get it sent straight to your inbox!