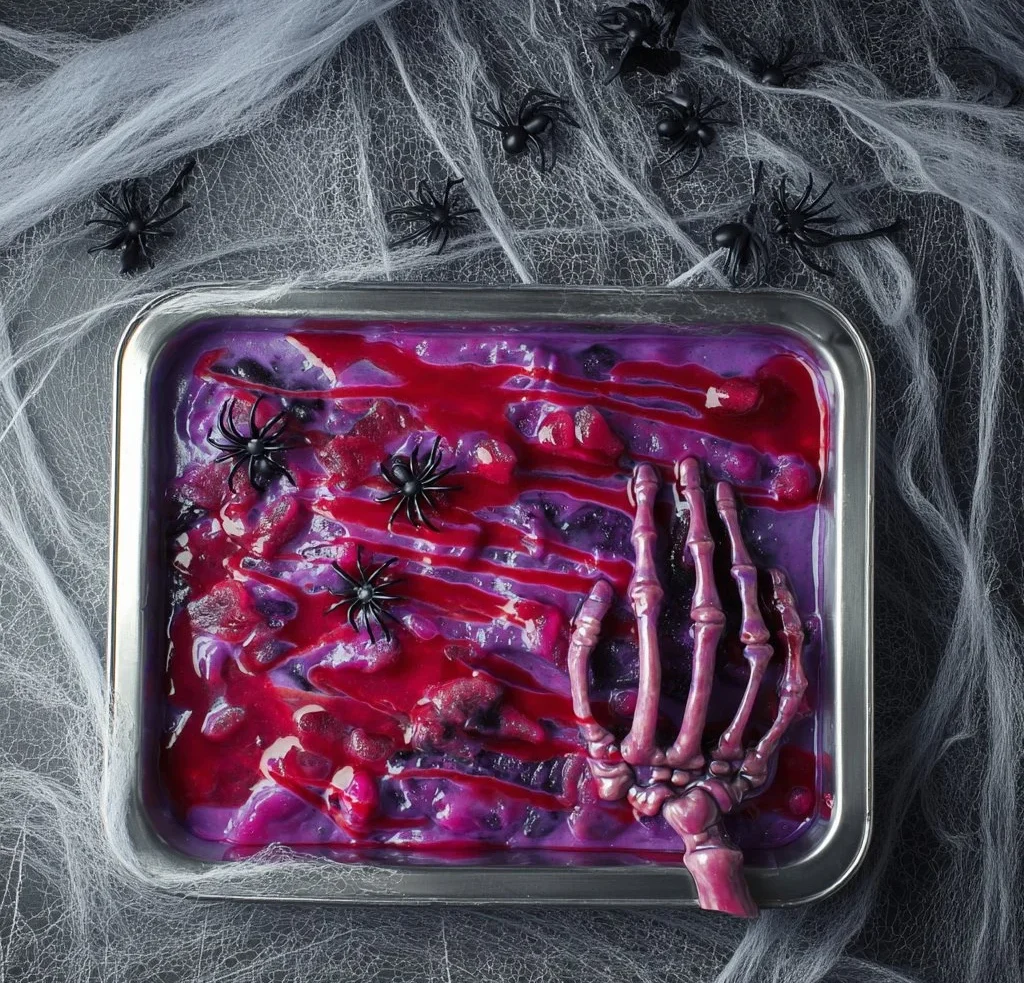
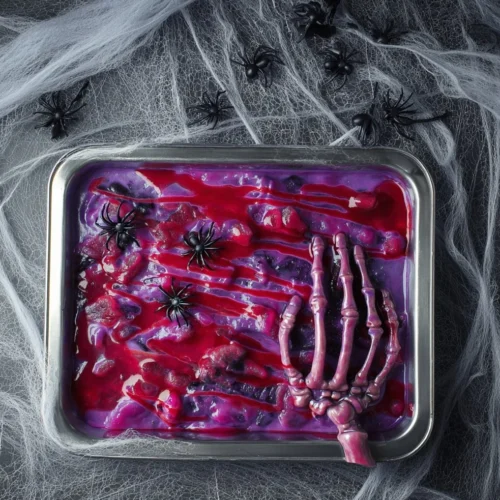
When Halloween rolls around, it brings an air of festivity that invites all sorts of spooky delights. One Halloween treat that is sure to grab attention is Zombie Guts (Cinnamon Roll Intestines). This playful and creepy dessert is as fun to create as it is to enjoy, making it the perfect centerpiece for your Halloween gatherings. With its gooey, sweet appearance and a dash of creativity, you’ll be delighted to share this eerie dish with friends and family. So, put on your apron, roll up your sleeves, and let’s dive into this deliciously gruesome recipe!
Why We Love This Zombie Guts (Cinnamon Roll Intestines) Recipe
Zombie Guts (Cinnamon Roll Intestines) have quickly become a fan favorite for several reasons. First and foremost, they are incredibly easy to make. Using store-bought cinnamon rolls means you can spend less time preparing and more time celebrating. The visual appeal cannot be beaten; the sight of a dish that looks like it belongs in a horror flick is sure to spark laughter and delight among your guests.


Not only are these cinnamon roll intestines aesthetically spooky, but they are also irresistibly delicious, combining the warm, comforting flavors of cinnamon and icing with a fun Halloween twist. You can easily customize this dish according to your style by choosing different food coloring and decorations that fit your Halloween theme. Plus, this dish can also cater to various dietary preferences, allowing you to make adjustments if needed. Whether you’re planning a Halloween party, a simple get-together, or haunting treat bags, Zombie Guts are sure to steal the show!
Ingredients about Zombie Guts (Cinnamon Roll Intestines)
To whip up this spooky treat, you’ll need a few simple ingredients. Here’s what to gather for your Zombie Guts:
- 2 packages of Original Grand Cinnamon Rolls (remember to save the tubs of icing)
- 3/4 cup Powdered Sugar
- 3 tablespoons Unsalted Butter, softened
- 1/2 teaspoon Vanilla Extract
- 1/8 cup (2 tablespoons) Cream Cheese, at room temperature
- Food Coloring of your choice
How to Make Zombie Guts (Cinnamon Roll Intestines) Directions
Creating Zombie Guts is a fun and straightforward process that even novice bakers can handle. Let’s break down the steps so you can craft this spooky treat effortlessly.
Preheat Your Oven: Start by preheating your oven to 400°F (204°C). This ensures that your cinnamon rolls bake evenly and turn golden brown.
Prepare the Baking Dish: Lightly grease a 9×13 baking dish. This step is essential for preventing the cinnamon rolls from sticking and allows for easy removal once they’re baked.
Unroll the Cinnamon Rolls: Carefully unroll all the cinnamon rolls from the packaging. Make sure to set aside the included containers of icing, as you’ll need them for the frosting later.
Shape the Intestines: Begin to wind the unrolled cinnamon rolls into a twisty, intestine-like shape within your greased baking dish. Don’t worry about perfection; the rolls will expand as they bake, making them look even better. Continue this winding process until all 10 cinnamon rolls are arranged in the dish.
Bake the Cinnabons: Place the baking dish in the oven and bake for 15-17 minutes, or until the rolls achieve a lovely golden brown color. While they bake, the delightful aroma of cinnamon will fill your kitchen, amplifying the excitement for what’s to come.
Prepare the Icing: While the rolls are baking, it’s time to create the colorful icing. In a medium bowl, mix the icing from the cinnamon rolls with the powdered sugar, softened butter, vanilla extract, and a pinch of salt. Whisk until the mixture becomes smooth and creamy.
Add Color: Now comes the fun part! Slowly incorporate your preferred food coloring into the icing mixture until you achieve the desired creepy color that matches your Halloween theme.
Finish the Zombie Guts: Once the cinnamon rolls are done baking, allow them to cool for a few minutes. Afterward, pour the colorful icing over the rolls, ensuring to fill the grooves between them for that gory effect. Use a spatula or knife to help spread the icing evenly.
Decorate: For an extra spooky touch, decorate with Halloween-themed props such as gummy worms, spider candy, or edible glitter. Get creative and have fun with it!
Serve and Enjoy: Your Zombie Guts are now ready to be served! Gather your friends and family around to taste your creepy creation while sharing laughs and spooky stories.
How to Serve Zombie Guts (Cinnamon Roll Intestines)
Serving Zombie Guts is just as fun as making them! After completing your gruesome dessert, place them on a spooky, Halloween-themed serving platter, or you can even go for a faux graveyard setting. Use props like mini tombstones, plastic skeletons, or fake spiders to create an exciting and eerie atmosphere.
As for eating, you can cut the Zombie Guts into individual portions for easy serving. Ensure that everyone gets a piece of the gooey goodness, and don’t forget to let your guests know what they’re about to enjoy! The combination of flavors and the spooky presentation is perfect for bringing laughter and fun to your Halloween festivities.
Additionally, consider pairing your Zombie Guts with beverages that fit within the theme, like a spooky punch or ghostly milkshake. Your guests will appreciate the effort you put into making the whole experience unforgettable.
Expert Tips: Zombie Guts (Cinnamon Roll Intestines)
Don’t Stress About the Shape: Your goal is to create a fun dish, so embrace the unpredictability of the intestines’ shape. They can look as gory and twisted as you want!
Experiment with Icing Colors: Feel free to mix and create different shades of your food coloring for a more vibrant or sinister look. Try using a mix of black and green for a truly frightening color.
Add Extra Toppings: Get creative with your toppings! Consider adding crushed candies or sprinkles that are themed around Halloween to enhance the visual impact.
Storage Tips: If you have leftovers, store them in an airtight container to maintain their freshness. You can gently reheat them in the oven to bring back their gooey texture.
Get the Kids Involved: This is a fun activity that can involve the whole family. Let kids twist their own cinnamon rolls into shape and help decorate with icing and other ghoulish toppings.
How to Store Zombie Guts (Cinnamon Roll Intestines)
If you happen to have any leftover Zombie Guts after your Halloween celebration, storing them properly can keep them fresh for later enjoyment. First, allow the rolls to cool completely. Once they have cooled, place the remaining cinnamon rolls in an airtight container to prevent them from drying out.
For best results, consume them within 2-3 days. If you’d like to keep them longer, consider freezing them. To freeze, wrap the rolls tightly in plastic wrap and then place them in a freezer-safe bag or container. When you’re ready to enjoy your Zombie Guts again, simply thaw them at room temperature and reheat in the oven for a few minutes to restore their delightful texture and flavor.
Variation of Zombie Guts (Cinnamon Roll Intestines)
While the traditional Zombie Guts recipe is stunning on its own, there are several ways to tweak it and introduce your personal flair. Here are some exciting variations:
Chocolate Swirl Additions: Instead of using plain cinnamon rolls, opt for chocolate-flavored rolls, which can add a rich, decadent twist to your Zombie Guts.
Pumpkin Spice Flavor: Given the popularity of pumpkin spice in the fall season, consider using pumpkin spice rolls to enhance the fall flavor profile. Top with cinnamon cream cheese icing for an extra treat.
Fruity Guts: For a lighter and fruitier version, you can replace the icing with a drizzle of a fruit glaze made from blended fruits like strawberries or raspberries combined with powdered sugar.
Savory Option: If you’d like to venture into savory territory, try filling the rolls with cream cheese and chopped vegetables, then shape them just like you would with the cinnamon rolls.
Alternative Decorations: Use edible glitter, gummies in various shapes, or chocolate-covered pretzels to signify bones and body parts. The imagination is the only limit!
FAQ:
What are Zombie Guts?
Zombie Guts are a fun Halloween-themed dessert made with cinnamon rolls designed to look like intestines. They are baked until golden, frosted with colorful icing, and can be decorated for an eerie effect.
How do I store Zombie Guts?
To store your Zombie Guts, allow them to cool completely, place them in an airtight container, and keep them in the refrigerator for up to 2-3 days. You can also wrap them well and freeze them for longer storage.
Can I customize the icing color?
Absolutely! You can customize the icing color by adding food coloring until you achieve the spooky look you desire. Consider using shades like green, purple, or even black for a real Halloween vibe.
Are these suitable for kids?
Definitely! Zombie Guts are a fun treat for kids and can be a great way to involve them in the kitchen. Just make sure to supervise them, especially if they are helping with baking and decorating.
Can I use gluten-free cinnamon rolls?
Yes! There are several brands that offer gluten-free cinnamon rolls. Simply choose a gluten-free option to cater to those who have dietary restrictions, and follow the same directions.
Zombie Guts (Cinnamon Roll Intestines)
Equipment
- 9×13 Baking Dish
- Medium bowl
- Whisk
Ingredients
- 2 packages Original Grand Cinnamon Rolls save the icing tubs
- 3/4 cup powdered sugar
- 3 tablespoons unsalted butter softened
- 1/2 teaspoon vanilla extract
- 1/8 cup cream cheese at room temperature
- as needed food coloring of your choice
Instructions
- Preheat your oven to 400°F (204°C).
- Lightly grease a 9×13 baking dish.
- Unroll all the cinnamon rolls and set the icing aside.
- Shape the unrolled cinnamon rolls into twisty, intestine-like shapes in the greased baking dish.
- Bake for 15-17 minutes until golden brown.
- In a medium bowl, mix the icing from the cinnamon rolls with powdered sugar, softened butter, vanilla extract, and cream cheese until smooth.
- Add food coloring to the icing until you reach your desired creepy color.
- Once the cinnamon rolls have cooled, pour the colorful icing over them, filling the grooves for a gory effect.
- Decorate with Halloween-themed props like gummy worms or spider candy.
- Serve and enjoy your Zombie Guts!
Send me this recipe!
Just enter your email below and get it sent straight to your inbox!