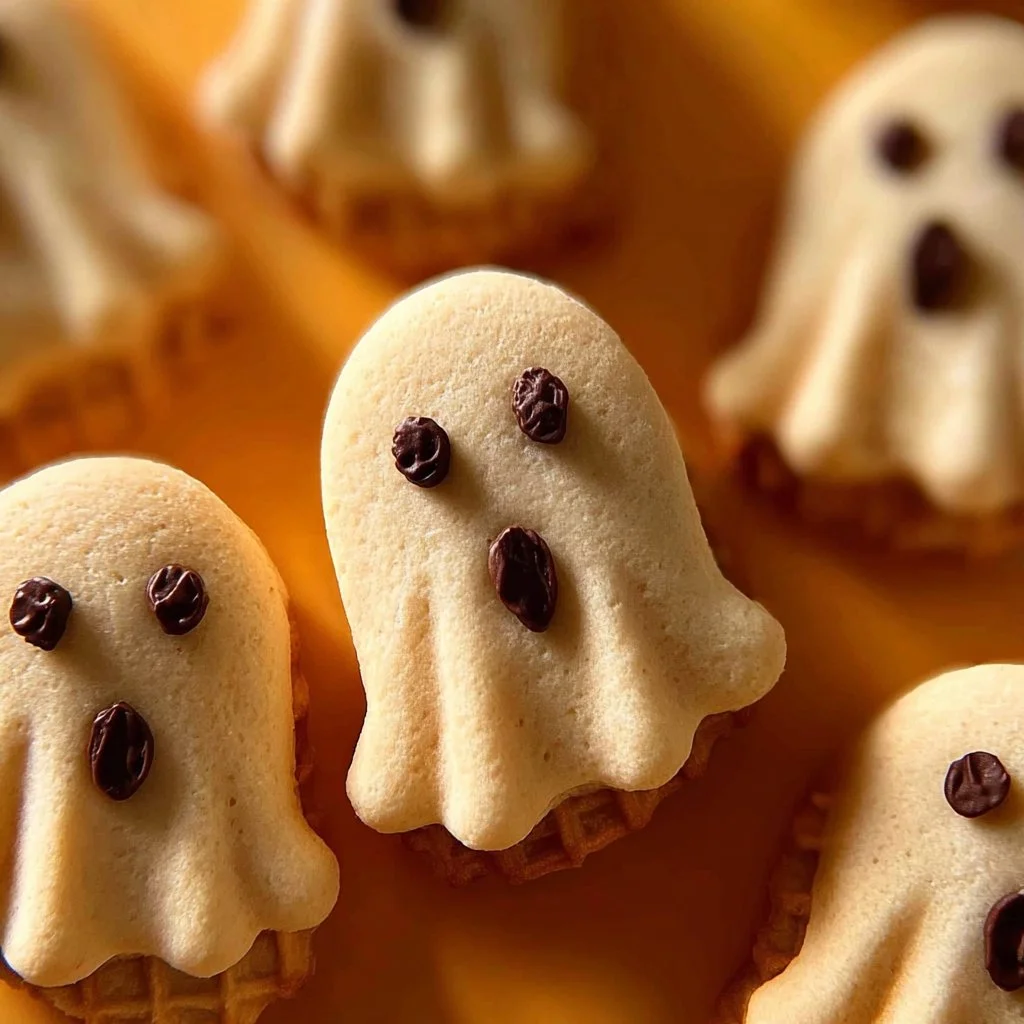
When Halloween approaches, there’s nothing more fun than creating treats that look as exciting as they taste. Nutter Butter Ghost Cookies are a fantastic way to combine flavor and festivity. These cookies take crunchy Nutter Butter cookies and transform them into tiny, ghostly delights coated in creamy white chocolate, complete with playful chocolate faces. They are not only adorable to look at but also incredibly simple to make, making them an ideal project for family fun or holiday gatherings.
Why We Love This Nutter Butter Ghost Cookies Recipe
There’s a special kind of joy in creating treats that bring smiles to everyone’s faces. Nutter Butter Ghost Cookies are popular because they’re easy to make and incredibly versatile. You don’t need to be a professional baker to create these festive snacks, and the ingredients are simple and affordable. The cookies themselves are crunchy with a peanut butter flavor that pairs perfectly with sweet, melted white chocolate.


Decorating these cookies is a creative and engaging process. You can have fun designing each ghost, adding playful faces or even experimenting with different colors and patterns. They are ideal for kids to join in, turning baking into a bonding activity. Beyond the fun factor, the taste of these cookies is remarkable. Every bite gives you the perfect balance of crunch and sweetness, making them irresistible for both children and adults. Serving them at parties or school events ensures that your treats are a standout feature.
Ingredients for Nutter Butter Ghost Cookies
To create this spooky batch of cookies, you’ll need just a few basic ingredients. Keeping it simple makes the recipe approachable for everyone.
- 12 Nutter Butter cookies – these provide the crunchy, peanut butter base.
- 5 ounces of white melting chocolate – this transforms your cookies into ghosts.
- 2 ounces of chocolate chips, finely chopped – these will form the ghostly facial features.
How to Make Nutter Butter Ghost Cookies
Turning these ingredients into festive ghost cookies is simple, and the process can be a lot of fun. Start by preparing your workspace. Line a baking sheet with parchment or wax paper to make cleanup easier and prevent the cookies from sticking. Arrange the Nutter Butter cookies side by side, leaving space between each to allow for decorating.
Next, melt your white chocolate. Place the chocolate in a microwavable bowl and heat in 30-second intervals, stirring between each session, until smooth and fully melted. Pour the melted chocolate into a small sandwich bag and snip off a tiny corner to create a piping bag. Carefully squeeze the chocolate over the top of each cookie. Tap the cookie gently against a flat surface to help the chocolate spread, forming a ghost-like shape.
Allow the white chocolate to harden for about ten minutes. While waiting, melt the chopped chocolate chips. Once smooth, use them to pipe small eyes and a mouth onto each cookie, giving your ghosts their playful expressions. Allow the decorated cookies to fully set before handling.
Finally, store the cookies in an airtight container. By following these steps, you’ll create a batch of perfectly shaped, delicious ghost cookies that are as enjoyable to make as they are to eat.
How to Serve Nutter Butter Ghost Cookies
Serving these cookies can be just as fun as making them. Arrange them on a decorative platter surrounded by fall or Halloween-themed decorations. They work beautifully for parties, school events, or casual gatherings at home. These ghost cookies are also perfect for treat bags or dessert tables, where guests can admire their design before enjoying them. Pairing them with themed drinks or light snacks creates an extra festive atmosphere.
For a party, you can place the cookies on a tiered stand, mixing in other small Halloween treats to create a visually appealing display. At home, serving them alongside a warm beverage or sharing them with friends and family makes them even more enjoyable. Their charming appearance and delightful flavor make them an instant hit wherever they’re served.
Expert Tips for Nutter Butter Ghost Cookies
To ensure your cookies turn out perfectly, keep these expert tips in mind:
- Choose high-quality chocolate to get a smooth, shiny coating that tastes as good as it looks.
- Melt the chocolate carefully, stirring frequently to prevent it from overheating or seizing.
- Use a small snip on your piping bag for precise designs, ensuring your ghosts have clean, defined features.
- Experiment with decorations—sprinkles, colored candy melts, or edible glitter can make your cookies even more festive.
- Encourage creativity by allowing kids or guests to customize the faces or decorations, turning cookie decorating into a fun activity.
Following these tips will help you create cookies that look professional while still being easy and fun to make.
How to Store Nutter Butter Ghost Cookies
Proper storage keeps your cookies fresh and delicious. After the chocolate has fully hardened, place the cookies in an airtight container. If you’re stacking them, add parchment paper between layers to prevent sticking. Stored this way, the cookies can last about a week at room temperature. You can also refrigerate them to extend freshness, although room temperature storage is usually sufficient. Proper storage ensures that your cookies maintain both their texture and visual appeal.
Variations of Nutter Butter Ghost Cookies
Adding creative twists to your ghost cookies can make them even more fun. Here are a few ideas:
- Sprinkle colorful Halloween-themed toppings on the white chocolate before it hardens.
- Use different cookie shapes to create a variety of festive designs.
- Try coating the cookies in milk chocolate instead of white for a different flavor profile.
- Add flavor to the chocolate, such as a splash of vanilla or almond extract.
- Use alternative decorations for faces, like mini candies or edible eyes, to create unique personalities for each ghost.
Experimenting with variations keeps the baking experience fresh and enjoyable while offering endless possibilities for customization.
FAQ about Nutter Butter Ghost Cookies
Why are Nutter Butter Ghost Cookies a favorite Halloween treat?
They are easy to make, visually charming, and taste delicious. The peanut butter base combined with creamy chocolate coating creates a flavor everyone enjoys, making them perfect for the holiday season.
Can I customize the faces on my Nutter Butter Ghost Cookies?
Yes! You can create different expressions, use various types of candy, or add colored frosting to give each ghost its own personality.
How do I prevent the chocolate from seizing?
Make sure all utensils and bowls are completely dry. Avoid overheating the chocolate and stir frequently while melting to keep it smooth.
Are Nutter Butter Ghost Cookies suitable for kids to help decorate?
Absolutely! Decorating the cookies is a safe, fun activity that children can enjoy with supervision. They can help pipe the chocolate and add creative touches.
Can I make these cookies ahead of time?
Yes, you can prepare and decorate the cookies a day or two in advance. Store them in an airtight container to maintain freshness and shape.

Nutter Butter Ghost Cookies
Equipment
- Microwave-safe bowl
- Baking Sheet
- Piping Bag
- Parchment Paper
Ingredients
- 12 Nutter Butter cookies for the cookie base
- 5 ounces white melting chocolate
- 2 ounces chocolate chips finely chopped for facial features
Instructions
- Line a baking sheet with parchment or wax paper.
- Melt the white chocolate in a microwave-safe bowl in 30-second intervals, stirring until smooth.
- Pour melted chocolate into a small sandwich bag and snip off a tiny corner to pipe.
- Dip each Nutter Butter cookie in the melted chocolate, tapping off excess to form a ghost shape.
- Let the chocolate harden for about 10 minutes.
- Melt the chopped chocolate chips and pipe small eyes and a mouth onto each cookie.
- Allow the decorated cookies to fully set before serving.
Send me this recipe!
Just enter your email below and get it sent straight to your inbox!