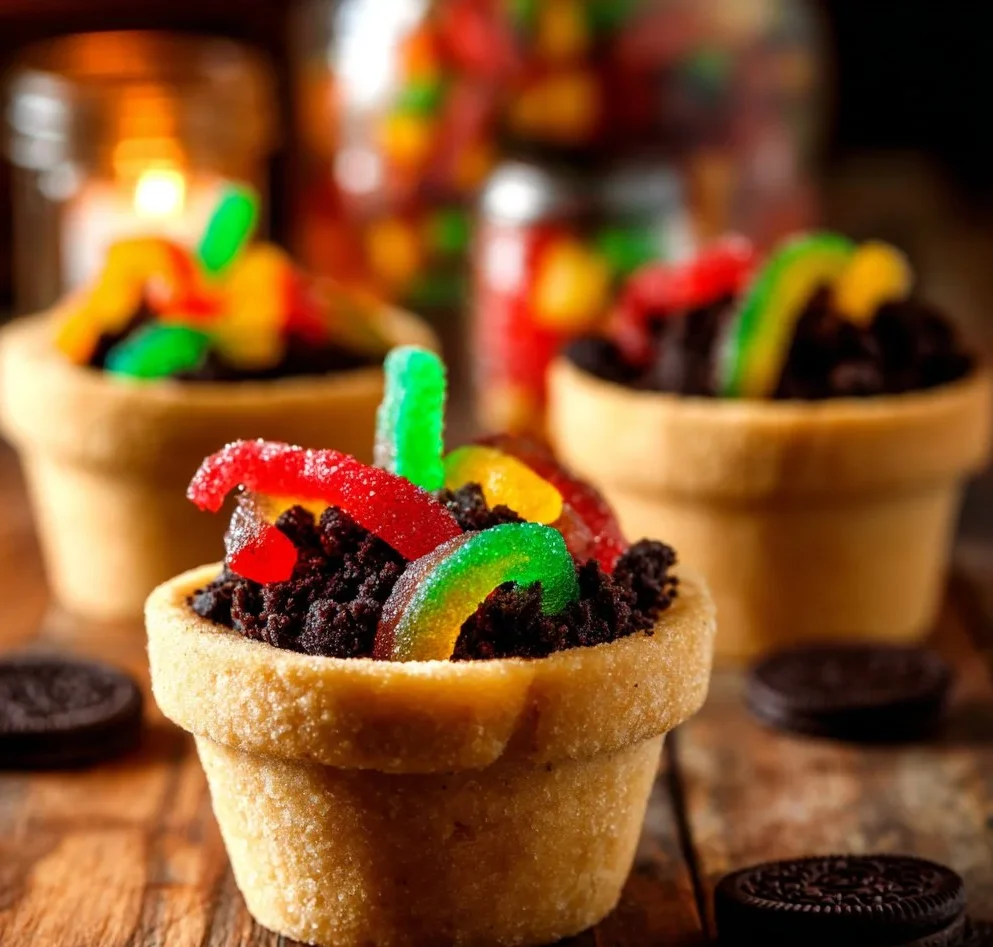
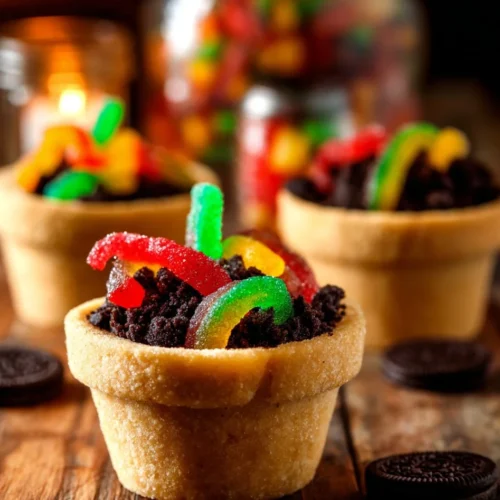
When it comes to desserts that delight and surprise, few creations capture the playful spirit of childhood quite like Gummy Worm Dirt Cookie Cups. These charming treats are not merely cookies; they are whimsical explosions of flavor and texture that result in a deliciously fun culinary experience. The combination of soft cookie cups filled with rich chocolate pudding and topped with crushed cookies and gummy worms is sure to put a smile on anyone’s face. Whether you’re celebrating a birthday, hosting a kids’ party, or simply indulging your sweet tooth, these cookie cups encapsulate the joy of being a kid at heart.
Why We Love This Gummy Worm Dirt Cookie Cups Recipe
There’s something undeniably appealing about food that tells a story or invokes a sense of nostalgia. Gummy Worm Dirt Cookie Cups do just that. These cookie cups are fun to create and eat, offering both visual appeal and a delightful mix of flavors. The process of making them allows for creativity, making them a favorite for family bonding in the kitchen.
Moreover, the ingredients used are straightforward and accessible. Utilizing creaminess of chocolate pudding alongside the sugary crunch of crushed cookies creates a balance that your taste buds will crave. Plus, the addition of gummy worms adds a whimsical touch that transforms an ordinary dessert into something extraordinary. For both kids and adults, these cookie cups serve as a delightful reminder that desserts can be all about fun.
Ingredients for Gummy Worm Dirt Cookie Cups
To make your own Gummy Worm Dirt Cookie Cups, gather the following ingredients:
- 1 cup unsalted butter, softened
- 1 1/2 cups white sugar
- 1 large egg
- 2 teaspoons vanilla extract
- 2 1/2 cups all-purpose flour
- 1/2 teaspoon baking soda
- 1/2 teaspoon cream of tartar
- 1/2 teaspoon salt
- Baking spray or butter for the muffin tin
- 4 – 5 cups chocolate pudding (homemade or store-bought)
- 1 cup crushed chocolate sandwich cookies (like Oreos)
- 48 gummy worms
How to Make Gummy Worm Dirt Cookie Cups Directions
Let’s dive into the magical world of creating your Gummy Worm Dirt Cookie Cups. Follow these steps to craft your delightful treats.
Preheat the Oven: Start by preheating your oven to 350°F (180°C). This ensures that your cookie cups will bake perfectly.
Prepare the Butter Mixture: In a large mixing bowl, beat the softened unsalted butter until it becomes light and creamy. This step is essential as it forms the base of your cookie dough.
Add Sugar: Gradually add the white sugar to the butter. Continue mixing until the mixture becomes light and fluffy. This process incorporates air, leading to a tender cookie texture.
Combine Wet Ingredients: Crack in the large egg and add the vanilla extract along with the salt. Beat these ingredients together until fully combined. You want a uniform mixture with no lumps.
Sift Dry Ingredients: In a separate bowl, sift together the all-purpose flour, baking soda, cream of tartar, and salt. Sifting helps to eliminate any lumps and ensures a consistent texture throughout your cookie cups.
Mix Dry with Wet: Gradually add the sifted flour mixture to the butter and sugar mixture, mixing until a dough forms. Take care not to overmix; you want to maintain that light and airy texture.
Chill the Dough: Wrap the dough tightly in plastic wrap and place it in the refrigerator for about 30 minutes. Chilling helps the cookies hold their shape during baking.
Prepare the Muffin Tin: Spray a regular-sized muffin tin with baking spray or butter to ensure that your cookie cups release easily later.
Shape the Dough: Once the dough is chilled, take about 1.5 tablespoons of dough and roll it into a ball. Use your thumbs to press the ball into a cup shape. Firmly press it into the muffin pan to create well-formed cookie cups. Repeat this process until the muffin pan is full.
Bake: Place the muffin tin in the preheated oven and bake for around 12 minutes, or until the edges are lightly golden.
Make a Well: Post-baking, immediately remove the tin from the oven. Use the back of a spoon to create a well in each cookie cup to hold the pudding later.
Cool Completely: Allow the cookie cups to cool completely on a wire rack before attempting to remove them from the pan. This step is key to ensure they maintain their shape.
Fill with Pudding: Once cooled, add 2-3 tablespoons of chocolate pudding to each cookie cup. The pudding should fill the well you’ve created perfectly.
Top with Crushed Cookies and Gummy Worms: Sprinkle the top of each pudding-filled cookie with crushed chocolate sandwich cookies, mimicking dirt. To finish, cut the gummy worms in half and place them atop the pudding, allowing them to seemingly wriggle in the dirt.
How to Serve Gummy Worm Dirt Cookie Cups
Presenting your Gummy Worm Dirt Cookie Cups can be just as much fun as making them! Here are a few tips on how to serve them:
Family Gatherings: Place the cookie cups on a colorful platter, making them a vibrant centerpiece. Kids (and adults!) love to pick their own treat.
Party Favors: If you’re throwing a party, consider packaging individual cookie cups in clear plastic cups with lids. Add a fun label or a ribbon tied around them for that extra touch.
Themed Events: If you’re hosting a Halloween or a backyard birthday party, enhance the theme by serving these cookie cups alongside other dessert ‘dirt’ treats.
Informal Gatherings: For casual get-togethers, set up a “build-your-own” station where guests can add their own gummy worms and crushed cookies for an interactive experience.
No matter how you choose to serve them, the delight these cookie cups bring is guaranteed to make your event memorable.
Expert Tips: Gummy Worm Dirt Cookie Cups
To ensure your Gummy Worm Dirt Cookie Cups are absolutely perfect, consider these expert tips:
Use Room Temperature Ingredients: Make sure your butter and egg are at room temperature before starting to make the dough. It helps in achieving a smoother and creamier texture.
Don’t Skip Chilling: Chilling the dough is crucial. It prevents the cookies from spreading too much during baking and ensures that they maintain their cup shape.
Timing is Key: Keep an eye on the cookies while they bake as oven temperatures may vary. Remove them when the edges are slightly golden for the best texture.
Right Consistency for Pudding: If using homemade pudding, ensure it’s thick enough to hold up in the cookie cups. Allow it to cool completely before filling the cups.
Customize Your Toppings: Feel free to experiment with different toppings. Consider adding sprinkles for extra color, or switching up the gummy candies for a variety of fun shapes and colors.
How to Store Gummy Worm Dirt Cookie Cups
Storing your Gummy Worm Dirt Cookie Cups properly ensures that they remain fresh and delicious for several days. Here’s how to do it:
Room Temperature Storage: If you plan to enjoy the cookie cups within a day or two, you can store them in an airtight container at room temperature. They won’t last long, but they’ll remain soft and chewy!
Refrigeration: If you have remaining cookie cups that won’t be consumed right away, pop them in the fridge. However, make sure they’re in a sealed container to avoid them absorbing other fridge odors.
Freezing: For longer storage, you can freeze the cookie cups before adding the pudding. Simply wrap them tightly in plastic wrap and place them in a freezer-safe bag. When you’re ready to enjoy them, thaw them in the fridge overnight and fill with pudding before serving.
Variation of Gummy Worm Dirt Cookie Cups
While the traditional Gummy Worm Dirt Cookie Cups are undoubtedly fun and delicious, you can easily switch things up with various creative twists! Here are a few variations to consider:
Brownie Cups: Substitute the cookie dough for brownie batter for a fudgier experience. This will deliver a richer chocolate taste, appealing to chocolate lovers.
Fruit Infusion: Instead of chocolate pudding, consider using different flavors like vanilla, strawberry, or banana. Add fresh fruits along with the gummy worms for added freshness.
Theme-Based Versions: For seasonal or holiday themes, adjust the gummy toppings. For instance, use candy corn for Halloween or pastel marshmallows for Easter to incorporate the festive spirit.
Nut Butter Cups: Mix in some peanut butter or almond butter into the batter for a nutty flavor. This gives a whole new taste profile while enhancing texture.
Healthier Alternatives: Opt for healthier cookie recipes using whole wheat flour or natural sweeteners. Incorporate Greek yogurt in place of pudding for a protein boost.
Frequently Asked Questions
What are Gummy Worm Dirt Cookie Cups?
Gummy Worm Dirt Cookie Cups are whimsical dessert treats made from soft cookie cups filled with chocolate pudding and topped with crushed sandwich cookies and gummy worms.
How do I ensure my cookie cups hold their shape?
Be sure to chill your cookie dough before baking to prevent it from spreading too much. This step is crucial for maintaining the shape of your cookie cups.
Can I make the pudding from scratch?
Absolutely! Homemade chocolate pudding typically tastes richer and fresher than store-bought. Just ensure it’s cooled and thickened properly before filling the cookie cups.
How long do these cookie cups last?
When stored properly in an airtight container, Gummy Worm Dirt Cookie Cups will stay good for about 3-4 days at room temperature, and even longer if refrigerated.
Can I use different candies for toppings?
Yes! Feel free to experiment with other candies or even small chocolates. Just ensure the toppings are compatible with the pudding flavor used.
Gummy Worm Dirt Cookie Cups
Equipment
- Oven
- Muffin Tin
- Mixing Bowls:
- Plastic Wrap
Ingredients
- 1 cup unsalted butter softened
- 1 1/2 cups white sugar
- 1 large egg
- 2 teaspoons vanilla extract
- 2 1/2 cups all-purpose flour
- 1/2 teaspoon baking soda
- 1/2 teaspoon cream of tartar
- 1/2 teaspoon salt
- baking spray or butter for the muffin tin
- 4-5 cups chocolate pudding homemade or store-bought
- 1 cup crushed chocolate sandwich cookies like Oreos
- 48 pieces gummy worms


Instructions
- Preheat your oven to 350°F (180°C).
- In a large mixing bowl, beat the softened butter until creamy.
- Gradually add the sugar, mixing until light and fluffy.
- Add the egg and vanilla extract, beating until fully combined.
- In a separate bowl, sift together flour, baking soda, cream of tartar, and salt.
- Gradually mix the dry ingredients into the wet mixture until a dough forms.
- Chill the dough in plastic wrap for about 30 minutes.
- Spray a muffin tin with baking spray or butter.
- Roll about 1.5 tablespoons of dough into balls and press into the muffin tin to form cookie cups.
- Bake for 12 minutes or until the edges are lightly golden.
- Immediately create a well in each cookie cup with the back of a spoon.
- Allow the cookie cups to cool completely before removing them from the pan.
- Once cooled, fill each cup with chocolate pudding.
- Top with crushed chocolate cookies and gummy worms.
Send me this recipe!
Just enter your email below and get it sent straight to your inbox!