Everyone loves a good cookie, and Thumbprint Hershey Kiss Cookies are no exception. These delightful treats combine the richness of chocolate with a buttery, melt-in-your-mouth cookie base, creating a sweet indulgence perfect for any occasion. Whether you’re baking for a holiday, a party, or just to satisfy your sweet tooth, this cookie is a crowd-pleaser that’s easy to make and hard to resist.
Why We Love This Thumbprint Hershey Kiss Cookies
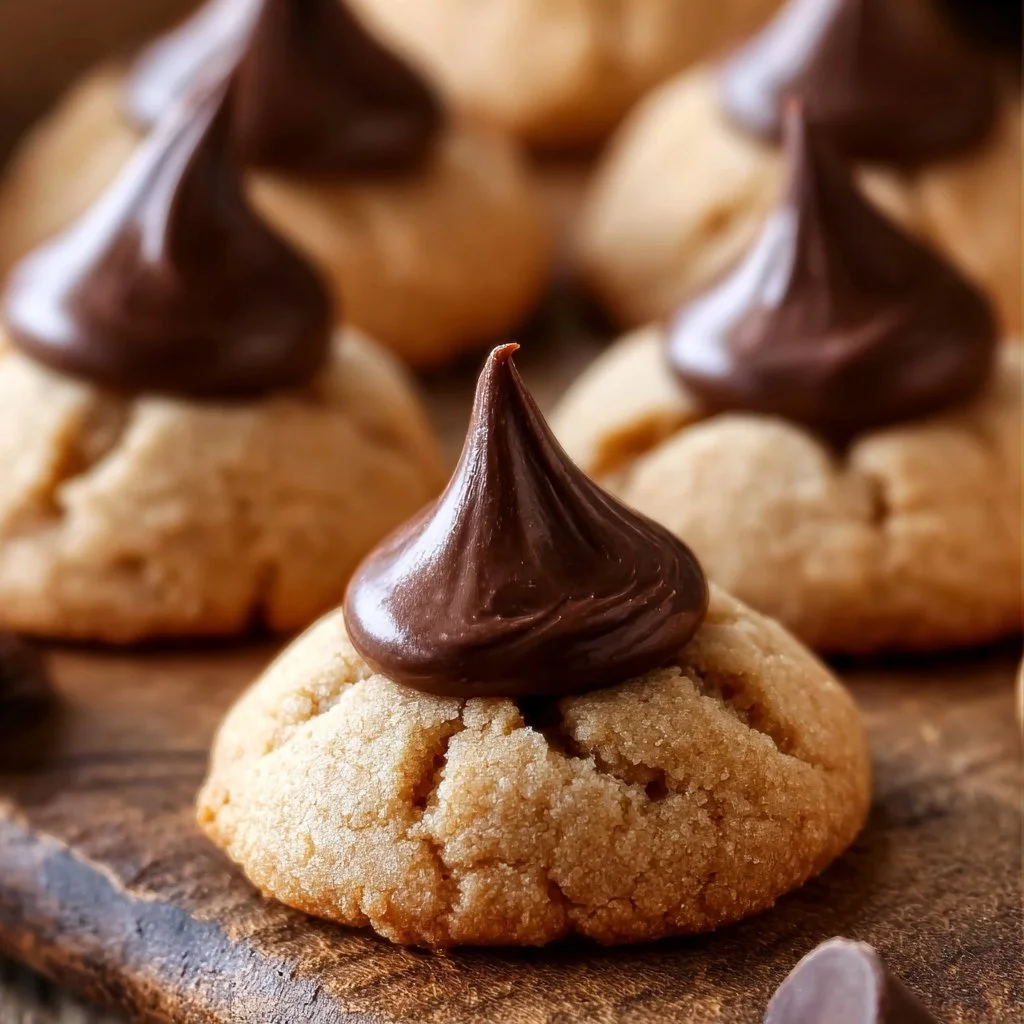
Thumbprint Hershey Kiss Cookies have become a beloved favorite for several reasons. First, they are visually appealing, showcasing a classic chocolate kiss nestled in the center of a thumbprint cookie. The contrasting colors and textures invite you to take a bite. Second, the flavor combination is simply divine; the soft, buttery cookie pairs perfectly with the rich chocolate, delivering a satisfying treat for your taste buds. Their easy preparation, especially with the straightforward steps involved, makes them perfect for bakers of all levels. You can whip these up for a quick dessert or spend some time decorating them for special occasions. Additionally, these cookies are highly customizable—drizzle them with melted chocolate or sprinkle them with nuts or colored sugars for unique presentations. Whether for a loved one or a gathering, these cookies evoke feelings of warmth and nostalgia, making them a go-to recipe for many.
Ingredients for Thumbprint Hershey Kiss Cookies
- 1 cup unsalted butter, softened
- 1 cup granulated sugar
- 1 cup brown sugar, packed
- 2 large eggs
- 2 teaspoons vanilla extract
- 3 cups all-purpose flour
- 1 teaspoon baking powder
- 1/2 teaspoon salt
- 1 cup chocolate kisses, unwrapped
- Optional: additional sprinkles or nuts for topping
Directions
- Preheat your oven to 350°F (175°C) and line a baking sheet with parchment paper or a silicone baking mat.
- In a large bowl, cream together the softened butter, granulated sugar, and brown sugar until light and fluffy.
- Beat in the eggs one at a time, mixing well after each addition. Then stir in the vanilla extract.
- In another bowl, combine the flour, baking powder, and salt. Gradually add the dry ingredients to the wet ingredients, mixing until just combined.
- Using your hands, form small balls of dough, about one inch in diameter. Place them on the prepared baking sheet, spacing them a couple of inches apart.
- Make a thumbprint in the center of each ball, pressing gently to create an indentation.
- Bake for 10-12 minutes or until the edges are just golden brown.
- Remove from the oven and immediately press a chocolate kiss into the center of each cookie.
- Allow the cookies to cool on the baking sheet for about 5 minutes before transferring them to a wire rack to cool completely.
How to Serve Thumbprint Hershey Kiss Cookies
Serving Thumbprint Hershey Kiss Cookies is a simple yet delightful experience. You can present them on a colorful platter, allowing their inviting colors and shapes to shine. For festive occasions, consider garnishing the serving dish with seasonal decorations such as ribbons or themed accents that complement the look of the cookies. These treats can stand alone as the star of your dessert table, but they also pair perfectly with milk, coffee, or tea, enhancing the experience with complementary flavors. If you want to add an extra touch, drizzle some melted chocolate or caramel sauce over the tops before serving. Alternatively, you can dust them with powdered sugar for a classic touch. Sharing these cookies with friends and family creates moments of joy; inviting others to take a cookie as you chat and enjoy the company is a lovely way to experience the warmth and delight these cookies bring.
Expert Tips for Thumbprint Hershey Kiss Cookies
To elevate your Thumbprint Hershey Kiss Cookies, consider some expert tips that can enhance both the preparation and the final product. First, ensure your butter is at the right temperature—softened but not melting. This will help create that perfect creamy texture when creaming it with the sugars. For even baking, make sure your baking sheet is not overcrowded; spacing them appropriately allows for proper air circulation. Another trick is to chill your dough for approximately 30 minutes before forming the cookie balls; this step can prevent spreading while baking, resulting in a softer, chewier cookie. When you press the chocolate kiss into the center, do so gently to avoid cracking the cookie. Additionally, you can experiment with different flavors; try flavored chocolate kisses or add a hint of almond or mint extract to the cookie dough for a twist. Finally, be sure to monitor the baking time closely, as ovens can vary. Removing them just as they turn golden will ensure a soft center and a delightful texture throughout.
How to Store Thumbprint Hershey Kiss Cookies
Storing your Thumbprint Hershey Kiss Cookies correctly will help maintain their freshness and flavor for longer. Once cooled, place the cookies in an airtight container lined with parchment paper to separate layers—this will help prevent them from sticking together. You can store them at room temperature for up to five days if kept in a cool, dry place. For longer storage, consider placing them in the refrigerator, where they can last up to two weeks. If you want to keep them even longer, freeze the cookies by laying them flat in a single layer on a baking sheet, then transferring them to a freezer-safe bag or container after they are frozen solid. When ready to enjoy, simply thaw them at room temperature, and they’ll taste just as delightful as the day you baked them.
Variations of Thumbprint Hershey Kiss Cookies
While the classic Thumbprint Hershey Kiss Cookies are delicious on their own, there are countless ways to personalize this recipe to suit your tastes or seasonal themes. One popular variation is to use different flavored chocolate kisses, such as caramel-filled or almond chocolate, which can offer a unique twist to the original recipe. For a festive approach, you might mask the cookies in colored sugar or sprinkles for holidays; red and green for Christmas or pastel shades for Easter make them visually appealing. Additionally, you can incorporate different mix-ins into the cookie dough; for instance, adding chopped nuts or switching the flour for almond flour can provide a delightful different texture. For a fruity twist, consider using fruit preserves in place of the chocolate kiss for a sweet and tart surprise. Another fun option is to drizzle melted chocolate over the cooled cookies or create a ganache topping to transform your cookies into an elegant dessert. The possibilities are endless, so don’t hesitate to experiment and find your favorite variations.
FAQ about Thumbprint Hershey Kiss Cookies
You may have some questions about making Thumbprint Hershey Kiss Cookies. One of the most frequently asked questions is about the type of chocolate kisses to use. While classic milk chocolate kisses are the most common, feel free to try dark chocolate, white chocolate, or even flavored varieties for a creative twist. Another common query involves choosing the right consistency of the dough. If your dough seems too sticky, chilling it for about 30 minutes can help. Also, if you want to make your cookies larger or smaller, remember to adjust your baking time accordingly; large cookies typically need a bit longer to bake. Lastly, some bakers want to know if they can freeze the cookies. Absolutely! They freeze beautifully, retaining their flavor and texture, making them perfect for future cravings or last-minute gatherings. Feel free to experiment, and don’t hesitate to reach out with any more questions you may have regarding your own Thumbprint Hershey Kiss Cookie adventures!

Thumbprint Hershey Kiss Cookies
Ingredients
Cookie Base
- 1 cup unsalted butter, softened Ensure butter is softened but not melted.
- 1 cup granulated sugar
- 1 cup brown sugar, packed
- 2 large eggs
- 2 teaspoons vanilla extract
- 3 cups all-purpose flour
- 1 teaspoon baking powder
- 1/2 teaspoon salt
Topping
- 1 cup chocolate kisses, unwrapped
- Optional: additional sprinkles or nuts for topping


Instructions
Preparation
- Preheat your oven to 350°F (175°C) and line a baking sheet with parchment paper or a silicone baking mat.
- In a large bowl, cream together the softened butter, granulated sugar, and brown sugar until light and fluffy.
- Beat in the eggs one at a time, mixing well after each addition. Then stir in the vanilla extract.
- In another bowl, combine the flour, baking powder, and salt. Gradually add the dry ingredients to the wet ingredients, mixing until just combined.
- Using your hands, form small balls of dough, about one inch in diameter. Place them on the prepared baking sheet, spacing them a couple of inches apart.
- Make a thumbprint in the center of each ball, pressing gently to create an indentation.
Baking
- Bake for 10-12 minutes or until the edges are just golden brown.
- Remove from the oven and immediately press a chocolate kiss into the center of each cookie.
- Allow the cookies to cool on the baking sheet for about 5 minutes before transferring them to a wire rack to cool completely.
Send me this recipe!
Just enter your email below and get it sent straight to your inbox!