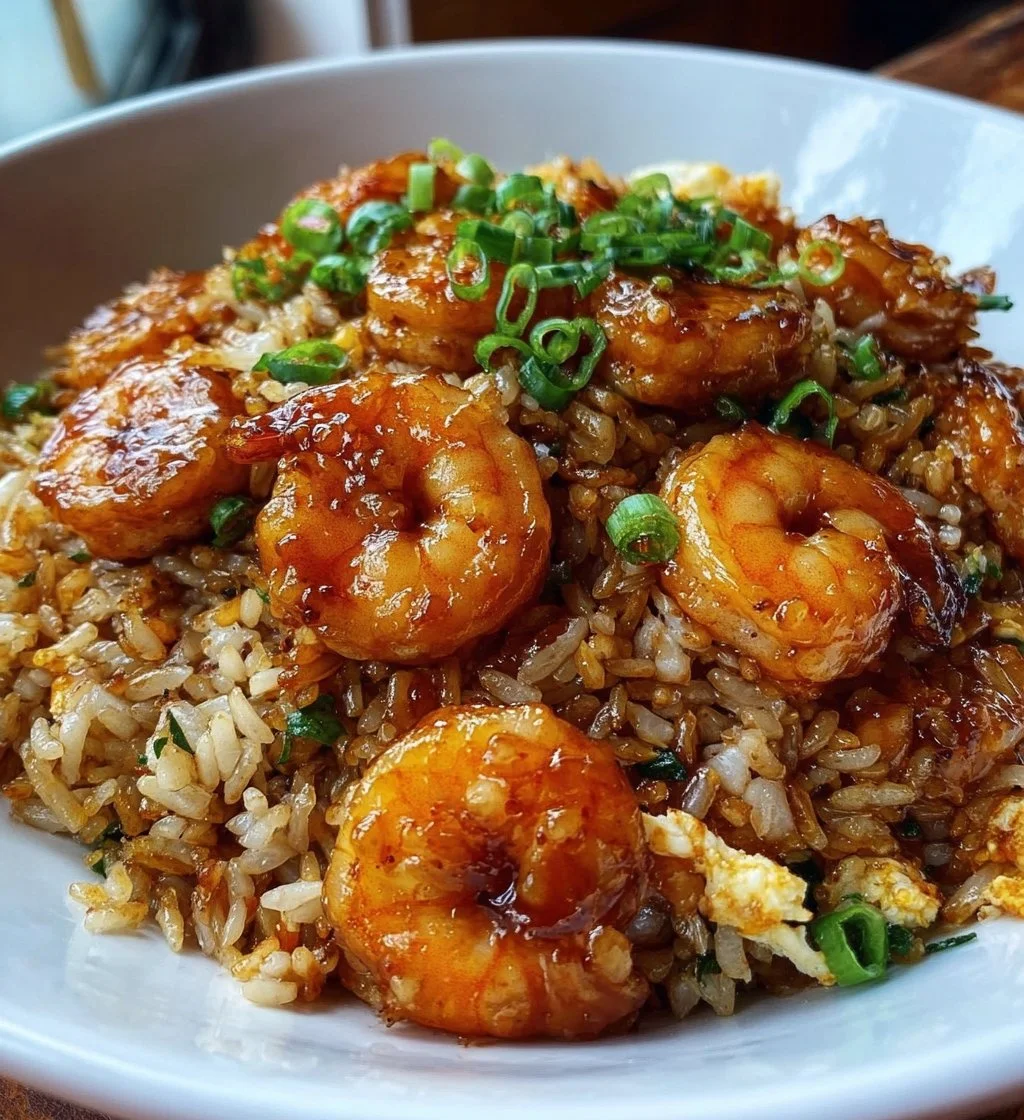
Shrimp Fried Garlic Rice combines the best of savory flavors with the satisfying crunch of garlic, making it a favorite for many. This dish brings together succulent shrimp and fluffy rice, elevating your dining experience with minimal effort. Whether you’re preparing a cozy family dinner or impressing guests, this recipe stands out for its rich taste and delightful aroma.
Why We Love This Shrimp Fried Garlic Rice
This Shrimp Fried Garlic Rice offers not just flavor but also versatility. The combination of shrimp and garlic-infused rice provides a balance of protein and carbohydrates, making it a well-rounded meal. The dish is quick to prepare, taking under 30 minutes from start to finish, making it perfect for busy weeknights. Each bite bursts with flavor, and the rich aroma of garlic fills your kitchen, creating an inviting atmosphere. You can customize it with your favorite vegetables or sauces, making it adaptable for different tastes. With its satisfying texture and the ease of preparation, it’s no wonder this dish has gained a beloved status among many home cooks.


Ingredients for Shrimp Fried Garlic Rice
- 2 cups cooked rice (preferably day-old)
- 1 pound shrimp, peeled and deveined
- 4 cloves garlic, minced
- 1 onion, diced
- 2 eggs, beaten
- 3 tablespoons soy sauce
- 2 tablespoons vegetable oil
- 1 tablespoon sesame oil
- 1/4 cup green onions, chopped
- Salt and pepper to taste
Directions
- Heat 1 tablespoon of vegetable oil in a large skillet or wok over medium-high heat.
- Add the minced garlic and diced onion. Sauté until the onion becomes translucent, about 2-3 minutes.
- Add the shrimp to the pan. Cook for about 3-4 minutes until the shrimp turn pink and are cooked through. Season with salt and pepper.
- Push the shrimp mixture to one side of the skillet. Pour the beaten eggs into the other side. Scramble the eggs gently until cooked, then mix everything together.
- Add the cooked rice, soy sauce, and sesame oil to the skillet. Stir thoroughly, ensuring that the rice is well combined with the shrimp and eggs.
- Toss in the chopped green onions and mix to distribute evenly.
- Adjust seasoning with salt and pepper if needed and serve hot.
How to Serve Shrimp Fried Garlic Rice
Serving Shrimp Fried Garlic Rice is as delightful as making it. Start by placing a generous scoop of the rice onto a plate or into a bowl. Garnish with extra green onions for a pop of color and additional flavor. You could also serve it alongside a fresh salad or a tangy cucumber salad to balance the richness of the dish. Consider adding lime wedges to the plate, giving your guests an option to brighten the flavors just before they dig in. This dish pairs well with a simple broth or a light soup to complement the garlicky goodness. To enhance the experience, serve alongside some chili sauce or your favorite dipping sauces for those who enjoy a bit of heat.
Expert Tips for Shrimp Fried Garlic Rice
To truly elevate your Shrimp Fried Garlic Rice experience, consider a few expert tips. First, using day-old rice makes a significant difference. It reduces moisture and prevents the rice from becoming mushy. If you don’t have day-old rice, spread freshly cooked rice on a baking sheet to cool it down before using it. Secondly, be careful not to overcrowd the pan when cooking shrimp; doing so can lead to steaming rather than searing, which affects texture and flavor. Third, adjust the amount of garlic and soy sauce according to your taste preferences. If you love garlic, add an extra clove or two. Finally, be sure to add your ingredients quickly but in an organized manner to keep the cooking process efficient. Cooking over high heat enables quick stir-frying, and timing is crucial to avoid overcooking the shrimp.
How to Store Shrimp Fried Garlic Rice
You can easily store any leftover Shrimp Fried Garlic Rice. Allow the rice to cool to room temperature before transferring it to an airtight container. Keep it in the refrigerator for up to three days. If you need to keep it longer, consider freezing it. Place the cooled rice in a freezer-safe container, making sure to remove as much air as possible. It can last up to 1 month in the freezer. When you’re ready to enjoy it again, simply reheat in a skillet with a splash of water or broth, or you can microwave it. Stir occasionally while warming to ensure even heating.
Variations of Shrimp Fried Garlic Rice
There are countless variations of Shrimp Fried Garlic Rice, allowing you to get creative in the kitchen. One popular modification is to add a variety of vegetables such as bell peppers, peas, or carrots. This not only adds color but also enhances the nutritional value. You might also consider adding some spice by incorporating diced fresh chili peppers or a splash of hot sauce. For those who enjoy seafood, you can mix in other types of seafood like scallops or crab for a luxurious touch. Alternatively, if you want a change from shrimp, chicken or tofu can serve as excellent substitutes. For a different twist, try adding a splash of citrus juice for a refreshing, zesty flavor. The beauty of this dish lies in its adaptability to various ingredients and flavors.
FAQ about Shrimp Fried Garlic Rice
What is Shrimp Fried Garlic Rice?
Shrimp Fried Garlic Rice is a delicious dish that combines shrimp and garlic-infused fried rice, creating a savory and satisfying meal.
How do I make Shrimp Fried Garlic Rice healthier?
You can make Shrimp Fried Garlic Rice healthier by adding more vegetables, using brown rice instead of white, and reducing the amount of soy sauce or oil.
Can I use frozen shrimp for this recipe?
Yes, you can use frozen shrimp. Just make sure to thaw them completely and pat them dry before cooking.
What type of rice is best for Shrimp Fried Garlic Rice?
Day-old jasmine or long-grain rice works best for Shrimp Fried Garlic Rice as it holds up well during frying.
Is Shrimp Fried Garlic Rice suitable for meal prep?
Yes, Shrimp Fried Garlic Rice is perfect for meal prep. It stores well and you can make a large batch and divide it into portions for easy meals throughout the week.