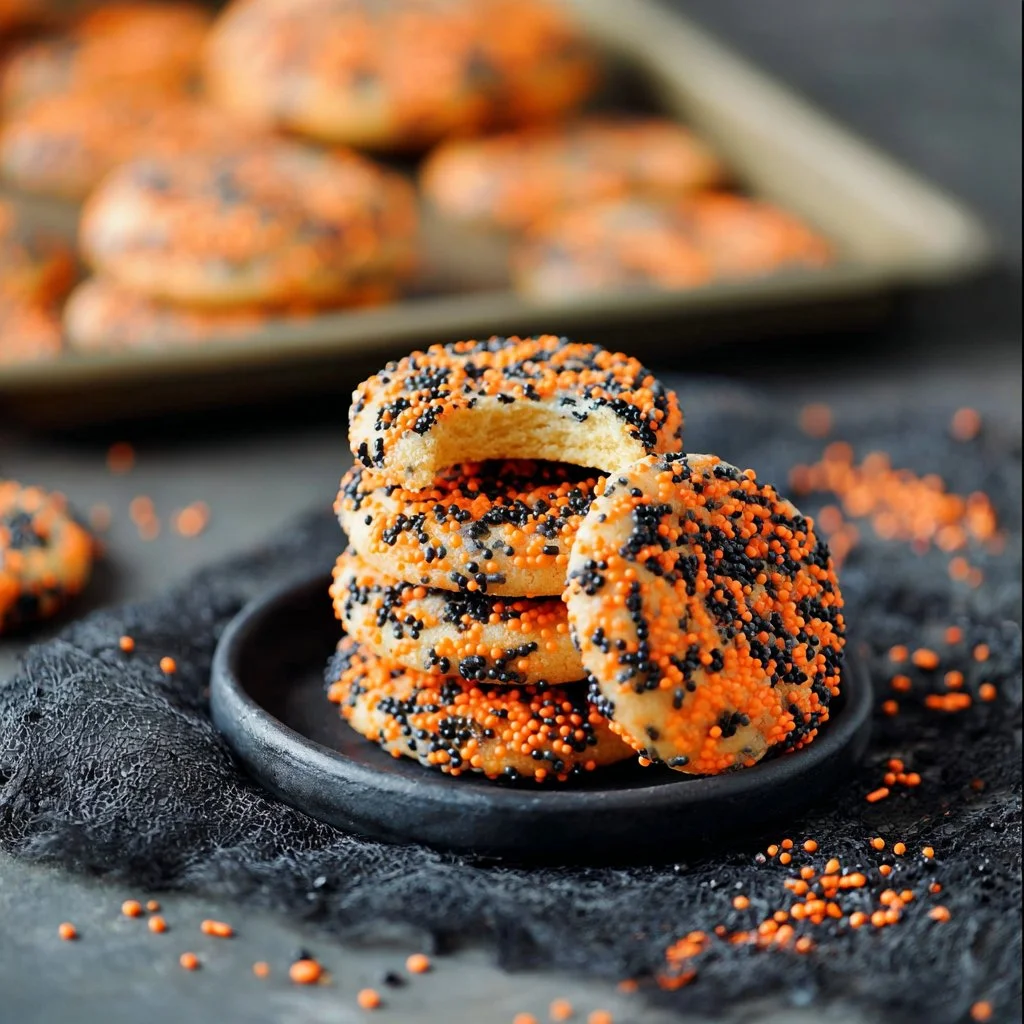
As the leaves turn crisp and pumpkin spice fills the air, Halloween approaches with all its spookiness and charm. One of the most delightful ways to embrace this festive season is through the joy of baking. A perfect treat for the occasion is none other than Halloween Sprinkle Cookies! These cheerful cookies are adorned with vibrant orange and black sprinkles, embodying the spirit of Halloween while captivating the taste buds.
Why We Love This Halloween Sprinkle Cookies Recipe
You’ll find many reasons to adore this Halloween Sprinkle Cookies recipe. First, it’s incredibly simple to make—perfect for bakers of all skill levels. The combination of butter and sugar creates a melt-in-your-mouth texture that’s undeniably satisfying. The vibrant sprinkles add a festive touch, making them visually appealing for all ages. Moreover, baking these cookies fills your home with an inviting aroma that beckons everyone to gather around the kitchen. Plus, they’re not only a treat but also a fun activity—perfect for kids who want to get hands-on in the kitchen! Creating these cookies together makes for memorable family moments filled with laughter and joy.
Ingredients about Halloween Sprinkle Cookies
To create these delightful Halloween Sprinkle Cookies, gather the following ingredients:
- 1 cup butter, at room temperature
- 1 cup granulated sugar
- 2 eggs
- 3 teaspoons vanilla extract
- 2 ¼ cups all-purpose flour
- 2 teaspoons baking powder
- ½ teaspoon salt
- 1 cup orange and black sprinkles
Every ingredient serves a significant purpose in achieving the perfect texture and flavor, making these cookies a must-try for your Halloween festivities.
How to Make Halloween Sprinkle Cookies Directions
Making Halloween Sprinkle Cookies is a straightforward process that will leave your kitchen smelling fantastic.
Preheat your oven: Begin by setting your oven to 350°F. Preparing it beforehand ensures even baking and that your cookies come out perfectly golden.
Cream the butter and sugar: In a large mixing bowl, cream together the room-temperature butter and granulated sugar. Use an electric mixer on medium speed for about two minutes, until the mixture is light and fluffy. This step is crucial, as it helps to create a light texture for the cookies.
Add the eggs and vanilla: Next, crack the two eggs into the bowl and pour in the vanilla extract. Continue to mix until everything is well combined. Scraping down the sides of the bowl with a spatula ensures that all the ingredients are incorporated.
Combine the dry ingredients: In another bowl, whisk together the all-purpose flour, baking powder, and salt. Gradually add this dry mixture to the wet ingredients. Mix on low speed until fully incorporated. At this point, you’ll notice that the dough is slightly sticky, which is perfectly normal.
Prepare the sprinkles: Pour the orange and black sprinkles into a separate bowl. This will make it easier when coating your cookie dough.
Form the cookies: Using a spoon or cookie scoop, take a portion of the dough and roll it into a ball. Once shaped, roll the ball in the sprinkles until it is completely covered. This fun step not only adds color but also a crunchy texture to each bite.
Place the cookies on a baking sheet: Line a cookie sheet with parchment paper for easy removal. Space the cookie balls apart, placing only eight per sheet to allow for spreading while baking.
Bake: Place the cookie sheet in your preheated oven. Bake for about 10 minutes, keeping an eye on them to ensure they do not overbake. You want them lightly golden at the edges but still soft in the center.
Cool completely: Once done, remove the cookies from the oven and let them cool on the baking sheet for a few minutes before transferring to a wire rack. This cooling step allows them to firm up without becoming too hard.
The entire process can be completed in under an hour, making it an ideal recipe for a quick baking session.
How to Serve Halloween Sprinkle Cookies
Serving Halloween Sprinkle Cookies is as fun and festive as making them. Allow these treats to cool completely before serving them to ensure they maintain the right texture. Here are a few ways to enhance the presentation and enjoyment of your cookies:
Cookie Platters: Arrange the cookies on a vibrant Halloween-themed platter. You can complement the cookies with fake spider webs, small plastic pumpkins, or some festive decorations to create an eye-catching display.
Party Favors: Package the cookies in clear cellophane bags, tied with colorful ribbons. This not only makes for a delightful party favor but also brings a sweet smile to your guests as they leave your celebration.
With Milk: Serve your cookies alongside a chilled glass of milk. There’s something nostalgic about pairing warm cookies with milk, creating a comforting treat that everyone will love.
In Lunchboxes: These cookies make a great addition to school lunches. Wrap them individually for a special treat that your kids will be excited to show to their friends.
No matter how you serve them, these cookies are sure to add a festive touch to your Halloween gatherings!
Expert Tips: Halloween Sprinkle Cookies
Creating the perfect Halloween Sprinkle Cookies involves some simple yet effective tips that can take your baking to the next level.
Room Temperature Ingredients: Always ensure your butter and eggs are at room temperature. This allows for better mixing and a smoother dough, which translates to better cookies.
Don’t Overmix: Once you add the flour, mix until just combined. Overmixing can lead to tougher cookies as it develops the gluten in the flour.
Use Fresh Ingredients: Make sure your baking powder is fresh for optimal rise. Old baking powder can lead to dense cookies.
Chill the Dough: If you find the dough too sticky, chill it in the refrigerator for 30 minutes. This can make the dough easier to handle when forming balls.
Experiment with Sprinkles: While orange and black sprinkles scream Halloween, don’t hesitate to mix in other festive colors to celebrate other events, turning these cookies into versatile treats.
These expert tips will help you create cookies that not only taste amazing but also look fantastic!
How to Store Halloween Sprinkle Cookies
Proper storage will ensure your Halloween Sprinkle Cookies remain fresh and delicious. Here’s how to do it:
Airtight Container: Once your cookies have cooled completely, place them in an airtight container. This will keep them soft and chewy for up to 2 to 3 days.
Layer with Parchment Paper: If you’re stacking your cookies in the container, place sheets of parchment paper between layers to prevent them from sticking together.
Freezing: If you want to enjoy these cookies later, freeze them. Just ensure they are in a freezer-safe container, separating layers with parchment paper as well. They can be stored in the freezer for up to three months.
With these guidelines, you can savor your Halloween Sprinkle Cookies long after baking them!
Variation of Halloween Sprinkle Cookies
One of the best aspects of the Halloween Sprinkle Cookies recipe is its versatility. Sometimes, you might want to mix things up. Here are a few variations you can try:
Chocolate Chip Variation: Add 1 cup of chocolate chips to the dough for an extra indulgent treat. The combination of chocolate and sprinkles is always a winner.
Nutty Twist: Mix in ½ cup of chopped nuts such as walnuts or pecans to give your cookies a delightful crunch.
Frosted Cookies: After baking and cooling, consider adding a quick frosting made from powdered sugar and milk, topped with sprinkles for added flair.
Different Shapes: Use cookie cutters to create festive shapes—like bats or pumpkins—that align with the Halloween theme. You can easily enhance the fun while tailoring them to your liking.
Swap Up Flavor: Experiment with different extracts, such as almond or pumpkin spice, instead of vanilla for distinct flavor notes that match the season.
By trying these variations, you can enjoy a new twist on your beloved Halloween treat and keep things exciting.
FAQ
What are Halloween Sprinkle Cookies?
Halloween Sprinkle Cookies are delightful, festive cookies decorated with colorful orange and black sprinkles. They are soft, buttery cookies that are perfect for Halloween celebrations and are loved by people of all ages.
How long do Halloween Sprinkle Cookies last?
When stored properly in an airtight container, Halloween Sprinkle Cookies can last for 2 to 3 days at room temperature. If you freeze them, they can last for up to three months.
Can I use other colors of sprinkles?
Absolutely! While orange and black sprinkles are perfect for Halloween, you can use any color combination you prefer. Feel free to get creative for different occasions or personal tastes.
Are these cookies easy to make?
Yes, this recipe is straightforward and manageable for bakers of all levels. With just a few simple steps, you can create delicious cookies that are sure to impress!

Boo-nilla Ghost Milkshake
Equipment
- Blender
- Mixing Bowl
- Hand Mixer or Stand Mixer
- Piping bag or ziplock bag
Ingredients
- 4 cups vanilla bean ice cream
- 1½-1¾ cups whole milk
- 2 teaspoons vanilla extract
- 1 cup heavy whipping cream
- 3 tablespoons powdered sugar
- ½ teaspoon vanilla extract
- as needed food coloring of your choice


Instructions
- In a blender, combine vanilla bean ice cream, whole milk, and 2 teaspoons of vanilla extract. Blend until smooth and creamy.
- In a mixing bowl, combine heavy whipping cream, powdered sugar, and ½ teaspoon of vanilla extract. Beat until stiff peaks form.
- Pour the whipped cream into a ziplock bag and cut off one corner to create a piping bag.
- Divide the milkshake evenly among glasses and pipe the whipped cream on top in a swirling motion to create a ghostly appearance.
- Serve immediately and enjoy!
Send me this recipe!
Just enter your email below and get it sent straight to your inbox!