Halloween Popcorn Balls are an easy and tasty treat to make for Halloween. They use just a few simple ingredients and come together quickly. You can shape them however you like, and they make a fun snack for kids and adults alike.
Why We Love These Halloween Popcorn Balls
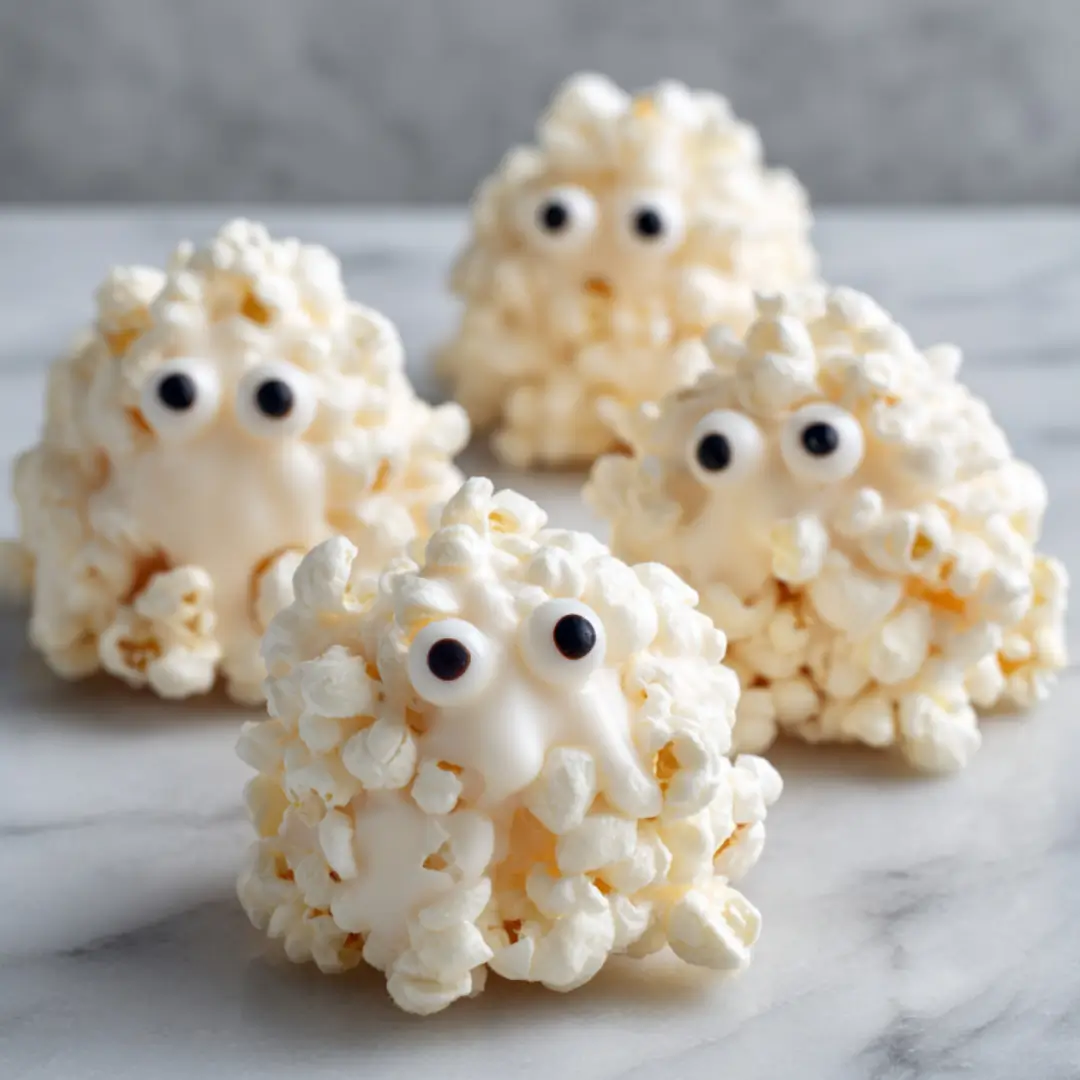
You will love these Halloween Popcorn Balls because they bring together the perfect combination of crunchy popcorn and gooey marshmallow sweetness. They are quick to prepare, requiring only a handful of ingredients and no complicated steps. The bright white candy coating makes them look like little ghosts, which adds a festive touch that kids and adults alike will find charming. This recipe is flexible, letting you shape the popcorn balls any way you want, giving you creative freedom to make your Halloween party extra special. Plus, they’re a treat that doesn’t feel too heavy, making them ideal for a party snack or an after-dinner dessert.
Ingredients for Halloween Popcorn Balls
Here is what you will need to make about 8 to 10 popcorn balls, depending on their size:
- 16 cups of popped popcorn (about one standard bag)
- 10 ounces of mini marshmallows
- ¼ cup (57 grams) of butter (half a stick)
- 1 bag of Wilton bright white candy melts
- Candy eyeballs (regular size works well)
How to Make Halloween Popcorn Balls
Start by popping enough popcorn to fill about 16 cups. You can do this using your favorite method, whether it’s a microwave or a stovetop. Make sure to remove any unpopped kernels so you don’t get any unpleasant crunches in your popcorn balls.
Place the popped popcorn in a large mixing bowl. If you find it easier, split the popcorn into two bowls for easier stirring and forming later.
Next, melt your mini marshmallows and butter in a large pot over medium heat. Stir the mixture occasionally to make sure it melts smoothly and doesn’t burn. This sticky, sweet marshmallow mixture will be the glue that holds your popcorn together.
Once melted and smooth, pour the marshmallow mixture evenly over the popcorn in the bowl(s). Use a spatula to stir and coat the popcorn completely, making sure every piece is sticky and ready to form into balls.
Butter your hands lightly to prevent sticking, then start shaping the popcorn mixture into balls. You can make them round or get creative by shaping them taller to look like ghosts. It’s up to you! Place each formed ball onto a baking sheet lined with a silicone mat or parchment paper. Allow these to cool and firm up for about 30 minutes to an hour.
While the popcorn balls are setting, melt your white candy melts according to the package instructions. If you want, add a small amount of vegetable shortening or oil to make the candy melt smoother and easier to dip.
Once the popcorn balls are firm, dip the tops of each ball into the melted white candy. Immediately return them to the baking sheet and add candy eyeballs to each ball. If the candy melts are too hot, the eyes might slide off, so be gentle or wait a moment for the coating to cool slightly.
Let the candy coating set for a few minutes before serving or storing.
How to Serve Halloween Popcorn Balls
These popcorn balls are best served once the candy coating has fully set and they are cool to the touch. You can arrange them on a festive Halloween tray or a platter lined with Halloween-themed candies for added fun. Using colorful Halloween M&Ms or other small candies underneath adds visual appeal and a sweet crunch when paired with the popcorn balls.
They make a great party treat for kids’ gatherings or a fun dessert for Halloween movie nights. If you’re taking them to a party, consider placing them in a decorative container to keep them fresh and prevent damage while transporting.
For an extra festive touch, you can add fake plastic spiders or other Halloween props around your serving tray to create a spooky presentation that will delight your guests.
Expert Tips for Halloween Popcorn Balls
When making popcorn balls, the key to success is getting the marshmallow mixture just right. Melt it slowly over medium heat and stir constantly to avoid burning. If the mixture is too hot, it can make the popcorn balls too sticky and hard to handle. Buttering your hands well helps prevent sticking and makes shaping easier.
If you find the popcorn balls aren’t sticking together well, you can add a little more melted marshmallow mixture. Conversely, if the mixture seems too wet, allow it to cool a bit before mixing it in.
Using a silicone baking mat or parchment paper is important to keep your popcorn balls from sticking to the tray. Avoid wax paper, as it can sometimes stick.
When dipping the balls into the white candy melts, do so carefully and quickly. You want enough coating to look like a ghost but not so much that it drips and ruins the shape.
Storing your candy eyes in a cool, dry place before use will ensure they stick well when you place them on the coated balls.
How to Store Halloween Popcorn Balls
If you’re not serving these right away, store your popcorn balls in an airtight container at room temperature. This keeps them fresh for up to 2 days without losing their shape or crispness.
Avoid refrigerating popcorn balls, as the moisture can cause the candy coating to become sticky and the popcorn to lose its crunch.
If you’ve coated them with candy melts, make sure the coating is fully set and dry before stacking or placing them in containers to avoid sticking together.
Variations of Halloween Popcorn Balls
You can easily customize these popcorn balls for different themes or tastes. For example, use colored candy melts like orange or green to match Halloween colors instead of white. You could also add food coloring to the melted candy to create other spooky effects.
Try mixing in small Halloween-themed sprinkles or edible glitter to add a bit of sparkle and texture.
For a different flavor, consider drizzling melted dark or milk chocolate over the finished popcorn balls, then adding eyes or other decorations.
You can also switch out the candy eyes for other fun edible decorations like gummy spiders or edible glitter eyeballs to create different spooky looks.
If you want a less sweet version, add a handful of unsalted nuts or seeds into the popcorn mixture before shaping to introduce some crunch and flavor contrast.
Frequently Asked Questions About Halloween Popcorn Balls
What type of popcorn is best for making popcorn balls?
You want plain, lightly salted popcorn without butter. Air-popped or microwave popcorn works well as long as it is fresh and crisp.
Can I make these popcorn balls ahead of time?
Yes, you can make them a day in advance. Store them in an airtight container at room temperature and add candy eyes just before serving for best results.
How do I keep popcorn balls from sticking to my hands?
Lightly butter or oil your hands before shaping the popcorn balls to prevent sticking. You can also use a spatula to help shape if needed.
Can I freeze Halloween popcorn balls?
Freezing is not recommended because it can affect the texture of both the popcorn and the candy coating. It’s best to store them at room temperature and eat within a couple of days.
What can I use if I don’t have candy melts?
If you don’t have candy melts, you can try white chocolate chips melted gently with a little vegetable oil to thin them out. Be careful not to overheat as white chocolate burns easily.

Halloween Popcorn Balls
Ingredients
- 16 cups popped popcorn (about one standard bag)
- 10 ounces mini marshmallows
- ¼ cup butter (half a stick)
- 1 bag Wilton bright white candy melts
- as needed candy eyeballs (regular size works well)


Instructions
- Pop enough popcorn to fill about 16 cups and remove any unpopped kernels. Place the popcorn in a large mixing bowl.
- Melt mini marshmallows and butter in a large pot over medium heat, stirring occasionally until smooth.
- Pour the melted marshmallow mixture over the popcorn and stir to coat completely. Butter your hands lightly and shape the mixture into balls, placing them on a lined baking sheet.
- Let the popcorn balls cool for 30 minutes to an hour.
- Melt white candy melts according to package instructions. Dip the tops of each popcorn ball into the melted candy and place them back on the baking sheet. Add candy eyeballs before the coating sets.
- Allow the candy coating to set before serving or storing.
Send me this recipe!
Just enter your email below and get it sent straight to your inbox!