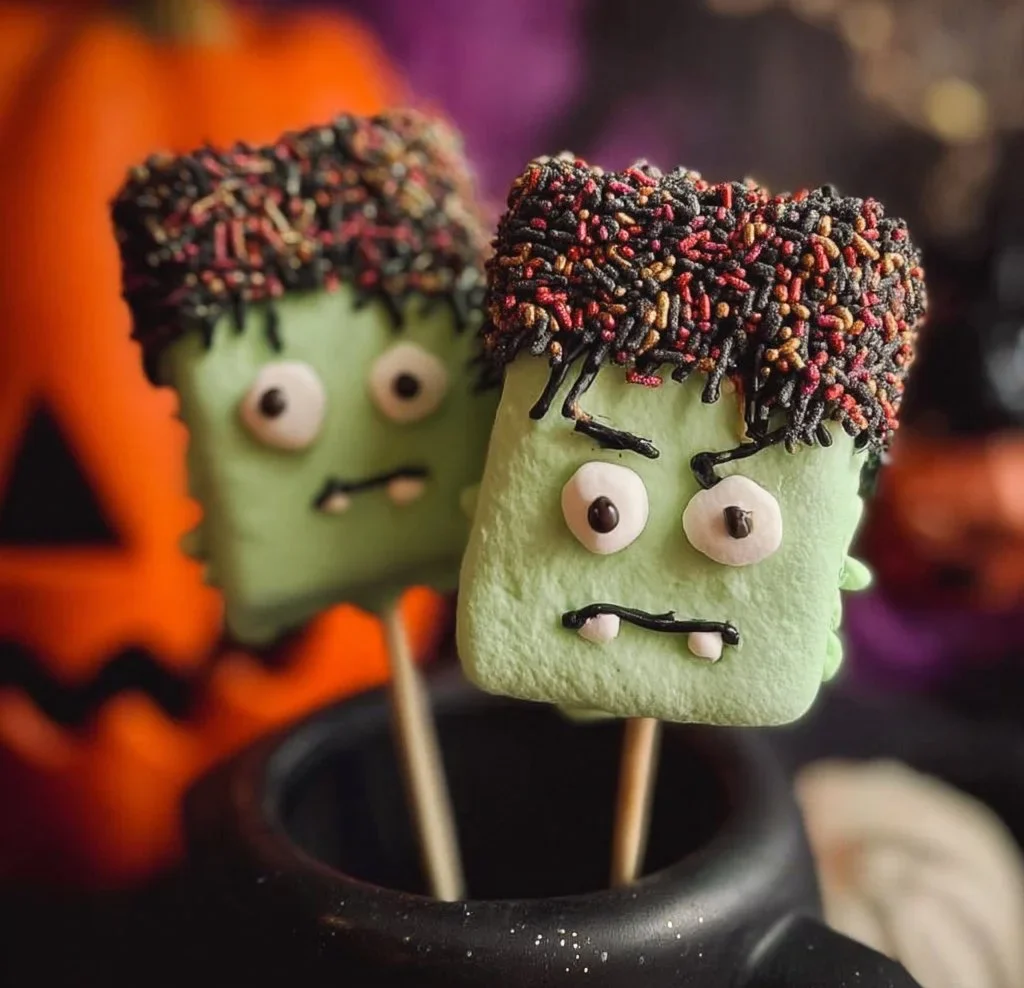
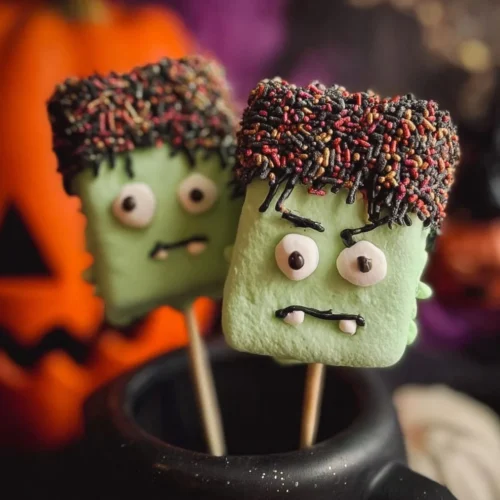
When Halloween rolls around, creative desserts take center stage. One of the most delightful treats you can whip up is Frankenstein Marshmallow Pops. These adorable, slightly spooky snacks are sure to brighten any Halloween party or get-together. Perfect for kids and adults alike, they offer a fun, interactive culinary project that combines melting, dipping, and decorating – all while sparking the imagination.
Why We Love This Frankenstein Marshmallow Pops Recipe
The allure of Frankenstein Marshmallow Pops goes beyond their quirky appearance. Here’s why you’ll fall in love with this recipe:


Easy to Make: This recipe is straightforward, making it a fantastic choice for bakers of all skill levels.
Creative Outlet: The decorating step allows you to unleash your creativity. Allow your imagination to run wild as you give your Frankenstein creations unique expressions.
Party Ready: Perfect for Halloween gatherings, school parties, or even movie nights with family and friends, these pops add a festive touch that’s sure to delight all ages.
Customizable: While the recipe includes specific toppings and ingredients, you can easily adapt this treat to fit your preferences or make them unique to your style.
Deliciously Sweet: The marshmallows paired with the candy melts and chocolate create a sweet flavor that’s simply irresistible.
Now that you understand the charm behind Frankenstein Marshmallow Pops, let’s get into the nitty-gritty – what you need to whip these up!
Ingredients about Frankenstein Marshmallow Pops
To make your own Frankenstein Marshmallow Pops, you will need the following ingredients:
- 6 large flat marshmallows
- 2 cups green candy melts
- 12 candy eyes
- 1 cup chocolate sprinkles
- 1/4 cup chocolate chips
- 6 Halloween straws
Once you gather your ingredients, you’ll be ready to create these frightfully cute pops!
How to Make Frankenstein Marshmallow Pops Directions
Creating Frankenstein Marshmallow Pops is a fun and engaging process. Here’s how you can make these festive treats step-by-step:
Melt the Candy Melts: Start by placing the green candy melts in a microwavable bowl. Heat them in the microwave for 30 seconds at a time. Be sure to stir in between to ensure they melt smoothly. This step is crucial for getting a nice, creamy consistency.
Prepare the Marshmallows: While the green candy melts are melting, take your Halloween straws and carefully insert them into the large marshmallows. Make sure they go in deep enough to support the marshmallow when you dip it later. Lay the marshmallows on a sheet of wax or parchment paper to prevent sticking.
Dip the Marshmallows: With the candy melts now melted, it’s time for the fun part! Dip each marshmallow into the green candy melts, ensuring that they are coated completely. You can tilt the bowl to create a more uniform coating. Once dipped, gently tap the straw to allow any excess candy melt to drip off.
Add the Eyes: While the candy coating is still wet, place two candy eyes on each marshmallow. Position them however you like, as they will give your Frankenstein pops their character.
Create Hair with Sprinkles: To add hair to your Franks, dip the tops of the marshmallows into a bowl of chocolate sprinkles. You can also gently press the sprinkles onto the melted green coating, allowing them to stick better.
Let Harden: Allow the candy coating to harden completely. You can place them in the refrigerator for a quicker set.
Melt the Chocolate Chips: Next, melt the chocolate chips in a separate microwavable cup. Similar to the candy melts, microwave for 30 seconds at a time and stir until smooth.
Pipe the Features: Once the chocolate is melted, pour it into a small sandwich bag. Snip off the tip of the bag, and use it to pipe a mouth and stitches onto your Frankenstein pops. This is where you can really bring your creations to life!
Add Neck Bolts: For an authentic Frankenstein look, pipe a small drop of chocolate on each side of the marshmallow. Gently press a chocolate chip into these drops to create the iconic neck bolts.
Final Touch: Let the chocolate harden. Once set, your Frankenstein Marshmallow Pops are ready to be enjoyed!
With this easy and fun method, you’ll see how simple it is to create impressive Halloween treats that are sure to be a hit.
How to Serve Frankenstein Marshmallow Pops
Serving your Frankenstein Marshmallow Pops is just as fun as making them. Here are some creative ideas on how to present your spooky treats:
On a Stick: Since you have used Halloween straws, keeping them on the sticks makes them easy for guests to grab and enjoy. Arrange them in a glass jar or a spooky-themed vase for a festive display.
On a Platter: Use a flat serving platter to lay out the pops. Decorate the platter with fake spider webs or small Halloween decorations for an extra thematic touch.
Gift Bags: Send your friends home with some pops as sweet treats. Wrap each pop in cellophane and tie it with a festive ribbon for a delightful, easy-to-make party favor.
Festive Table Decor: Place your pops among other Halloween-themed desserts on the table. Their vibrant colors and fun design will catch the eye of your guests and help create a party environment.
Pair these pops with other seasonal treats, like Halloween cupcakes or caramel apples, to curate a treat table that screams Halloween fun!
Expert Tips: Frankenstein Marshmallow Pops
To make your experience even better, here are some expert tips to elevate your Frankenstein Marshmallow Pops-making process:
Use Quality Ingredients: High-quality candy melts and chocolate chips can make a big difference in flavor and appearance. It’s worth it to go for the best.
Be Patient with Melting: When melting the candy, take your time and avoid overheating. It’s better to melt in smaller increments and stir frequently.
Decide on Variations: Your Frankenstein can take on different personalities. Experiment with various sprinkles or decorative elements, ensuring each pop is unique.
Don’t Skip the Cooling: Allow sufficient time for the candy coating and chocolate decorations to harden completely. This will help keep everything in place and ensure they look their best.
Engage the Kids: If you’re making these with kids, let them get creative with the design. They’ll enjoy being a part of the process and will be super excited to see their creations come to life.
How to Store Frankenstein Marshmallow Pops
Once you’ve made your delicious Frankenstein Marshmallow Pops, it’s essential to store them properly to maintain their freshness. Here’s how to do it:
Cool Completely: Ensure that the chocolate and candy coating are fully hardened before storing them. This helps prevent the pops from sticking together.
Use Airtight Containers: Place the pops in an airtight container with parchment paper in between layers to prevent sticking. This keeps them fresh and delicious for days.
Keep in a Cool Place: Store the container in a cool, dry place away from direct sunlight. If it’s particularly warm, you can keep them in the fridge, but let them come to room temperature before serving to avoid condensation.
Taking these storage steps will help you enjoy your Frankenstein Marshmallow Pops longer!
Variation of Frankenstein Marshmallow Pops
While the classic Frankenstein Marshmallow Pops are delightful, there are countless ways to customize and diversify your treat. Here are a few ideas to try:
Colorful Coatings: Instead of just green candy melts, consider adding colors like purple or orange for different spooky characters such as witches or ghosts.
Different Toppings: Swap chocolate sprinkles with colored sugar or even gummy worms for a fun surprise. Rainbow sprinkles can also add a festive touch.
Flavored Marshmallows: Try flavored marshmallows, like strawberry or s’mores, to add an unexpected twist. Different flavors can create unique pops that cater to various tastes.
Add Some Fun: For added creativity, you could also use edible glitter to give your pops a sparkle that’s sure to charm.
Chocolate-Coated Variations: Instead of just using candy melts, coat the marshmallows in milk or dark chocolate for a richer flavor profile.
Experimenting with these variations allows you to personalize your pops and makes them even more fun during the Halloween season!
FAQ
What are Frankenstein Marshmallow Pops?
Frankenstein Marshmallow Pops are a fun and festive Halloween treat made by dipping flat marshmallows in green candy melts and decorating them to resemble Frankenstein’s monster. They are easy to make, fun to decorate, and highly customizable.
How do I make Frankenstein Marshmallow Pops?
You can make these pops by melting green candy melts, dipping marshmallows on Halloween straws, adding candy eyes, and decorating with chocolate and sprinkles. Follow the detailed directions provided earlier for a perfect batch!
How should I store leftover Frankenstein Marshmallow Pops?
Once your pops are cooled completely, store them in an airtight container in a cool, dry place. You may also refrigerate them, but let them reach room temperature before serving to maintain their texture.
Can I customize the flavor of Frankenstein Marshmallow Pops?
Absolutely! You can use flavored marshmallows or change the type of coating and toppings to create different flavors and appearances, making your pops unique and enjoyable!
Frankenstein Marshmallow Pops
Equipment
- Microwave-safe bowl
- Parchment Paper
- Small sandwich bag
Ingredients
- 6 large flat marshmallows
- 2 cups green candy melts
- 12 candy eyes
- 1 cup chocolate sprinkles
- 1/4 cup chocolate chips
- 6 Halloween straws
Instructions
- Melt the green candy melts in a microwave-safe bowl, heating in 30-second intervals and stirring until smooth.
- Insert Halloween straws into the marshmallows and lay them on parchment paper.
- Dip each marshmallow into the melted green candy melts, ensuring full coating. Tap to remove excess.
- While the coating is still wet, place two candy eyes on each marshmallow.
- Dip the tops into chocolate sprinkles to create hair.
- Allow the candy coating to harden, then melt the chocolate chips.
- Pipe chocolate to create a mouth and stitches on the marshmallows.
- Pipe a small drop of chocolate on each side and press a chocolate chip into these drops for neck bolts.
- Let the chocolate harden completely before serving.
Send me this recipe!
Just enter your email below and get it sent straight to your inbox!