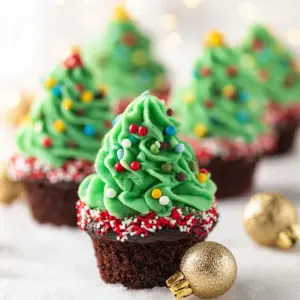
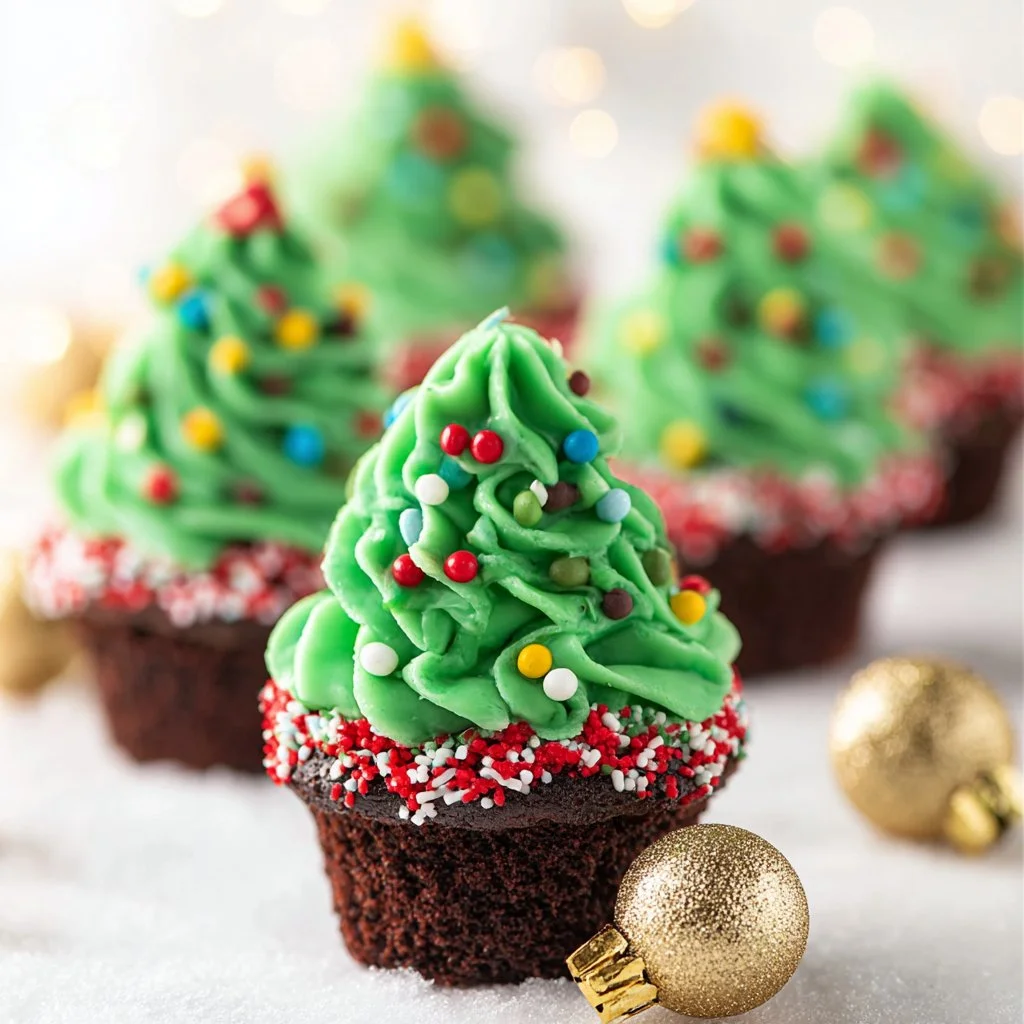
The holiday season brings countless opportunities to indulge in festive treats, and one delightful way to celebrate is with Christmas Tree Brownie Cups. These festive little morsels are not only a treat for the taste buds but also a feast for the eyes. In just a few simple steps, you can whip up a batch of these charming brownie cups that everyone will adore. Perfectly sized for snacking, they capture the essence of Christmas in every bite.
Why We Love Christmas Tree Brownie Cups
Christmas Tree Brownie Cups are a festive twist on the traditional brownie. They bring joy not only through their appearance but also through their delightful taste. These little treats are perfect for anyone who enjoys chocolate, and their charming presentation makes them a hit with both kids and adults alike. The combination of fudgy brownies, rich white chocolate, and fluffy whipped topping creates a deliciously harmonious flavor profile.
What makes these brownie cups even more appealing is their versatility. You can customize the decorations based on your preferences or the occasion. Use different colors of sprinkles, swap out decorations, or get creative with the toppings—options are endless. You can also involve your family and friends in the decorating process, turning it into a memorable holiday activity.
Ingredients for Christmas Tree Brownie Cups
To get started on making your Christmas Tree Brownie Cups, gather the following ingredients:
- 18.3 ounces brownie mix
- 1 cup white chocolate chips
- 16 ounces container whipped topping
- Red and green nonpareils for decoration
- Red pearls for added flair
- Green sanding sugar for sparkle
- Green food coloring to create the tree effect
- 1 cup mini M&Ms for ornamentation
These simple ingredients come together to create a delightful treat that will impress your guests and leave them craving more.
How to Make Christmas Tree Brownie Cups Directions
Making Christmas Tree Brownie Cups is simpler than you might think. Follow these step-by-step directions to achieve brownie perfection.
- Preheat the Oven: Start by preheating your oven according to the instructions provided on your brownie mix box. Grease your mini muffin tins with cooking spray to ensure that the brownies come out easily after baking.
- Prepare the Brownie Batter: Next, prepare the brownie batter according to the instructions featured on the box. This usually involves mixing the brownie mix with eggs, water, and oil. Make sure to mix until smooth and free of lumps.
- Fill the Tins: Carefully pour the brownie batter into the prepared mini muffin tins, filling each cup about two-thirds full. This allows for the brownies to rise appropriately without overflowing.
- Bake: Place the muffin tins in the preheated oven and bake for approximately 12 to 15 minutes. Keep an eye on them while they bake; they should become firm around the edges and develop a delightful crinkly top.
- Create Indentations: Once baked, remove the brownies from the oven. Use a teaspoon to press into the center of each brownie cup, creating a small indentation for the festive topping. Allow the brownie cups to cool slightly before removing them from the tins.
- Melt the White Chocolate: Begin melting the white chocolate chips in a microwave-safe bowl. Heat them in short increments, stirring frequently to avoid overheating. You want the chocolate to be smooth and creamy.
- Dip into White Chocolate: Once melted, dip the tops of the cooled brownie cups into the white chocolate, making sure they are well-coated but not overly dripping. Let any excess chocolate drip off and then immediately dip the tops into festive sprinkles.
- Prepare the Whipped Topping: Add green food coloring to the whipped topping. Start with a small amount, gently folding it in until you achieve your desired shade of green.
- Pipe the Trees: Transfer the green whipped topping into a piping bag. Pipe a tree shape onto each brownie cup, creating the look of a Christmas tree.
- Decorate: Finish decorating your creations with mini M&Ms, sprinkles, or any additional toppings you like. Get creative—this is where your artistry can shine!
How to Serve Christmas Tree Brownie Cups
When it comes to serving Christmas Tree Brownie Cups, presentation is key. Arrange the brownie cups on a festive platter or tiered stand for a stunning display. You can also use decorative cupcake liners for added flair. If you’re serving them at a holiday gathering, place them in easy-to-reach spots, encouraging guests to grab one (or two!).
Pair these treats with a warm beverage like hot cocoa or holiday spiced cider for a delightful experience. Their bite-sized form makes them perfect for dessert tables or cookie exchanges. Guests will love their convenient size, allowing them to enjoy a sweet treat without feeling overly indulgent.
If you’re hosting a party, consider creating a DIY decoration station where guests can add their sprinkles and toppings. This interactive element adds fun to your gathering and gives everyone a chance to get involved.
Expert Tips for Christmas Tree Brownie Cups
To ensure your Christmas Tree Brownie Cups come out perfectly, consider the following expert tips:
- Use Quality Ingredients: The flavor of your brownie cups significantly relies on the quality of your ingredients. Using high-quality chocolate can elevate the taste.
- Check Baking Time: Keep an eye on the brownies while they bake. Depending on your oven, baking times may vary, so it’s best to do the toothpick test. Insert a toothpick into the center; if it comes out with a few moist crumbs, they’re just right!
- Let Them Cool: Patience is a virtue when it comes to cooling your brownie cups. Allow them sufficient time to cool before handling, as this prevents them from breaking.
- Experiment with Colors: Feel free to mix up your colors for the whipped topping. You can combine shades for a more dynamic look or opt for a holiday theme with red, green, and white.
- Presentation Matters: Consider garnishing with cocoa powder or chocolate shavings for an elegant touch. The more beautiful your treats look, the more inviting they will be.
How to Store Christmas Tree Brownie Cups
To keep your Christmas Tree Brownie Cups fresh and delicious, proper storage is essential. Place the brownie cups in an airtight container. They can be stored at room temperature for up to 2 days. If you are keeping them longer, you may want to refrigerate them, where they can last about a week.
If you have leftover brownies (though unlikely), ensure you separate layers with parchment paper to prevent sticking. They can also be frozen for up to three months. Just remember to allow them to thaw in the refrigerator before serving.
Variations of Christmas Tree Brownie Cups
While the traditional Christmas Tree Brownie Cups are delightful, feel free to explore variations to make them your own:
- Chocolate-Covered Versions: Instead of white chocolate, try using milk chocolate or dark chocolate for a richer flavor.
- Flavor Infusions: Incorporate peppermint extract into the whipped topping for a refreshing twist, perfect for the holidays.
- Nutty Additions: Add finely chopped nuts to the brownie mix for a crunchy texture or sprinkle them on top for added flavor contrast.
- Gluten-Free Option: Replace the regular brownie mix with a gluten-free variety to accommodate dietary restrictions while keeping the fun alive.
- Different Shapes: Rather than traditional tree shapes, use star or bell-shaped cookie cutters for your whipped topping. This allows you to switch things up while still celebrating the holiday spirit.
FAQ about Christmas Tree Brownie Cups
You may have some questions regarding Christmas Tree Brownie Cups, and here are some common inquiries.
Can I use homemade brownie mix for these cups?
Absolutely! If you have a favorite homemade brownie recipe, it can be adapted for mini muffin tins. Just ensure the batter isn’t too runny for the best results.
How do I prevent the brownie cups from sticking?
Greasing the muffin tins well before pouring in the batter is crucial. You could also consider using parchment liners for added ease.
What can I substitute if I don’t have white chocolate?
If you prefer not to use white chocolate, feel free to use colored candy melts or chocolate coatings that match the festive theme.
Can these brownie cups be made in advance?
Yes, you can prepare the brownie cups a day ahead. Store them in an airtight container until you’re ready to decorate and serve.
How do I make the whipped topping stiffer?
To achieve a stiffer whipped topping, consider adding a little powdered sugar or instant pudding mix to the whipped topping before piping.

Christmas Tree Brownie Cups
Equipment
- Mini Muffin Tins
- Microwave-safe bowl
- Piping Bag
Ingredients
- 18.3 ounces Brownie Mix
- 1 cup White Chocolate Chips
- 16 ounces Whipped Topping
- Red and Green Nonpareils For decoration
- Red pearls For added flair
- Green sanding sugar For sparkle
- Green food coloring To create the tree effect
- 1 cup Mini M&Ms For ornamentation
Instructions
- Preheat your oven according to the brownie mix instructions. Grease mini muffin tins with cooking spray.
- Prepare the brownie batter as per the package instructions, mixing until smooth.
- Pour the brownie batter into the mini muffin tins, filling each cup about two-thirds full.
- Bake for 12-15 minutes or until the edges are firm and the tops are crinkly.
- Remove from the oven and create indentations in the center of each brownie cup using a teaspoon.
- Allow the brownie cups to cool slightly before removing them from the tins.
- Melt the white chocolate chips in a microwave-safe bowl, stirring frequently until smooth.
- Dip the tops of the cooled brownie cups into the melted white chocolate, then dip into festive sprinkles.
- Add green food coloring to the whipped topping and mix until desired shade is achieved.
- Pipe the green whipped topping onto each brownie cup to create a tree shape.
- Decorate with mini M&Ms, sprinkles, or any additional toppings of your choice.
Send me this recipe!
Just enter your email below and get it sent straight to your inbox!


