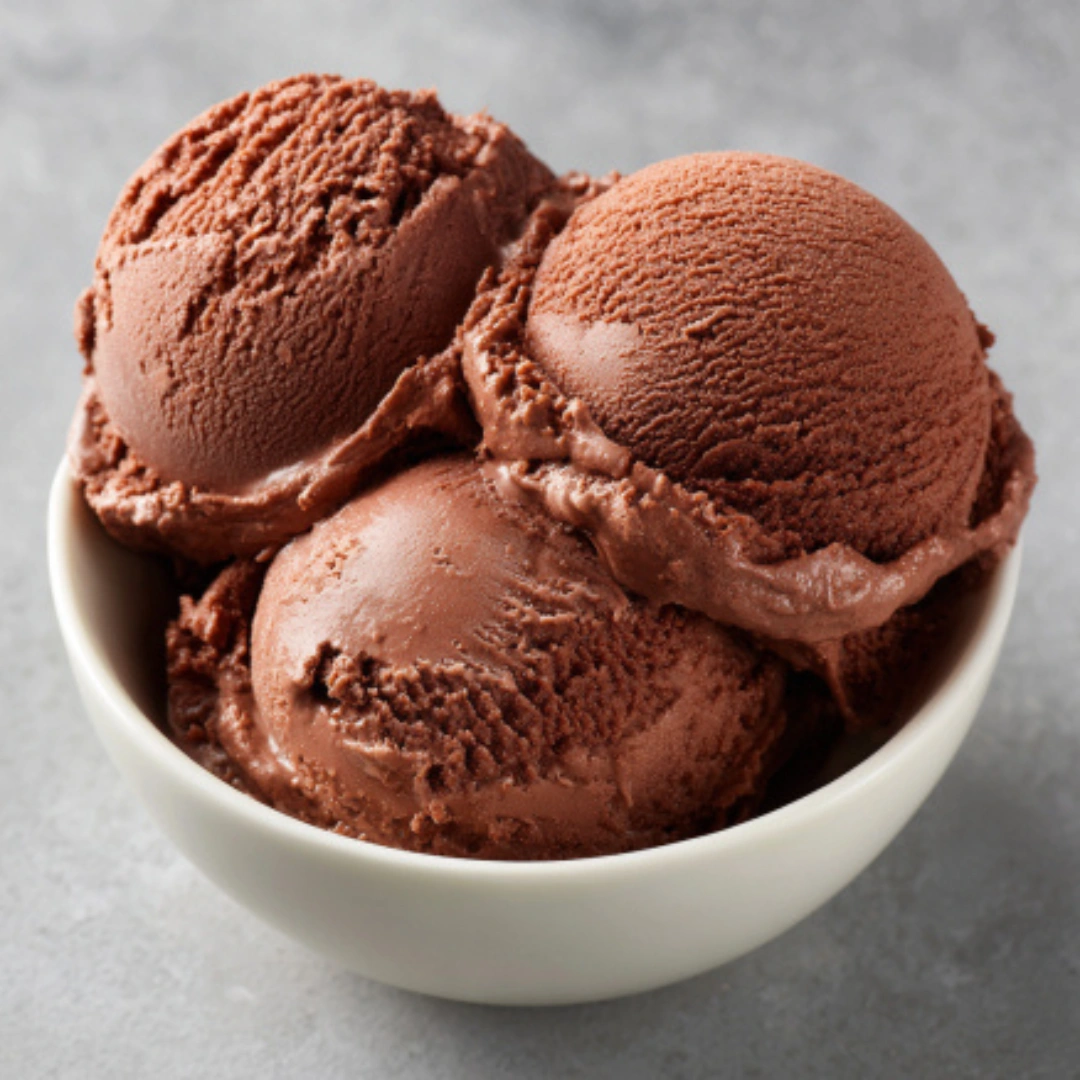
When you’re craving something cold, creamy, and rich in flavor, nothing quite hits the spot like homemade chocolate ice cream. This easy chocolate ice cream recipe is a dream come true for anyone who wants dessert without dealing with complicated machines or fancy techniques. With just four simple ingredients, you’ll create a frozen treat that’s velvety, smooth, and loaded with rich cocoa flavor.
Why We Love This Easy Chocolate Ice Cream Recipe
You’ll love this chocolate ice cream for all the right reasons. It’s smooth, deeply chocolatey, and incredibly satisfying with every bite. One of the best parts is how easy it is—you don’t need an ice cream machine or complicated prep. It’s quick to mix, and once frozen, it transforms into a rich, creamy delight.
This recipe is also incredibly customizable. You can keep it classic or add your favorite mix-ins like chocolate chips, crushed cookies, or chopped nuts. The base is so versatile that it works well with any flavor combo you love.
There’s something special about scooping out a batch of ice cream you made yourself. It feels rewarding, and the taste? So much better than store-bought. Plus, you control the ingredients—no preservatives, no mystery flavors—just real, rich, delicious chocolate goodness.
Ingredients about Easy Chocolate Ice Cream
You only need four ingredients to make this luscious treat. Each one plays a big role in giving your ice cream that smooth, creamy, chocolaty magic.
- 2 cups heavy whipping cream
- 1 can (14 oz) sweetened condensed milk
- 1/2 cup unsweetened cocoa powder
- 1 teaspoon vanilla extract
That’s it! These pantry staples come together to create a dessert that feels like a guilty pleasure but is actually quite simple and wholesome.
How to Make Easy Chocolate Ice Cream Directions
Making your own chocolate ice cream at home doesn’t need to be hard. With this easy process, you’ll go from mixing to freezing in minutes.
Start by grabbing a medium-sized mixing bowl. Pour in the sweetened condensed milk. This ingredient provides both sweetness and a smooth texture. Next, add the unsweetened cocoa powder. Choose a high-quality cocoa if you can—it makes a huge difference in flavor. Then add the vanilla extract, which gives your ice cream a warm, rich undertone that balances out the chocolate beautifully.
Use a spoon or whisk to mix everything until the cocoa fully dissolves. The mixture should look thick, glossy, and chocolatey. Set this bowl aside for a moment.
Now, move on to the cream. In a separate large bowl or the bowl of a stand mixer, pour in the heavy whipping cream. Start whipping it using a hand mixer or the whisk attachment of your stand mixer. Beat the cream on medium-high speed until stiff peaks form. This means when you lift the beaters, the peaks of the cream stand up firmly without collapsing. Be careful not to overbeat, or it will turn grainy.
Once the whipped cream is ready, it’s time to fold. Take a big spoonful of the cocoa-condensed milk mixture and gently fold it into the whipped cream. Use slow, circular motions to mix without deflating the air in the whipped cream. Continue adding and folding the rest of the mixture until everything is evenly combined. The final texture should be light and mousse-like, with a deep chocolate color.
Pour the finished mixture into a freezer-safe container. A 2-quart container works well for this recipe. Smooth the top using a spatula. Cover the container with a lid or plastic wrap to protect the ice cream from freezer burn.
Place the container in the freezer and leave it undisturbed for at least 6 hours, though overnight gives the best results. When you’re ready to serve, take it out and let it sit for a couple of minutes to soften slightly. Then scoop and enjoy!
How to Serve Easy Chocolate Ice Cream
Serving this chocolate ice cream is just as fun as making it. You can keep things simple and scoop it into bowls or cones, or you can dress it up for a special treat.
For a classic look, serve a few scoops in a bowl topped with a sprinkle of chocolate chips or a drizzle of chocolate syrup. You can also add whipped cream or a few crushed nuts for texture.
Want something a little more indulgent? Use your ice cream as a base for a sundae. Add fresh fruit like strawberries or banana slices. Top it with caramel sauce, crushed cookies, or mini marshmallows for extra flavor.
Another great way to serve it is in between two cookies for homemade ice cream sandwiches. Or, pair it with a slice of chocolate cake for a rich and decadent dessert.
Whatever way you serve it, this ice cream is sure to be the star of your table. It’s a versatile dessert that adapts easily to whatever mood or occasion you’re in.
Expert Tips: Easy Chocolate Ice Cream
Here are some helpful tips to make sure your ice cream turns out perfect every time:
- Use chilled ingredients. For best results, make sure your cream is cold before you whip it. Cold cream whips faster and holds its shape better.
- Don’t overmix the whipped cream. Stop whipping once you reach stiff peaks. Overwhipping can make the cream too thick or even turn it into butter.
- Fold gently. When combining the chocolate mixture and whipped cream, fold slowly and carefully. This helps keep the texture airy and smooth.
- Choose good cocoa. Since cocoa is a main flavor in this recipe, using a high-quality unsweetened cocoa powder can elevate the taste significantly.
- Add mix-ins at the end. If you want to include extras like chocolate chunks or crushed nuts, stir them in after folding the base together—right before freezing.
With these tips, you’re set up for ice cream success.
How to Store Easy Chocolate Ice Cream
Once your ice cream is frozen and ready, storing it properly will keep it fresh and creamy.
Keep the ice cream in a sealed, airtight container to protect it from freezer burn and odor from other foods. A shallow container works better than a deep one because it freezes more evenly.
If your container doesn’t have a lid, place plastic wrap or wax paper directly on the surface of the ice cream before covering with foil. This helps prevent ice crystals from forming on top.
Stored this way, your homemade chocolate ice cream will stay good in the freezer for up to 2 weeks. Beyond that, it may lose some of its creamy texture, but it will still be tasty.
Variation of Easy Chocolate Ice Cream
Once you master the base recipe, it’s easy to create variations that suit your taste or the season.
- Mint Chocolate Chip: Add 1/2 teaspoon of peppermint extract and mix in chocolate chips before freezing.
- Mocha: Mix 1 tablespoon of instant coffee granules into the cocoa-condensed milk mixture for a rich mocha flavor.
- Nutty Delight: Stir in crushed almonds, hazelnuts, or walnuts for a crunchy twist.
- Double Chocolate: Mix in mini chocolate chunks or swirl in melted chocolate just before freezing.
- Spicy Chocolate: Add a pinch of cinnamon or a dash of cayenne pepper for a warm, spicy kick.
The beauty of this recipe is that you can experiment and create a new favorite every time. Just remember to keep the base proportions the same for the right texture.
FAQ – Easy Chocolate Ice Cream
Can I make this chocolate ice cream without a mixer?
Yes, you can use a hand whisk, but whipping cream by hand takes longer. It’s doable if you’re patient, but a hand mixer or stand mixer is much easier.
Is this recipe really no-churn?
Yes, it’s completely no-churn. You don’t need any special machines. Just mix, whip, fold, freeze, and enjoy.
Can I use cocoa mix instead of unsweetened cocoa powder?
No, cocoa mix usually has added sugar and milk, which can throw off the balance of the recipe. Stick with unsweetened cocoa powder for the best results.
How long does it take to freeze completely?
You’ll need at least 6 hours, but for the best texture, freeze it overnight.
Can I double the recipe?
Absolutely. Just make sure you use a large enough container and that your freezer has room. The method stays the same.
Why is my ice cream icy, not creamy?
This could happen if the ingredients weren’t fully combined or the whipped cream was overmixed or underwhipped. Be sure to fold gently and freeze promptly after mixing.
Can I use flavored extracts instead of vanilla?
Yes! You can try almond extract, orange extract, or even coconut extract to change up the flavor.
Can I make it dairy-free?
This recipe relies on cream and condensed milk, but you can experiment with full-fat coconut cream and dairy-free condensed milk alternatives. Keep in mind the texture might vary.

Chocolate Ice Cream
Equipment
- Mixing Bowl
- Hand Mixer or Stand Mixer
- Freezer-Safe Container
Ingredients
- 2 cups heavy whipping cream
- 1 can sweetened condensed milk (14 oz)
- 0.5 cup unsweetened cocoa powder
- 1 tsp vanilla extract
Instructions
- In a medium mixing bowl, combine sweetened condensed milk, cocoa powder, and vanilla extract. Mix until smooth and glossy.
- In a separate large bowl, whip the heavy cream until stiff peaks form.
- Gently fold the cocoa mixture into the whipped cream using slow, circular motions until fully combined.
- Pour the mixture into a freezer-safe container and smooth the top. Cover with a lid or plastic wrap.
- Freeze for at least 6 hours, preferably overnight, until firm.
- Let sit for a few minutes to soften before scooping and serving.
Send me this recipe!
Just enter your email below and get it sent straight to your inbox!


