When the holiday season rolls around, nothing brings warmth and cheer to your home quite like the aroma of freshly baked cookies. Among the festive treats, Christmas Chocolate Chip Cookies hold a special place in our hearts. These delightful cookies blend the rich flavor of chocolate with a soft, buttery texture that melts in your mouth. The vibrant colors from the food coloring add to the festive spirit, making these cookies not just delicious but visually delightful as well. As you gather around with friends and family, nothing beats the joy of sharing a tray of beautifully crafted cookies. Let’s delve into why this recipe is a holiday essential and how you can create the perfect batch for your celebrations.
Why We Love This Christmas Chocolate Chip Cookies Recipe
There’s something magical about Christmas Chocolate Chip Cookies. Perhaps it’s the nostalgic taste that reminds us of childhood, cozying up around the fireplace, or simply the happiness that comes from baking and sharing these treats. This recipe is not just about the delicious taste; it’s about the experience itself. The blend of both granulated and brown sugar ensures a perfect mix of sweetness without overpowering the rich flavors of the chocolate chips.
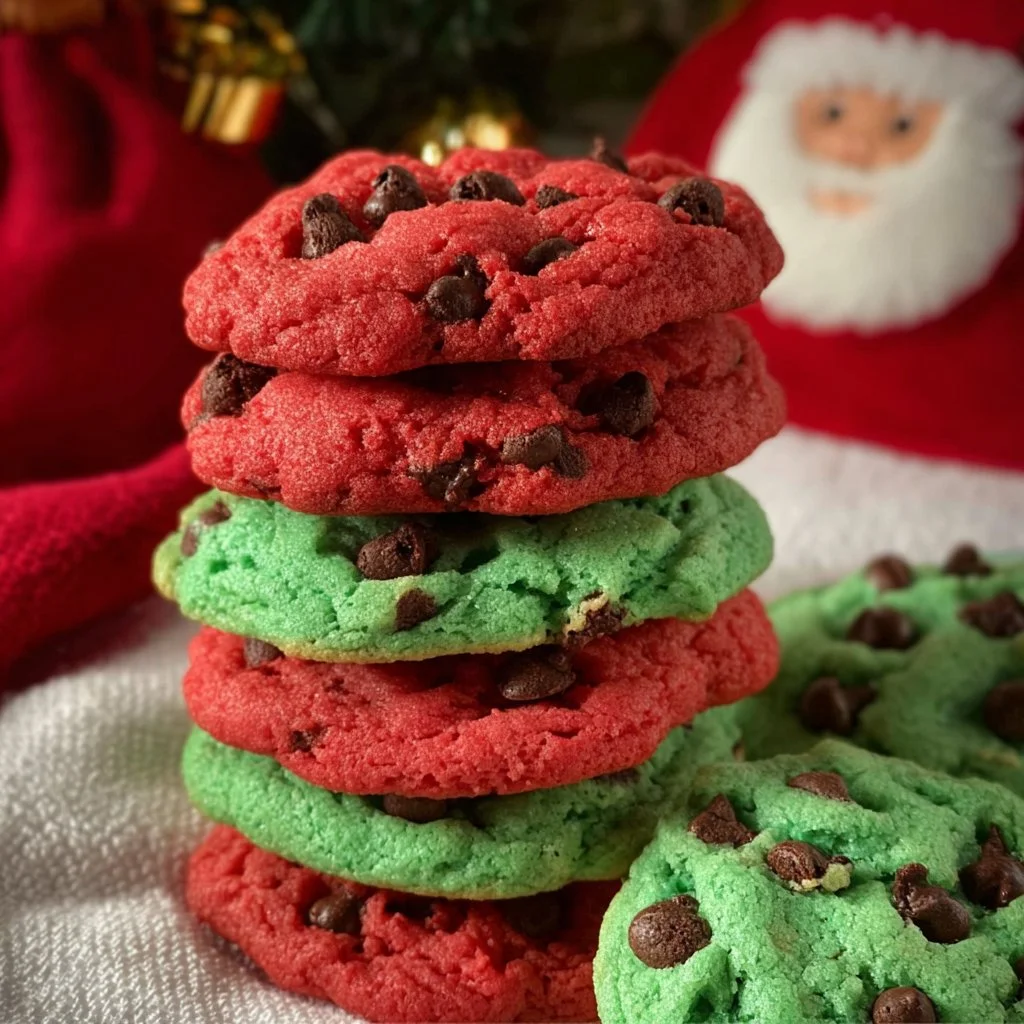
The festive hues of red and green, courtesy of the food coloring, make these cookies a perfect centerpiece for your holiday gatherings. They are easy to make yet offer a professional look that will impress your guests. Plus, who doesn’t love a freshly baked cookie? The delight it brings is unparalleled, making it perfect for gift-giving or cookie exchanges. So, roll up your sleeves, let’s bring out the holiday spirit, and bake up a storm!
Ingredients about Christmas Chocolate Chip Cookies
To whip up a batch of these scrumptious Christmas Chocolate Chip Cookies, you’ll need the following ingredients:
- 1 cup Softened Butter (Sweet Cream, Salted)
- 1 cup Granulated Sugar
- 1/2 cup Brown Sugar (packed)
- 2 Large Eggs
- 2 teaspoons Vanilla Extract
- 1 teaspoon Baking Soda
- 1/2 teaspoon Salt
- 2 3/4 cups of All-Purpose Flour
- 1 bag Nestle Toll House Chocolate Chips
- Wilton Color Right Food Coloring – Red, Yellow, Blue
These ingredients blend together to create a cookie that is soft, chewy, and packed with rich chocolate flavor, perfect for the holiday season!
How to Make Christmas Chocolate Chip Cookies Directions
Creating these delightful cookies is straightforward and enjoyable, making it an excellent activity for all ages, especially during the holidays. Here’s a step-by-step guide you can follow to create your own festive treats:
- Cream the Butter and Sugars: Begin by taking your softened butter, granulated sugar, and brown sugar. Place them in a mixing bowl and beat them together until they become light and fluffy. This process usually takes about 3-5 minutes and is crucial for achieving the right texture.
- Add Eggs and Vanilla: Next, crack in the two large eggs and pour in the vanilla extract. Mix everything together until it is well combined and fluffy. The aroma from the vanilla will start to fill your kitchen, setting the mood for this festive baking experience.
- Combine With Dry Ingredients: Now, it’s time to add the baking soda and salt. Mix them into your butter and sugar mixture. Following this, gradually incorporate the all-purpose flour. It’s best to add the flour in increments, mixing well until the dough comes together smoothly and no dry flour is visible.
- Divide the Dough: Once your dough is ready, it’s time to get creative! Divide the cookie dough into three equal portions. This will allow you to create colorful and festive cookies.
- Color the Dough: Take one of the portions and use the red food coloring to create a vibrant shade. Repeat with another portion for green. Leave the last portion as it is. Make sure to mix until the color is consistent throughout each portion of the dough.
- Mix in Chocolate Chips: Now, add chocolate chips to each dough portion. Fold them gently in, ensuring an even distribution of chocolate throughout your colorful dough.
- Form Cookie Balls: Take about 2 ounces of dough and roll it into a ball. Repeat this for all portions of dough. The colorful cookie balls will look adorable on your baking sheet.
- Prepare for Baking: Slightly press each cookie ball down onto a baking sheet lined with parchment paper. Leave some space between each cookie, as they will spread while baking.
- Bake the Cookies: Preheat your oven to 375 degrees Fahrenheit. Bake the cookies for about 8-10 minutes or until the edges are golden brown. Keep an eye on them, as oven temperatures can vary.
- Cool and Enjoy: Once baked, allow the cookies to cool on the baking sheet for a few minutes before transferring them to a wire rack to cool completely. Enjoy them warm for the ultimate taste experience!
How to Serve Christmas Chocolate Chip Cookies
Once your Christmas Chocolate Chip Cookies are baked and cooled, it’s time to showcase them! There are numerous creative ways to present your cookies.
One delightful serving suggestion is to arrange them on a festive platter, garnished with seasonal decorations like holly leaves or candy canes for an extra festive touch. You can also package them in clear bags tied with bright red or green ribbons for gift-giving. This not only enhances the holiday spirit but makes for a perfect present for neighbors, friends, or coworkers.
For a cozy family gathering, create a “cookie bar” with your Christmas Chocolate Chip Cookies as the star. Complement them with various toppings like sprinkles, whipped cream, or ice cream for a fun dessert experience that everyone can enjoy. They’re also excellent paired with a warm cup of hot cocoa or a glass of milk, making for a perfect holiday snack.
Expert Tips: Christmas Chocolate Chip Cookies
To ensure your Christmas Chocolate Chip Cookies turn out perfectly, consider the following expert tips:
- Use Fresh Ingredients: Always check the freshness of your ingredients. Using fresh butter and eggs can significantly affect the texture and flavor of your cookies.
- Do Not Overmix: When it comes to mixing, be careful not to overdo it. Overmixing can lead to tough cookies. Once the flour is added, mix just until combined.
- Chill the Dough: If your cookie dough seems sticky, consider chilling it for about 30 minutes. This makes it easier to roll and helps maintain a good shape while baking.
- Uniform Cookie Sizes: When rolling your cookie dough into balls, use a scale or cookie scoop for uniformity. This will ensure even baking and consistent texture.
- Test Bake: If you want to be sure of baking times, test bake a single cookie first, then adjust the time for the batch according to your preference.
- Rotate the Baking Sheet: To achieve even baking, rotate your baking sheet halfway through the baking time. This helps with consistent coloration and texture.
How to Store Christmas Chocolate Chip Cookies
Proper storage of your delicious Christmas Chocolate Chip Cookies is essential to maintain their freshness. Once your cookies have cooled completely, you can store them in an airtight container. Keep them at room temperature for up to a week for optimal freshness.
For longer storage, consider freezing them. To do this, place the cookies in a single layer on a baking sheet and freeze them until solid. Once frozen, transfer them to a freezer-safe container, separating layers with parchment paper to prevent sticking. They can last in the freezer for up to three months. When you’re ready to enjoy, simply let them thaw at room temperature, or microwave them for a few seconds to restore their soft texture.
Variation of Christmas Chocolate Chip Cookies
While the original Christmas Chocolate Chip Cookies recipe is delightful as is, there are so many variations you can try to mix things up!
- Add Nuts: Incorporate chopped walnuts or pecans for an extra crunch and nutty flavor.
- Use Different Chocolate: Swap out the Nestle Toll House Chocolate Chips for dark chocolate chips, white chocolate chips, or even caramel bits to diversify the flavor profile.
- Add Oats: For a chewier texture and a health boost, you can mix in rolled oats. Just replace a portion of the flour with oats.
- Spice It Up: Add a pinch of cinnamon or nutmeg to give your cookies a warm, spicy flavor typical for the holiday season.
- Holiday Sprinkles: For an extra festive touch, sprinkle colored sugar or seasonal sprinkles on top of your cookies before baking.
- Stuffed Cookies: Get creative by stuffing your cookies with a small piece of chocolate or a candy bar in the center for a gooey surprise!
FAQ Section
What makes Christmas Chocolate Chip Cookies different from regular chocolate chip cookies?
Christmas Chocolate Chip Cookies often feature festive colors and seasonal spices. The use of food coloring adds a holiday spirit, while the overall presentation and sharing aspect make them more special for the holiday season.
How do I make the cookies softer?
To achieve soft cookies, make sure not to overbake them. Remove them from the oven when the edges are just golden and let them cool on the baking sheet to continue cooking slightly.
Can I make the dough ahead of time?
Yes, you can prepare the cookie dough in advance. Wrap it tightly in plastic wrap and refrigerate it for up to three days or freeze it for up to three months. Just thaw it before baking.
What is the best way to store leftover cookies?
The best way to store your Christmas Chocolate Chip Cookies is in an airtight container at room temperature. For longer shelf life, freeze them and thaw when needed.
Can I use alternative sweeteners in this recipe?
You can experiment with alternative sweeteners such as coconut sugar or a natural sugar substitute. However, keep in mind that this may alter the flavor and texture of your cookies.

Christmas Chocolate Chip Cookies
Ingredients
Cookie Base
- 1 cup Softened Butter (Sweet Cream, Salted)
- 1 cup Granulated Sugar
- 1/2 cup Brown Sugar (packed)
- 2 Large Eggs
- 2 teaspoons Vanilla Extract
- 1 teaspoon Baking Soda
- 1/2 teaspoon Salt
- 2 3/4 cups All-Purpose Flour
- 1 bag Nestle Toll House Chocolate Chips
Coloring Ingredients
- 1 pack Wilton Color Right Food Coloring - Red, Yellow, Blue For adding vibrant colors to the cookie dough.


Instructions
Preparation
- Cream the butter and sugars together until light and fluffy.
- Add eggs and vanilla extract, mixing until well combined.
Mixing Dry Ingredients
- Incorporate baking soda and salt into the butter mixture.
- Gradually mix in the all-purpose flour until smooth.
Coloring and Forming
- Divide the dough into three equal portions.
- Color one portion red and another green. Leave the last portion uncolored.
- Fold in the chocolate chips evenly.
- Form about 2-ounce balls from each portion of dough.
Baking
- Preheat the oven to 375°F (190°C).
- Place the cookie balls on a lined baking sheet, slightly pressing them down.
- Bake for 8-10 minutes until the edges are golden brown.
- Cool on the baking sheet for a few minutes before transferring to a wire rack.
Send me this recipe!
Just enter your email below and get it sent straight to your inbox!