When it comes to delightful desserts that encapsulate the essence of summer, gluten-free lemon bars stand out as a refreshing favorite. Their bright and zesty flavor combined with a chewy, melt-in-your-mouth texture makes them an irresistible treat for anyone, regardless of dietary preferences. In this article, you’ll discover everything you need to know about making these delicious lemon bars right in your own kitchen.
Why We Love This Gluten Free Lemon Bars Recipe
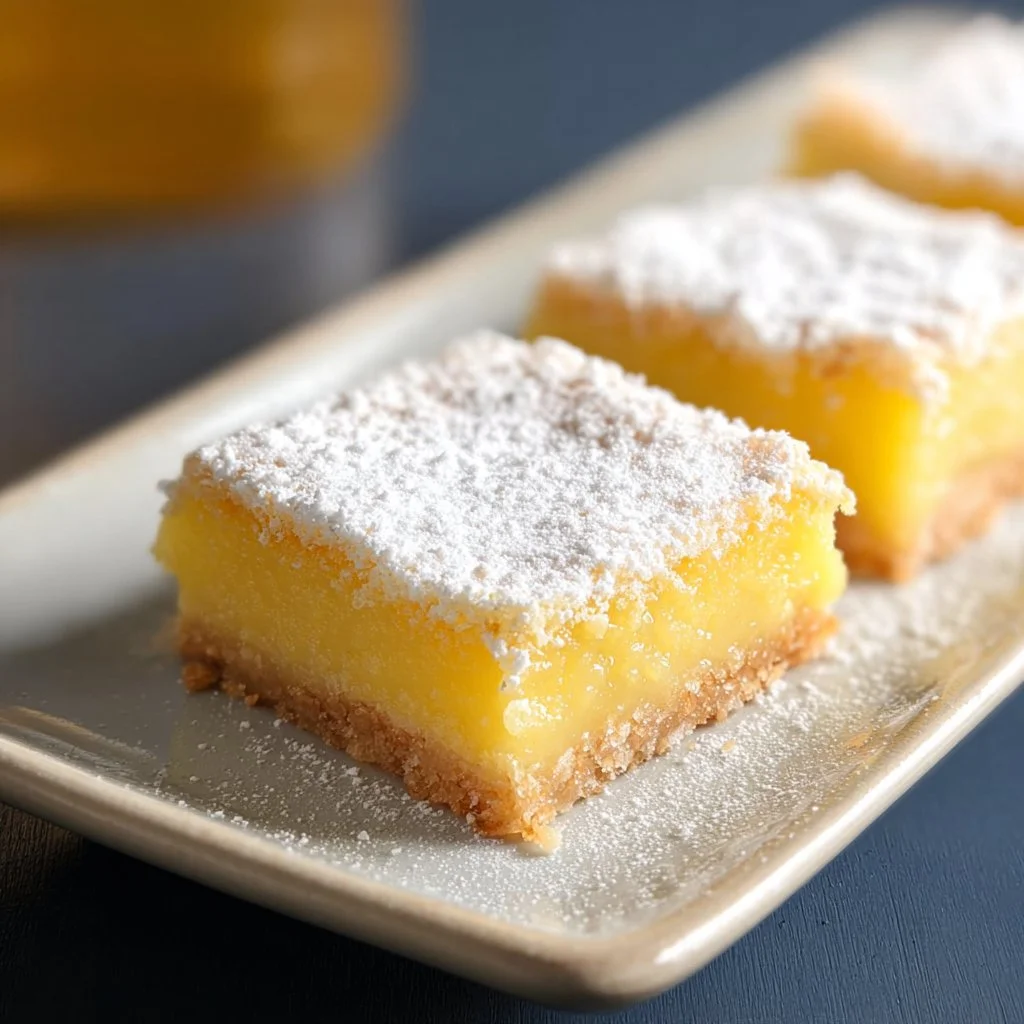
This gluten-free lemon bars recipe is not just a treat for those with dietary restrictions; it’s a wonder for everyone who loves a tart and sweet dessert. The unique combination of ingredients creates a harmonious balance of flavor that dances on your taste buds. With this recipe, you’ll find that the crust is buttery and crumbly, perfectly paired with a luscious lemon custard that brings brightness to each bite. Not only are these lemon bars easy to make, but they are also visually appealing, making them a perfect addition to any gathering or celebration. You’ll love how simple it is to whip them up for family gatherings, potlucks, or just as a lovely treat for yourself.
Ingredients about Gluten Free Lemon Bars
To create your own batch of gluten-free lemon bars, gather these simple ingredients that you likely have in your pantry. Here’s a quick overview of what you will need:
- 1 2/3 cups basic gum-free gluten free flour blend
- 1/2 cup confectioners’ sugar, plus more for dusting
- 1/2 teaspoon kosher salt
- Zest of 1 large lemon
- 9 tablespoons unsalted butter, melted and cooled
- 4 eggs, at room temperature
- 1 cup granulated sugar
- 3/4 teaspoon baking powder
- 2/3 cup freshly squeezed lemon juice
These ingredients come together to create an extraordinary dessert that is both creamy and refreshing.
How to Make Gluten Free Lemon Bars Directions
Making gluten-free lemon bars is a straightforward process, and it begins in your kitchen. The first step is to preheat your oven to 325°F (or around 160°C). This ensures that your bars cook evenly and thoroughly.
Next, grab an 8-inch square baking pan and liberally grease it before lining it with parchment paper. This will prevent your delicious creation from sticking to the pan, making it easy to remove later.
Now, it’s time to prepare the crust. In a medium mixing bowl, combine 1 cup of your gluten-free flour blend, the confectioners’ sugar, kosher salt, and the lemon zest. The lemon zest adds a fragrant aroma and amplifies the lemon flavor of your bars. Stir these dry ingredients together until they are well mixed.
Add the melted and cooled unsalted butter to the dry mixture, stirring until everything is combined. The texture should be crumbly yet cohesive. Once your mixture is ready, press it firmly into the bottom of your prepared baking pan. Use your fingers or the bottom of a glass to ensure it’s evenly spread.
Place the crust in the oven and let it bake for about 15 minutes. You want it to be golden and slightly firm to the touch.
While the crust is baking, it’s time to make the lemon custard. In a clean mixing bowl, whisk together the 4 room temperature eggs, granulated sugar, baking powder, and freshly squeezed lemon juice. If you prefer your bars on the sweeter side, feel free to adjust the sugar to your taste. Ensure that everything is well blended, and then add the remaining gluten-free flour blend. Mix until fully combined, creating a smooth custard base.
Once the crust is out of the oven, pour the lemon custard over the baked crust. Spread it evenly to ensure every bite has that signature lemony goodness. Return the pan to the oven for another 25 minutes. The custard should be just set but still a little jiggly when you remove it from the oven.
After baking, allow the lemon bars to cool for about 20 minutes in the pan. Then, transfer them to the refrigerator and chill for at least 2 hours. This step is crucial as it helps the bars firm up, resulting in perfect cutting pieces.
Once chilled, dust the top with additional confectioners’ sugar. With a sharp knife, slice them into squares or rectangles. Your gluten-free lemon bars are now ready to be served and enjoyed!
How to Serve Gluten Free Lemon Bars
Serving these delicious gluten-free lemon bars is a joyous experience. When the time comes, place your beautifully cut bars on a serving platter to share with family and friends. They can be enjoyed as a light dessert after a meal, or they can stand alone as a delightful afternoon snack with a cup of tea or coffee.
To add a touch of culinary flair, you might consider garnishing each lemon bar with fresh mint leaves or a thin slice of lemon. These simple additions not only enhance the visual appeal but also provide a refreshing contrast to the tartness of the bars.
Whether you serve these lemon bars at a summer barbecue, a birthday party, or as a sweet treat during the holiday season, they are sure to be a hit. You will find that the balanced flavor profile appeals to a wide audience, making them a versatile dessert option.
Expert Tips: Gluten Free Lemon Bars
Creating the perfect gluten-free lemon bars requires a few expert tips to ensure that your baking experience is as delightful as the finishing product. Here are some valuable insights:
- Room Temperature Eggs: Make sure your eggs are at room temperature before you mix them into the batter. This helps them to blend more smoothly, promoting a light and fluffy texture.
- Fresh Lemon Juice: Use freshly squeezed lemon juice instead of bottled lemon juice. The fresh juice packs a bolder and more vibrant flavor that will elevate your dessert.
- Chill for Best Results: Allow your lemon bars to cool completely and then chill in the refrigerator. This step is essential for setting the custard, resulting in clean and defined edges when you slice them.
- Cutting Tips: Use a sharp knife to cut your lemon bars. For cleaner cuts, you can dip your knife in hot water and wipe it dry between cuts.
- Serving Temperature: While these lemon bars are delightful served chilled, you may also enjoy them at room temperature. It really comes down to personal preference!
By applying these tips, your lemon bars will not only taste fantastic but also look professionally prepared.
How to Store Gluten Free Lemon Bars
Storing your gluten-free lemon bars properly will help maintain their freshness for as long as possible. After you’ve enjoyed a few servings, you can store the remaining bars in an airtight container. Make sure you separate the layers with parchment paper or wax paper to prevent them from sticking to one another.
These bars can be stored in the refrigerator for up to a week. If you wish to keep them fresher for longer, you can also freeze them. Wrap each piece tightly in plastic wrap and then place them in a freezer-safe container. This way, you can enjoy delicious lemon bars for up to three months! When you’re ready to indulge in a frozen bar, simply let it thaw in the refrigerator overnight before serving.
Variation of Gluten Free Lemon Bars
One of the joys of baking is the ability to experiment and modify recipes. If you’re feeling especially creative, consider trying some of these variations for your gluten-free lemon bars:
- Meringue Topping: Add a light and airy meringue topping on your lemon bars. Whip egg whites with a bit of sugar until stiff peaks form and spread it over the custard. Return it to the oven briefly to lightly brown the top.
- Berry Swirl: Introduce a fruity twist to your dessert by swirling in pureed raspberries or blueberries into the lemon custard before baking. This will not only add flavor but also create a stunning visual effect.
- Coconut Flavor: For a tropical touch, add some toasted coconut flakes to the crust mix. This nutty flavor will complement the brightness of the lemon beautifully.
- Lemon Lavender: If you fancy floral hints in your dessert, consider adding a tablespoon of dried culinary lavender to the lemon custard. Just be careful not to overpower the lemon flavor.
These variations can transform your gluten-free lemon bars into a gourmet experience that captivates your taste buds and impresses your guests.
FAQ Section
What are gluten free lemon bars?
Gluten-free lemon bars are a delicious dessert made without wheat or gluten. They consist of a buttery crust, topped with a creamy lemon custard that is both tart and sweet.
Are gluten free lemon bars suitable for everyone?
Yes! Although these bars are specifically gluten-free, they’re enjoyed by anyone who loves zesty desserts. Their delicious flavor is appreciated by those with or without dietary restrictions.
Can I make these lemon bars dairy-free?
Absolutely! You can substitute the unsalted butter with dairy-free alternatives such as coconut oil or a plant-based butter, allowing you to enjoy these lemon bars without dairy.
How long do gluten free lemon bars last?
When stored properly, gluten-free lemon bars can last in the refrigerator for up to a week, or they can be frozen for up to three months for longer storage.
Can I adjust the sweetness in the recipe?
Certainly! You can modify the amount of granulated sugar in the filling to suit your personal taste, ensuring that your lemon bars are as sweet or tart as you prefer.

Gluten Free Lemon Bars
Equipment
- 8-inch square baking pan
- Mixing Bowls:
- Whisk
Ingredients
- 1 2/3 cups basic gum-free gluten free flour blend
- 1/2 cup confectioners’ sugar plus more for dusting
- 1/2 tsp kosher salt
- 9 Tbsp unsalted butter melted and cooled
- 4 large eggs at room temperature
- 1 cup granulated sugar
- 3/4 tsp baking powder
- 2/3 cup freshly squeezed lemon juice


Instructions
- Preheat your oven to 325°F (160°C) and grease an 8-inch square baking pan, lining it with parchment paper.
- In a medium mixing bowl, combine 1 cup of gluten-free flour blend, confectioners’ sugar, kosher salt, and lemon zest. Stir until mixed.
- Add the melted butter to the dry mixture, stirring until crumbly and cohesive. Press firmly into the bottom of the prepared pan.
- Bake the crust for 15 minutes until golden and slightly firm.
- In another bowl, whisk together the eggs, granulated sugar, baking powder, and lemon juice. Mix until well blended.
- Add the remaining gluten-free flour blend to the custard mixture and mix until smooth.
- Pour the lemon custard over the baked crust and spread evenly. Bake for an additional 25 minutes until just set.
- Allow the lemon bars to cool for about 20 minutes in the pan, then transfer to the refrigerator to chill for at least 2 hours.
- Once chilled, dust the top with additional confectioners’ sugar. Cut into squares or rectangles to serve.
Send me this recipe!
Just enter your email below and get it sent straight to your inbox!