If you’ve ever craved ice cream but didn’t want to wait or pull out a machine, this blender ice cream recipe is your perfect solution. With just three simple ingredients, you can make a rich and creamy treat that feels indulgent but is surprisingly easy to whip up. It’s a fast dessert that works wonderfully as a sweet snack or a healthy alternative to traditional ice cream. You’ll be amazed at how smooth and satisfying it is, all made in your own kitchen in less than five minutes.
Why We Love This Blender Ice Cream Recipe
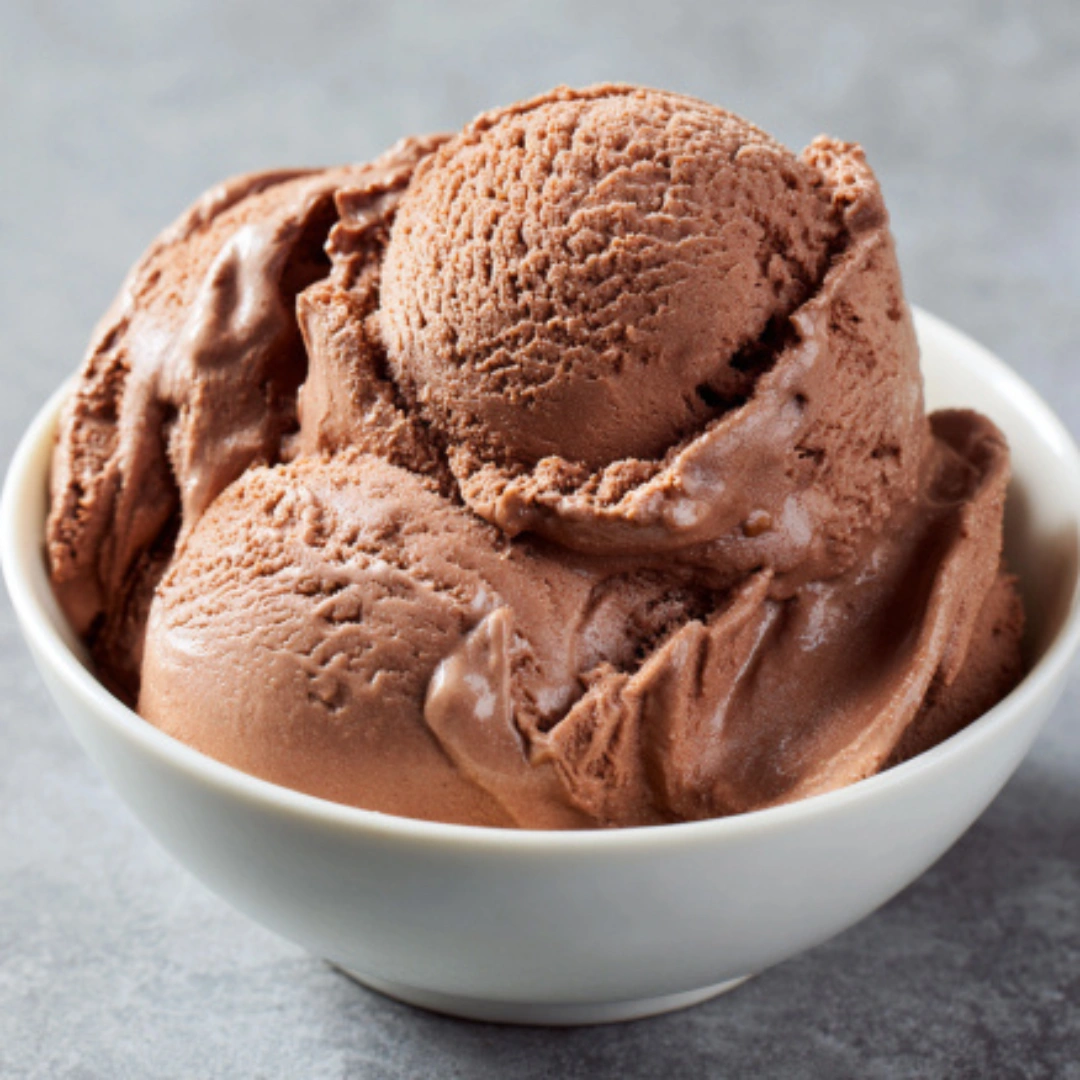
This blender ice cream is a game-changer for anyone who wants a quick, no-fuss dessert. You don’t need an ice cream maker, and there’s no complicated process involved. The base of frozen bananas gives it a creamy texture that rivals traditional ice cream, while the peanut butter adds richness and depth of flavor. Cocoa powder brings that chocolatey goodness you crave, and the result is a dessert that feels indulgent but is made from real ingredients. You can easily customize it with different nut butters, fruit, or flavorings, so it never gets boring. Plus, it’s naturally sweetened, low in added sugar, and can be enjoyed by the whole family.
Ingredients for Blender Ice Cream
To make this creamy blender ice cream, you only need three key ingredients. Each one plays a role in creating the perfect texture and taste:
- 2 medium bananas, frozen and chopped
- 1 tablespoon peanut butter (or any nut or seed butter of your choice)
- 2 tablespoons cocoa powder
Optional: For added sweetness, you can include 1 tablespoon of maple syrup, agave nectar, or coconut syrup.
How to Make Blender Ice Cream
Making this ice cream is as simple as it gets, but a few tips will ensure the smoothest result. First, place your frozen, chopped bananas into a high-speed blender or food processor. Blend for about 10 seconds, just enough to break them down slightly. Next, add your peanut butter and cocoa powder. Blend until the mixture comes together into a creamy consistency, but be careful not to overblend; you want a soft, soft-serve texture that’s ready to eat immediately.
If you want a harder, scoopable ice cream, transfer the blended mixture to a small loaf pan and cover it with plastic wrap. Freeze it for at least an hour, stirring every 20-30 minutes for the first hour to prevent icy crystals from forming. This ensures a smooth, firm ice cream that you can scoop and serve.
If you have leftovers, don’t worry—they can be stored and re-blended. Pour the remaining ice cream into an ice cube tray, freeze, and then store the cubes in a freezer-safe container. Later, you can add a small splash of milk to your blender with the ice cubes and blend until smooth.
How to Serve Blender Ice Cream
You can serve this ice cream in a variety of ways. Scoop it into bowls and enjoy it as a soft-serve dessert, or add toppings like chopped nuts, chocolate chips, or fresh fruit for extra flavor and texture. It works beautifully with a drizzle of nut butter, a sprinkle of cocoa nibs, or a few berries on top. You can even layer it in a dessert glass with granola for a quick parfait. Because it’s ready in minutes, you can serve it as a refreshing treat after lunch or dinner, or even as a mid-afternoon pick-me-up.
This ice cream is also a great way to introduce kids to healthy desserts, letting them enjoy a creamy treat while sneaking in fruit and protein from the peanut butter.
Expert Tips for Blender Ice Cream
To get the best results, make sure your bananas are fully frozen before blending. This is key for achieving the thick, creamy texture that mimics traditional ice cream. Using a high-speed blender or food processor will make blending faster and prevent the mixture from becoming too chunky.
Feel free to experiment with different nut butters or add a small pinch of salt to enhance the chocolate flavor. If your blender struggles with frozen bananas, let them thaw slightly for a few minutes or add a splash of milk to help everything blend smoothly.
For a sweeter or more decadent treat, adding a natural syrup or a few drops of vanilla extract can elevate the flavor without making it unhealthy. And don’t be afraid to try fruit variations—strawberries, mango, blueberries, or pineapple can turn this simple ice cream into endless flavors.
How to Store Blender Ice Cream
This ice cream is best enjoyed fresh, but you can store leftovers for later. Freeze any remaining ice cream in a loaf pan or ice cube tray. Once frozen, transfer the cubes into a freezer-safe container to store for up to a month. When you’re ready to enjoy again, simply re-blend the cubes with a tiny splash of milk to restore the creamy texture.
Avoid leaving it in the freezer for too long without stirring, as the ice can harden and affect the smoothness. With proper storage, you’ll always have a quick, healthy dessert ready at hand.
Variations of Blender Ice Cream
The beauty of this recipe is how easy it is to customize. You can swap cocoa powder for frozen fruits like strawberries or mango for a fruity twist. Add peppermint extract and chocolate chips for a mint chocolate chip version, or espresso powder for a coffee flavor. Pineapple and coconut can give you a tropical treat, and blueberry with lemon zest creates a refreshing, tangy option.
You can also mix in your favorite toppings before freezing, like chopped nuts, seeds, or shredded coconut. Experimenting with flavors is part of the fun and keeps this simple recipe exciting every time you make it.
FAQ for Blender Ice Cream
Can I make this ice cream without peanut butter?
Yes, you can substitute any nut or seed butter, or even leave it out entirely for a pure banana and cocoa version.
How long does blender ice cream last in the freezer?
Stored properly in a freezer-safe container, it can last up to a month. For best texture, re-blend frozen cubes before serving.
Can I use ripe bananas instead of frozen?
Ripe bananas can be used, but freezing them first is essential for achieving the creamy ice cream texture.
Can I make larger batches?
Absolutely! Simply double or triple the ingredients and blend in batches if needed.
What if my ice cream is too icy?
Mix the ice cream every 20-30 minutes while freezing to prevent ice crystals. You can also re-blend with a splash of milk for smoothness.

Blender Ice Cream
Equipment
- High-Speed Blender or Food Processor
- Loaf pan or ice cube tray
Ingredients
- 2 medium bananas frozen and chopped
- 1 tablespoon peanut butter or any nut or seed butter of your choice
- 2 tablespoons cocoa powder
- 1 tablespoon maple syrup optional, for added sweetness


Instructions
- Place frozen, chopped bananas into a high-speed blender or food processor. Blend for about 10 seconds to break them down slightly.
- Add peanut butter and cocoa powder. Blend until creamy, being careful not to overblend; you want a soft-serve texture.
- If you prefer a harder ice cream, transfer the mixture to a loaf pan, cover with plastic wrap, and freeze for at least an hour.
- For leftovers, pour the ice cream into an ice cube tray and freeze. Re-blend with a splash of milk when ready to enjoy.
Send me this recipe!
Just enter your email below and get it sent straight to your inbox!