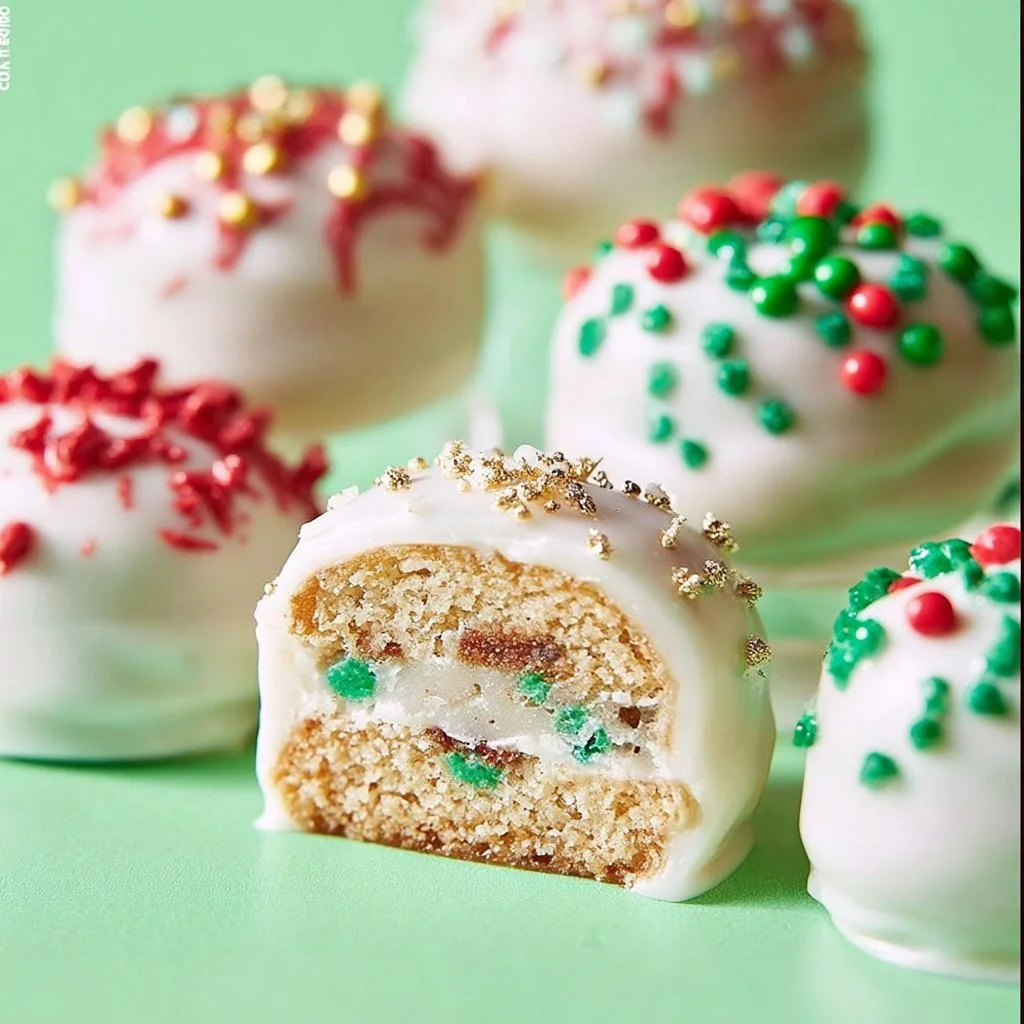
When the holiday season rolls around, the search for delightful and easy-to-make desserts begins. Nilla Holiday Cake Bites are just the treat to bring joy to your gatherings. These charming little bites encapsulate a burst of flavors with every bite, combining the familiar taste of Nilla Wafers, vibrant raspberry jam, and a crunchy candy coating. They are visually appealing and perfect for any festive occasion. The blend of sweetness from the jam and the smoothness of vanilla candy makes each mouthful a treat you will treasure.
Why We Love This Nilla Holiday Cake Bites Recipe
The appeal of Nilla Holiday Cake Bites lies in their simplicity and versatility. Not only are they easy to prepare, but they also allow you to get creative with decorations, making them a fun project for the whole family. The brightness of the orange juice paired with the sweetness of raspberry jam adds a lovely flavor profile that brightens up any snack table. Plus, they are perfect for sharing, making them a fantastic option for holiday gatherings, potlucks, or even just a cozy night in. You will find yourself reaching for these delightful bites again and again!
Ingredients about Nilla Holiday Cake Bites
To create your delicious Nilla Holiday Cake Bites, you will need the following ingredients:
- 36 NILLA Wafers
- 2 tablespoons orange juice
- 1/4 cup raspberry jam
- 8 ounces vanilla candy wafers (approximately 1-1/2 cups)
- 1 tablespoon vegetable oil
- Assorted decorations (like sprinkles or edible glitter)
Gathering these basic ingredients is a breeze, allowing you to jump straight into the fun part of preparing this festive bite-sized treat!
How to Make Nilla Holiday Cake Bites Directions
Creating these scrumptious Nilla Holiday Cake Bites is an enjoyable process that will have your kitchen filled with delightful aromas. Here’s a step-by-step guide to guide you through:
- Start by prepping your workspace. Line a baking sheet with waxed paper to catch any drips when you later dip the cake bites in candy wafers.
- Take 24 of the NILLA Wafers and brush one flat side of each wafer with orange juice. This tiny step adds a hint of citrus flavor and moisture to your cake bites.
- Next, generously spread raspberry jam on the juiced side of these wafers. You want each cake bite to be packed with flavor, so don’t be shy!
- Once you have coated these wafers, place the remaining 12 wafers (rounded sides facing up) on your lined baking sheet.
- Now, take each jam-covered wafer and create stacks. Place two of the jam-topped wafers on each of the plain wafers, jam sides down. You should have 12 stacks in total.
- It’s time to set your creations aside to chill. Place the baking sheet with your wafer stacks in the refrigerator for about 6 hours or, if you have time, overnight. This step is essential as it allows the jam to set and the layers to meld together.
- When you’re ready to dip your cake bites, melt the vanilla candy wafers according to the package directions. Be sure to stir the melted mixture well, ensuring it’s fully blended and smooth.
- Add the tablespoon of vegetable oil to the melted candy wafers. This addition will help achieve a shiny coating on your cake bites. Stir until well combined.
- Now for the fun part! Take each NILLA stack one at a time and dip it into the melted candy wafers. Make sure to turn the stack to ensure it’s evenly coated.
- If your melted candy wafers begin to harden as you work, simply reheat the mixture to keep it pourable.
- After dipping each stack, place it back on the wax paper-covered sheet. If desired, sprinkle assorted decorations immediately on top to make them festive and inviting.
- Once all the stacks are dipped and decorated, return the baking sheet to the refrigerator. Let the candy coating firm up for at least 30 minutes.
- Your Nilla Holiday Cake Bites are now ready to be enjoyed! Keep them refrigerated until you’re ready to serve.
How to Serve Nilla Holiday Cake Bites
Presenting your Nilla Holiday Cake Bites is part of the fun! These cake bites can be placed on a decorative platter or served in small paper cups for easy handling, especially at parties or gatherings. They can serve as a delightful centerpiece on dessert tables, alongside other festive treats. For an added touch, consider drizzling some leftover melted candy or chocolate over the top just before serving. Alternatively, you can place them in a clear gift bag tied with a festive ribbon for a sweet homemade gift anyone would love to receive. Enjoying these bites with a cup of hot cocoa or warm apple cider can make them even more special during the chilly holiday season.
Expert Tips: Nilla Holiday Cake Bites
To ensure your Nilla Holiday Cake Bites turn out perfect, here are some expert tips:
- Keeping the NILLA stacks chilled before dipping will help them hold their shape and prevent them from falling apart in the melted candy mixture.
- If you have children or guests helping, set up an assembly line where each person can take a step in preparing these cake bites. It makes the process much more fun and interactive.
- Experiment with different decorations! Swap sprinkles for crushed nuts, edible glitter, or even colored sugar to personalize your cake bites for various occasions.
- If you’re not a fan of vegetable oil, consider using coconut oil as a substitute for a touch of additional flavor.
Following these tips will elevate your Nilla Holiday Cake Bites and impress everyone who tries them!
How to Store Nilla Holiday Cake Bites
After indulging in your delicious Nilla Holiday Cake Bites, you might wonder how to store any leftovers. To keep them fresh, always store your cake bites in the refrigerator. Place them in an airtight container or wrap them tightly in plastic wrap to prevent them from drying out. These cake bites can last in the fridge for up to a week, but be sure to eat them as soon as possible for the best taste and texture. If you can resist, they also freeze well! Just pack them in a freezer-safe container, separating layers with parchment paper, and you can enjoy a festive treat even months later.
Variation of Nilla Holiday Cake Bites
There are numerous ways to twist the classic Nilla Holiday Cake Bites recipe to suit your taste and creativity. Here are some fun variations to consider:
- Chocolate Dipped: Instead of vanilla candy wafers, try dipping your cake bites in milk or dark chocolate for a rich and indulgent flavor.
- Fruit Jam Alternatives: Use different fruit jams such as strawberry, blueberry, or even a tangy lemon curd for a unique twist.
- Nutty Addition: Incorporate finely chopped nuts in the candy coating or as an additional layer in the stacks for added crunch and flavor.
- Seasonal Spice: Mix in a pinch of nutmeg or cinnamon to the orange juice to give your cake bites a warm, festive twist.
- Vegan Version: Substitute the candy wafers with specifically vegan-friendly coatings and ensure your jam is free from animal products for a deliciously vegan treat.
These variations will ensure that your Nilla Holiday Cake Bites can satisfy any craving or preference!
FAQ
What makes Nilla Holiday Cake Bites appealing for the holidays? Nilla Holiday Cake Bites are not only tasty and easy to make, but they’re also versatile and visually appealing, making them a great addition to any holiday celebration.
Can I customize the decorations for my Nilla Holiday Cake Bites? Absolutely! You can use any toppings or decorations that fit your theme or personal taste, including sprinkles, crushed candies, or seasonal motifs.
How long do Nilla Holiday Cake Bites last? These delightful bites can last up to a week in the refrigerator when stored properly in an airtight container.
Is it necessary to refrigerate Nilla Holiday Cake Bites? Yes, storing them in the refrigerator helps maintain their freshness and ensures that the candy coating stays firm.
Can I make Nilla Holiday Cake Bites ahead of time? Definitely! You can prepare the cake bites a day in advance and store them in the fridge until you’re ready to serve. This makes them a convenient option for busy holiday schedules.