If you’ve ever craved the classic ice cream sandwiches from your childhood, this recipe brings them back with a fresh twist. Instead of using chocolate cookies, you’ll create a thin, moist chocolate cake that wraps around a generous layer of vanilla ice cream. This version stays true to the original taste and texture while being simple to make at home. You get that soft cake that’s just firm enough to hold the ice cream without crumbling, combined with the smooth, airy vanilla filling everyone loves.
Why You’ll Love These Ice Cream Sandwiches
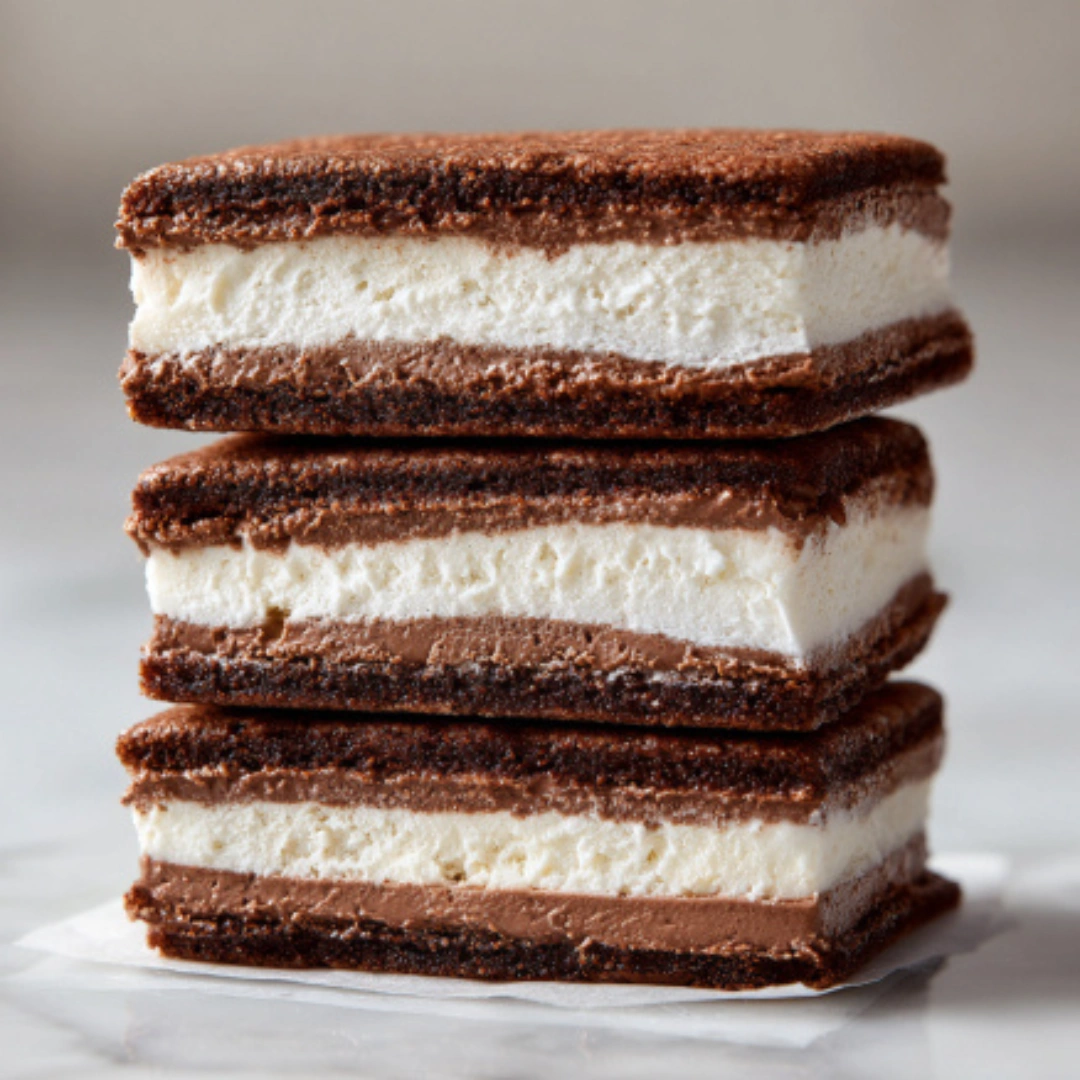
There’s something truly special about the combination of soft chocolate cake and smooth vanilla ice cream that brings back memories while delivering on flavor. These sandwiches are lighter than cookie-based versions, making each bite feel less dense and more refreshing. The vanilla ice cream you use is key; choosing a simple, airy variety keeps the sandwich tasting like the classic you remember.
Another reason this recipe stands out is how easy it is to make. You don’t have to handle tricky cookie dough or multiple steps of baking and cooling separate cookies. Instead, you bake thin layers of chocolate cake on a sheet pan and then spread softened ice cream on top. The process is straightforward but yields an impressive, bakery-quality dessert.
This recipe also lets you customize the chocolate cake with optional espresso powder for a richer, deeper flavor, though the vanilla ice cream remains the perfect counterbalance. Whether you want to impress at a party or make a fun treat for your family, these sandwiches check all the boxes for taste, texture, and nostalgia.
Ingredients for Ice Cream Sandwiches
To get started, gather the following ingredients. You’ll notice the list combines pantry staples with a few key items to create that perfect chocolate cake and creamy ice cream filling.
- 1/2 cup butter, softened to room temperature
- 3/4 cup dark brown sugar, packed
- 1/3 cup granulated sugar
- 2 eggs, at room temperature
- 1/2 teaspoon vanilla extract
- 1 1/4 cups plus 2 tablespoons all-purpose flour
- 3/4 cup cocoa powder
- 1/4 teaspoon baking soda
- 1/2 teaspoon baking powder
- 1/4 teaspoon kosher salt
- 1/4 teaspoon espresso powder (optional, enhances chocolate flavor)
- 1 cup buttermilk, at room temperature
- 1 gallon vanilla ice cream
How to Make Ice Cream Sandwiches
Start by preheating your oven to 350 degrees Fahrenheit. While it warms up, prepare two jelly roll pans or rimmed half-sheet pans by greasing them well with butter or oil to prevent sticking.
In a large mixing bowl, cream together the softened butter, dark brown sugar, and granulated sugar until the mixture becomes light and fluffy. This usually takes about 3 to 5 minutes with an electric mixer on medium speed. Next, add the eggs one at a time, beating thoroughly after each addition to incorporate fully. Pour in the vanilla extract and mix until blended.
In a separate bowl, whisk together the dry ingredients: all-purpose flour, cocoa powder, baking soda, baking powder, espresso powder if using, and kosher salt. This step ensures the cocoa and leavening agents are evenly distributed.
Now, combine the dry ingredients with the wet batter by alternating with the buttermilk. Start with a portion of the dry mix, then add some buttermilk, and repeat until all is combined. Mix just until smooth; avoid overmixing to keep the cake tender.
Divide the batter evenly between the two prepared pans, spreading it out to create a very thin layer no deeper than half an inch. This thin layer is essential to replicate the classic ice cream sandwich texture. Bake the cakes for 10 to 15 minutes. You’ll know they’re done when a light press on the surface causes the cake to spring back gently.
Remove the pans from the oven and allow the cakes to cool in the pans for about 15 minutes. To take the cakes out, invert the pans onto a cutting board and carefully peel away the foil from the cake backs. Let the cakes cool completely at room temperature.
Once the cake sheets are cool, let your vanilla ice cream soften slightly at room temperature. Slice each cake sheet in half lengthwise. Spread about a one-inch thick layer of softened ice cream over each half sheet, then carefully place the other half on top to form a sandwich. Wrap these large sandwiches tightly in plastic wrap and freeze for at least two hours to firm up.
When you’re ready to serve, slice the sandwiches into rectangles about five inches by two inches. You can also wrap individual sandwiches tightly for storage in the freezer, where they keep well for up to a month.
How to Serve Ice Cream Sandwiches
Serving these ice cream sandwiches is simple and satisfying. Pull them from the freezer about five minutes before you plan to eat, allowing them to soften slightly for easier slicing. Use a sharp knife warmed under hot water to make clean cuts.
You can enjoy these sandwiches as they are, or add a personal touch with toppings. For example, rolling the edges in mini chocolate chips, sprinkles, or crushed nuts adds a fun texture and visual appeal. They also pair wonderfully with a drizzle of chocolate or caramel sauce on the side.
These sandwiches work perfectly for summer barbecues, birthday parties, or anytime you want a nostalgic yet fresh dessert option. Their portion size makes them easy to share, and the homemade touch always impresses guests.
Expert Tips for Making Ice Cream Sandwiches
To get the best results with this recipe, keep a few expert tips in mind. First, make sure all your ingredients — especially eggs, butter, and buttermilk — are at room temperature. This helps the batter mix evenly and creates a smooth cake texture.
When spreading the cake batter in the pans, aim for an even layer to ensure consistent baking. Use an offset spatula to gently smooth out the surface, and avoid overfilling to keep the cake thin enough for the sandwich.
If you want a deeper chocolate flavor, don’t skip the espresso powder. Even a small amount can enhance the cocoa notes without tasting like coffee. If you prefer, substitute the vanilla ice cream with other simple flavors like strawberry or mint, but avoid anything too rich or chunky to maintain the original lightness.
Wrapping the sandwiches tightly in plastic wrap before freezing prevents freezer burn and keeps the sandwiches fresh and moist. When slicing, warming your knife under hot water between cuts ensures clean, neat slices without cracking the cake.
How to Store Ice Cream Sandwiches
Proper storage is important to maintain the texture and flavor of your ice cream sandwiches. After assembling and wrapping the large sandwiches, freeze them for at least two hours until firm. Once firm, you can slice and individually wrap each sandwich for convenience.
Store the wrapped sandwiches in an airtight container or freezer bag to prevent them from absorbing any odors. They will keep well in the freezer for up to one month. Avoid storing them too long, as ice crystals may form and affect texture.
When you want to enjoy, take out the desired number of sandwiches and let them sit at room temperature for a few minutes to soften slightly before eating.
Variations of Ice Cream Sandwiches
Feel free to experiment with different ice cream flavors to customize these sandwiches to your taste. Chocolate, caramel, or berry-flavored ice creams work well and add a new twist while still complementing the chocolate cake.
You can also swap the vanilla ice cream for dairy-free or plant-based versions if you prefer a vegan or lactose-free treat. Just be sure the ice cream is creamy and softens easily for spreading.
For a richer cake, try adding a handful of mini chocolate chips or chopped nuts into the batter before baking. This adds a pleasant crunch and texture contrast. If you want a fun, colorful variation, roll the sandwich edges in sprinkles, crushed cookies, or toasted coconut after assembling.
Another creative idea is to layer in a thin spread of peanut butter or fruit jam inside the sandwich before freezing, giving an extra burst of flavor with each bite.
Frequently Asked Questions About Ice Cream Sandwiches
Can I make these ice cream sandwiches ahead of time?
Yes, you can assemble and freeze the sandwiches up to a month in advance. Just wrap them tightly in plastic wrap and store them in an airtight container in the freezer.
What’s the best ice cream to use?
A simple, airy vanilla ice cream works best to mimic the classic flavor and texture. However, feel free to use other flavors if you want to customize.
Can I use cookies instead of cake?
This recipe is designed for a thin chocolate cake layer rather than cookies to achieve a soft, tender sandwich that melts in your mouth.
How do I slice the sandwiches neatly?
Use a sharp knife warmed under hot water to make clean cuts without cracking the cake layers.
Can I make this recipe dairy-free?
Yes, use dairy-free butter substitutes, plant-based buttermilk alternatives, and vegan ice cream to make a dairy-free version.
How long will the sandwiches keep in the freezer?
They stay fresh for about one month when wrapped tightly and stored properly in the freezer.

Ice Cream Sandwiches
Equipment
- Oven
- Mixing Bowls:
- Electric Mixer
- Jelly Roll Pans or Half-Sheet Pans
- Plastic Wrap
Ingredients
- 0.5 cup butter softened to room temperature
- 0.75 cup dark brown sugar packed
- 0.33 cup granulated sugar
- 2 eggs at room temperature
- 0.5 tsp vanilla extract
- 1.25 cups all-purpose flour plus 2 tablespoons
- 0.75 cup cocoa powder
- 0.25 tsp baking soda
- 0.5 tsp baking powder
- 0.25 tsp kosher salt
- 0.25 tsp espresso powder optional, enhances chocolate flavor
- 1 cup buttermilk at room temperature
- 1 gallon vanilla ice cream


Instructions
- Preheat your oven to 350°F (175°C) and grease two jelly roll pans or half-sheet pans.
- Cream together the butter, dark brown sugar, and granulated sugar in a large mixing bowl until light and fluffy.
- Add the eggs one at a time, mixing thoroughly after each addition, then stir in the vanilla extract.
- In a separate bowl, whisk together the flour, cocoa powder, baking soda, baking powder, salt, and espresso powder.
- Combine the dry ingredients with the wet batter, alternating with the buttermilk, until smooth.
- Divide the batter evenly between the prepared pans and spread into a thin layer. Bake for 10-15 minutes.
- Once done, cool the cakes in the pans for 15 minutes, then invert onto a cutting board and cool completely.
- Once cool, slice each cake sheet in half lengthwise and spread softened vanilla ice cream on one half.
- Place the other half on top to form a sandwich, wrap tightly in plastic wrap, and freeze for at least 2 hours.
- Slice into rectangles (about 5×2 inches) and serve. Store leftovers in the freezer.
Send me this recipe!
Just enter your email below and get it sent straight to your inbox!