Ice Cream Cone Cupcakes are a playful mix of cake and ice cream cone style. They look like ice cream but taste like cupcakes, making them perfect for parties, birthdays, or a fun treat anytime.
Why We Love This Ice Cream Cone Cupcakes Recipe
There is something irresistibly charming about Ice Cream Cone Cupcakes. They are not just cupcakes; they are an experience, bringing a playful touch to your dessert table. Here are a few reasons why this recipe deserves a place in your kitchen:
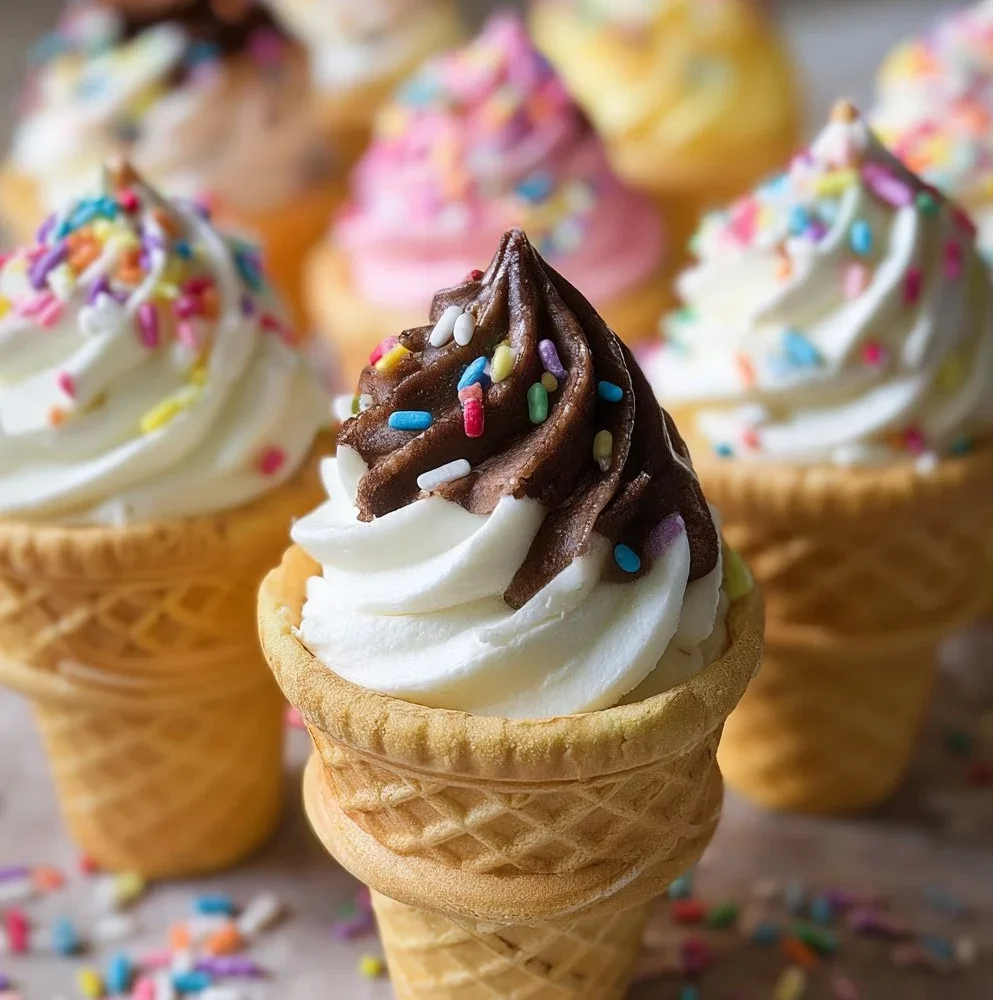
Visual Appeal: The sight of colorful sprinkles atop the frosted cupcakes invokes joy and excitement. They look as good as they taste!
Fun for All Ages: Adults and kids alike love the novelty of eating cake from a cone. It transforms a simple dessert into a fun activity, making them perfect for gatherings.
Customized Flavors: You can easily adapt the flavor of your cupcakes and frosting to match any occasion. From chocolate to vanilla and even fruity variations, the options are limitless.
Easier to Serve: Unlike traditional cakes that require slicing, these cupcakes are individual servings. They make serving easy and keep mess to a minimum.
Creative Opportunities: The variety of frostings, sprinkles, and other toppings allow you to unleash your creativity. You can make each cone unique!
Ingredients for Ice Cream Cone Cupcakes
To create your delightful Ice Cream Cone Cupcakes, gather the following ingredients. Each component plays an essential role in crafting that perfect blend of flavors and textures.
Ice Cream Cone Base:
- 12 flat-bottomed ice cream cones
Cupcake Batter:
- 1/4 cup (56 g) unsalted butter, softened to room temperature
- 1/4 cup (60 ml) neutral cooking oil (such as vegetable, canola, or avocado oil)
- 3/4 cup (150 g) granulated sugar
- 2 large eggs (room temperature is preferred)
- 1 1/2 teaspoons vanilla extract
- 1 1/2 cups (185 g) all-purpose flour
- 1 1/2 teaspoons baking powder
- 1/4 teaspoon salt
- 2/3 cup (160 ml) buttermilk
- 3 tablespoons colored sprinkles or quins (optional)
Cream Cheese Frosting:
- 1/2 cup (1 stick) (113 g) unsalted butter, softened
- 8 oz (226 g) cream cheese (brick-style, not spreadable), softened
- 1/4 teaspoon salt
- 1 teaspoon vanilla extract
- 4 cups (500 g) powdered sugar
- 1/4 cup (33 g) cocoa powder (optional)
- 1-3 tablespoons heavy cream or milk (if needed)
For Serving:
- Additional sprinkles (optional)
How to Make Ice Cream Cone Cupcakes
Creating these delightful Ice Cream Cone Cupcakes is straightforward. Just follow these steps, and you’ll have a batch that will wow your family or guests.
Preheat Your Oven: Start by preheating your oven to 350°F (175°C). While it heats, prepare your baking pan by placing the ice cream cones upright in a cupcake pan. This will keep them stable while baking.
Mix the Batter: In a large mixing bowl, combine the softened butter, cooking oil, and granulated sugar. Beat these ingredients until the mixture becomes creamy and well-blended. This step is crucial as it helps to incorporate air into the batter.
Incorporate the Eggs: Add in the eggs, one at a time, beating well after each. This ensures that the eggs are fully incorporated into the batter, resulting in a fluffy cupcake texture. Next, stir in the vanilla extract until everything is combined.
Prepare the Dry Ingredients: In a separate bowl, whisk together the all-purpose flour, baking powder, and salt. This prevents clumping and ensures an even distribution of baking powder throughout the flour.
Combine Wet and Dry Ingredients: Gradually alternate adding the flour mixture and buttermilk to the butter mixture. Start and finish with flour to maintain the proper balance of wet and dry ingredients. If you’re using sprinkles, fold them into the batter halfway through this step.
Fill the Cones: Carefully fill each ice cream cone about three-quarters full with the batter. This will give them enough room to rise without overflowing.
Bake: Place the filled cones in the preheated oven and bake for 20-23 minutes, or until a toothpick inserted into the center comes out clean. Keep an eye on them to ensure they don’t overbake.
Cool Completely: Once baked, allow the cupcakes to cool completely in the cones before frosting. Patience is key, as warm cupcakes can cause frosting to melt.
Prepare the Frosting: In a clean mixing bowl, beat together the softened butter and cream cheese until creamy. Slowly add in the salt and vanilla extract, mixing until smooth. Gradually incorporate the powdered sugar until combined. If you want chocolate frosting, add the cocoa powder to half the frosting and mix until smooth. Depending on consistency, add heavy cream or milk as needed.
Frost the Cupcakes: Fill piping bags with both vanilla and chocolate frostings. Pipe swirls on the top of each cupcake, creating a delightful presentation.
Add Final Touches: Finish by sprinkling additional sprinkles on top for that fun, colorful look. You can be as creative as you like in this step!
How to Serve Ice Cream Cone Cupcakes
Serving Ice Cream Cone Cupcakes is as fun as making them. Because they are already in their own edible cones, they require no extra dishes or utensils. Here’s how to present them for maximum effect:
Display: Arrange the cupcakes in a colorful cupcake stand or on a decorative platter. Their height and shape will draw eyes and create an inviting atmosphere.
Theme It: If you’re celebrating a special occasion like a birthday or summer gathering, you can theme the toppings accordingly. Use sprinkles that match the decor or party colors for a cohesive look.
Pairing Drink Options: Serve these cupcakes alongside milk, lemonade, or a fruit punch to enhance the dessert experience. A creamy shake or a scoop of your favorite ice cream would complement these treats perfectly.
Individual Treats: For children, consider placing small bags or boxes nearby so they can easily take their cupcake cone with them. This makes them perfect for parties or playdates.
Expert Tips for Making Ice Cream Cone Cupcakes
Room Temperature Ingredients: Always use room temperature eggs and butter. This ensures a smoother batter and a lighter cupcake.
Don’t Overmix: When you’re combining wet and dry ingredients, mix just until combined. Overmixing can lead to tough cupcakes.
Use an Ice Cream Scoop: For uniform cupcake size, use an ice cream scoop to fill the cones. This makes for even baking and a professional appearance.
Cool Before Frosting: Make sure the cupcakes are completely cool; otherwise, the frosting may melt and become a mess.
Experiment with Flavors: Don’t hesitate to add different extracts or flavorings to the batter, such as almond or orange extract, for a unique taste.
Choose Quality Sprinkles: Using high-quality edible decorations can make a significant difference in both the look and taste of your cupcakes.
How to Store Ice Cream Cone Cupcakes
Keeping your Ice Cream Cone Cupcakes fresh requires some attention:
Room Temperature Storage: If you plan to enjoy the cupcakes within a day or so, store them in a cool, dry place at room temperature. Just make sure they are covered to prevent drying out.
Refrigeration: If you need to store them longer, place them in the refrigerator. This is especially important if your frosting contains cream cheese.
Wrap Them Up: Use plastic wrap or an airtight container to preserve their freshness. Ensure that the frosting is completely set before covering to avoid damage.
Freezing Options: While it’s best to consume them fresh, you can freeze unfrosted cupcakes. Just be sure to bake and cool them before wrapping tightly in plastic wrap and placing them in a freezer bag. Thaw completely before adding frosting.
Variations of Ice Cream Cone Cupcakes
One of the best things about Ice Cream Cone Cupcakes is their versatility. Here are some fantastic variations to inspire your own creations:
Flavor Swaps: Feel free to use flavored cake mixes or add ingredients like chocolate chips, nuts, or fruit zests to the batter.
Frosting Varieties: Experiment with different types of frosting, such as whipped cream or buttercream, infused with various flavors like mint or coconut.
Theme Your Sprinkles: Use seasonal sprinkles to match holiday celebrations, whether it’s pastel for Easter or red and green for Christmas.
Layered Delight: Create a multi-layered cupcake by adding a layer of frosting in the center of the cupcake before topping with more frosting.
Sundae Style: Top your cupcakes with a drizzle of chocolate or caramel sauce and a cherry to mimic a sundae look.
FAQ
What are Ice Cream Cone Cupcakes?
Ice Cream Cone Cupcakes are baked cupcakes that are placed in edible ice cream cones, combining the joy of cake and the fun of ice cream. They are adorned with frosting and fun toppings, making them a delightful treat.
How can I make Ice Cream Cone Cupcakes gluten-free?
To make these cupcakes gluten-free, substitute regular all-purpose flour with a gluten-free flour blend. Make sure to check that all other ingredients, especially baking powder, are gluten-free.
Can I make these cupcakes ahead of time?
Absolutely! You can bake the cupcakes a day or two in advance. For the best taste and texture, add the frosting closer to serving time.

Ice Cream Cone Cupcakes
Equipment
- Oven
- Mixing Bowl
- Cupcake Pan:
- Piping Bag
Ingredients
- 12 pieces flat-bottomed ice cream cones
- 1/4 cup unsalted butter softened to room temperature
- 1/4 cup neutral cooking oil (vegetable, canola, or avocado)
- 3/4 cup granulated sugar
- 2 large eggs room temperature preferred
- 1 1/2 tsp. vanilla extract
- 1 1/2 cups all-purpose flour
- 1 1/2 tsp. baking powder
- 1/4 tsp. salt
- 2/3 cup buttermilk
- 3 Tbsp. colored sprinkles optional
- 1/2 cup unsalted butter softened
- 8 oz. cream cheese brick-style, softened
- 1/4 tsp. salt
- 1 tsp. vanilla extract
- 4 cups powdered sugar
- 1/4 cup cocoa powder optional for chocolate frosting
- 1-3 Tbsp. heavy cream or milk if needed
- Additional sprinkles for garnish (optional)


Instructions
- Preheat oven to 350°F (175°C). Prepare a cupcake pan by placing the ice cream cones upright in each cup.
- In a large mixing bowl, combine softened butter, cooking oil, and granulated sugar. Beat until creamy and well-blended.
- Add eggs one at a time, beating well after each addition. Stir in vanilla extract until combined.
- In a separate bowl, whisk together flour, baking powder, and salt. Gradually add this dry mixture to the wet mixture, alternating with buttermilk, starting and ending with flour.
- If using, fold in the colored sprinkles halfway through the mixing.
- Carefully fill each ice cream cone about three-quarters full with the batter.
- Bake in the preheated oven for 20-23 minutes, or until a toothpick inserted into the center comes out clean.
- Allow cupcakes to cool completely in the cones before frosting.
- In a clean bowl, beat together softened butter and cream cheese until creamy. Gradually add salt, vanilla extract, and powdered sugar until combined. If making chocolate frosting, add cocoa powder and mix until smooth.
- Fill piping bags with frosting and pipe swirls on top of each cupcake.
- Finish with additional sprinkles for decoration.
Send me this recipe!
Just enter your email below and get it sent straight to your inbox!