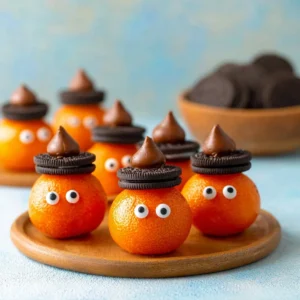
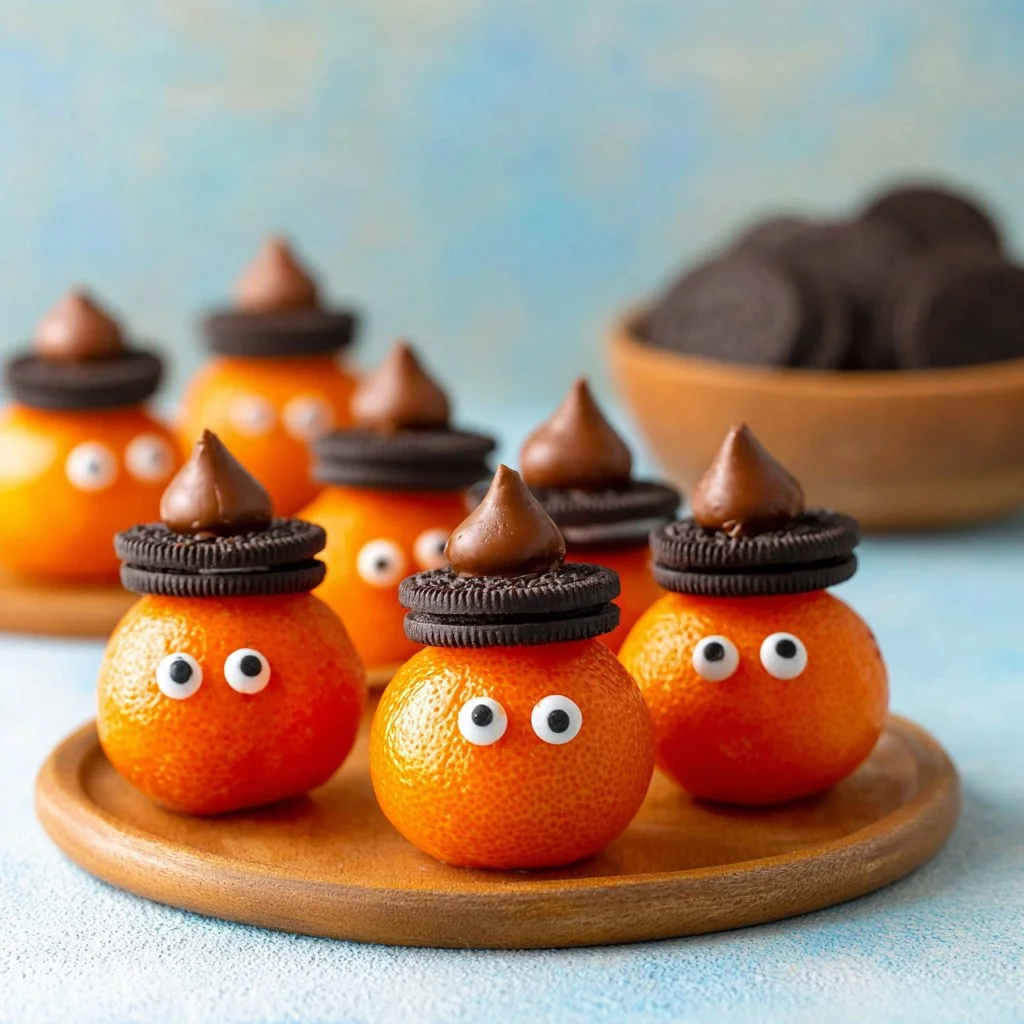
As the spooky season approaches, you’re probably looking for fun and festive treats to celebrate Halloween. One of the simplest yet adorable options you can create is Halloween Clementines. These delightful little snacks are not only easy to make, but they also add a healthy twist to the array of treats that usually fill Halloween baskets. Transforming ordinary clementines into charming little spooky characters, they will be a hit among kids and adults alike.
Why We Love This Halloween Clementines Recipe
Halloween is a time for creativity, treats, and a bit of mischief! One of the best things about Halloween Clementines is how they blend fun with health. While plenty of sugary snacks can often steal the spotlight during this spooky season, actionable treats like these clementines provide a refreshing balance. They’re easy to prepare, making them perfect for busy parents or anyone who wants to whip up something festive without a lot of fuss.
Moreover, you can involve your kids in the preparation of these cute little characters, promoting family bonding while sparking their imagination. Not to mention, they’re a grab-and-go snack, ideal for parties, school events, or simply as a nutritious alternative to candy. The combination of fresh fruit and decadent dark chocolate makes these Halloween Clementines a joyful and guilt-free treat!
Ingredients about Halloween Clementines
To create your Halloween Clementines, you will need the following ingredients:
- 6 clementines: These small, sweet oranges provide the base for your spooky treats.
- 1/4 cup semi-sweet chocolate chips: These will be melted to create the chocolate elements of your treats.
- 6 Hershey’s Dark chocolate kisses: Perfect for creating hat shapes that will top your clementine pumpkins.
- 6 Oreos: The classic cookie serves as the base for the chocolate hats.
- 12 candy eyeballs: These little decorative candies will bring your creatures to life!
How to Make Halloween Clementines Directions
Now, let’s get into the fun part—making your Halloween Clementines! This process is straightforward and can be completed in just a few minutes.
Preparation: Start by rinsing your clementines carefully under cold water. After rinsing, towel dry each clementine to remove any excess moisture. It’s important that they are dry, as this helps the chocolate stick better.
Melt the Chocolate: Take your semi-sweet chocolate chips and place them in a microwave-safe bowl. Heat them in the microwave in 30-second increments, stirring after each interval until the chocolate is melted and smooth. Be careful not to overheat, as chocolate can burn quickly.
Create the Faces: Using a toothpick or a small spoon, dab a little melted chocolate on the back of each candy eyeball. Affix two candy eyeballs onto each clementine to give them whimsical faces—this is where they really start to come alive!
Make the Hats: Next, to create the hats for your clementine characters, take an Oreo cookie and apply a small dollop of melted chocolate in the middle. Gently press a Hershey’s Kiss on top of the chocolate. The melted chocolate helps keep the Kiss secured.
Assemble the Treats: Once the hats are ready, use a piping bag (or simply a plastic bag with the corner snipped off) to squeeze a little melted chocolate on top of each clementine. Carefully place the Oreo hat on top, pressing down gently to secure it.
Repeat the Process: Continue these steps for the rest of your clementines, creating a delightful spooky family of fun, fruity creatures!
Chill and Set: Allow your Halloween Clementines to sit for a while so the chocolate can set. If you have a warm kitchen, consider placing them in the refrigerator for a few minutes.
How to Serve Halloween Clementines
Serving your Halloween Clementines is part of the fun! Here are some tips to present your delightful treats beautifully:
On a Platter: Arrange your clementines on a festive platter. A black or orange plate can enhance the Halloween spirit.
In a Bowl: A clear glass bowl allows guests to see the bright colors of the clementines. You can also fill the bowl with additional candy eyeballs for decoration.
Party Favors: If you’re hosting a Halloween party, consider packaging the clementines in small, clear treat bags tied with orange or black ribbon. This makes for an adorable party favor!
At Kids’ Parties: Set up a small table where children can decorate their own clementines, with bowls of melted chocolate and candy eyeballs for them to use.
These creative serving suggestions will add even more enjoyment to your Halloween Clementines!
Expert Tips: Halloween Clementines
Creating delightful Halloween Clementines can be made even easier with these expert tips:
Choose Fresh Clementines: Opt for firm, unblemished clementines for the best appearance and taste.
Use Quality Chocolate: The flavor of your chocolate can make a big difference. Choose semi-sweet chocolate chips that you enjoy eating on their own.
Creative Faces: Encourage your creativity by varying the placement of the eyeballs or adding other candy pieces to make different expressions.
Temperature Matters: Working in a cooler environment can help the chocolate set more quickly. If your kitchen is warm, set the completed treats in the fridge for a few minutes.
Extra Chocolate: Don’t hesitate to use extra melted chocolate to draw fun designs or patterns on your clementines for added flair.
With these tips, you’ll create Halloween Clementines that not only look fantastic but also taste delicious!
How to Store Halloween Clementines
Proper storage will help keep your Halloween Clementines fresh and delightful. Here’s how to store them:
Room Temperature: If you plan to serve them within a few days, placing them in a cool, dry area at room temperature is sufficient.
Refrigeration: If you need to store them longer, consider placing your clementines in an airtight container in the refrigerator. This will help maintain freshness without drying them out.
Avoid Moisture: Keep your storage areas dry to prevent any moisture from affecting the chocolate decoration.
These storage methods will ensure that your Halloween Clementines remain charmingly spooky and edible for as long as possible!
Variation of Halloween Clementines
While the classic Halloween Clementines are delightful, don’t shy away from experimenting. Here are some variations you might consider:
Different Chocolates: Try using white chocolate or milk chocolate if you prefer a sweeter taste. You can also add food coloring to white chocolate for fun-colored hats!
Additional Decorations: Consider using small sprinkles or edible glitter to add an extra layer of festiveness and sparkle.
Flavored Zest: Add an infusion of flavor by rubbing a little lime or lemon zest into the melted chocolate for a zesty kick.
Miniature Pumpkins: If you can find small pumpkins, using them as the base instead of clementines can make for an even more themed treat.
Feel free to let your imagination run wild with these variations to create a Halloween treat that is uniquely yours!
Frequently Asked Questions about Halloween Clementines
Here are some common questions you might have about making Halloween Clementines:
Can I use other fruits instead of clementines?
Absolutely! While clementines are ideal for their sweet taste and easy-peel skin, you could try using small apples or mandarins as an alternative.
How long do Halloween Clementines last?
When stored properly, Halloween Clementines can stay fresh for up to 3-5 days at room temperature and slightly longer if refrigerated.
Are there any other ingredients I can use?
Certainly! Feel free to incorporate any fun-sized chocolate candies, gummy worms, or unique toppings that can enhance the spookiness!
Can I make these in advance?
Yes, you can prepare the Halloween Clementines 1-2 days in advance. Just be sure to store them properly to maintain their freshness.

Halloween Clementines
Equipment
- Microwave-safe bowl
- Piping Bag or Plastic Bag
- Toothpick
Ingredients
- 6 clementines
- 1/4 cup semi-sweet chocolate chips
- 6 Hershey’s Dark chocolate kisses
- 6 Oreos
- 12 candy eyeballs
Instructions
- Rinse the clementines under cold water and towel dry each one.
- Melt the chocolate chips in a microwave-safe bowl in 30-second increments, stirring until smooth.
- Attach two candy eyeballs to each clementine using a dab of melted chocolate.
- For the hats, place a dollop of melted chocolate on each Oreo and press a Hershey’s Kiss on top.
- Using a piping bag, squeeze melted chocolate on top of each clementine and place the Oreo hat on top.
- Let the clementines sit to allow the chocolate to set, or refrigerate for a few minutes.
Send me this recipe!
Just enter your email below and get it sent straight to your inbox!


