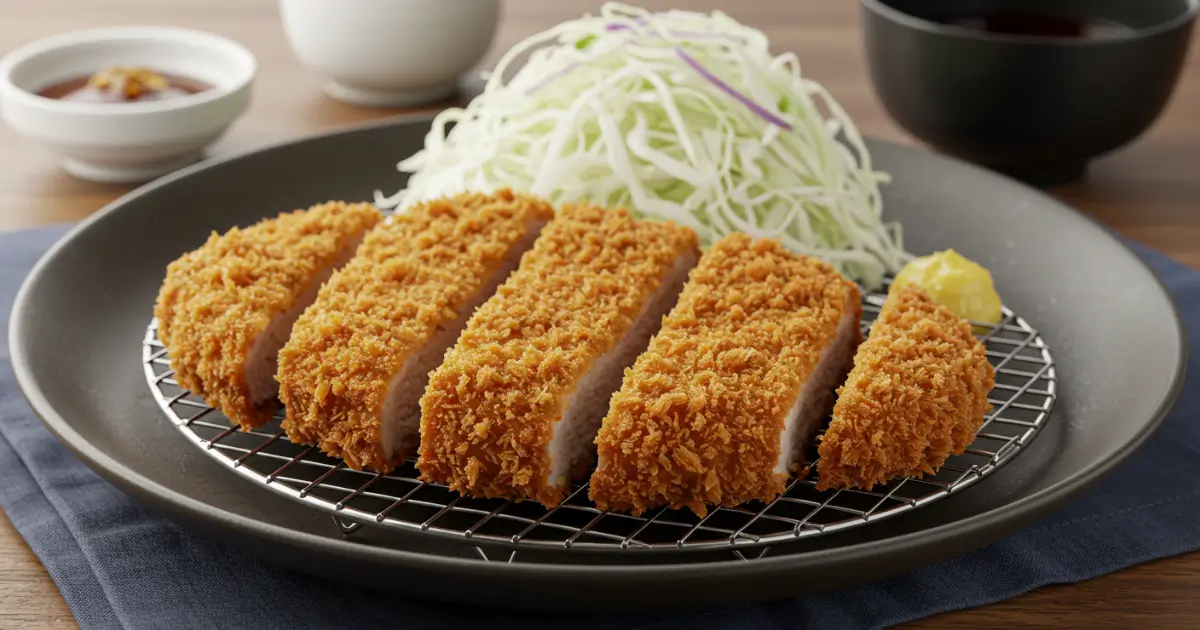
Chicken katsu is one of those meals that hits the spot every time. Crispy on the outside and tender on the inside, it’s a dish that feels both cozy and special. Whether you want a quick family dinner or a taste of Japanese comfort food, this recipe has you covered. You’ll learn how to make it at home, get it perfectly crispy, and even add your own twist.
Why You’ll Love This Chicken Katsu
Universal Comfort
- Delightfully crunchy on the outside, tender on the inside
- Easy enough for weeknights, special enough for weekends
- Loved by kids and adults alike
Rooted in Culture
- A Japanese staple with broad global appeal
- Common in bento boxes, street stalls, and homestyle kitchens
- Fusion-friendly for Hawaiian, Korean, or Western dishes
Ingredients
Chicken thighs or breasts – For authentic chicken katsu, boneless, skinless chicken thighs are ideal. They stay juicy and flavorful after frying. Chicken breasts can be used, but they may result in a slightly drier texture unless carefully cooked.
All-purpose flour – This is used as the first coating layer to help the egg and breadcrumbs stick. Do not substitute with cornstarch or omit it—flour is essential for proper breading adhesion.
Eggs – Beaten eggs create the second layer in the coating process. They help the panko breadcrumbs adhere evenly for that iconic crispy crust in chicken katsu.
Panko breadcrumbs – These airy Japanese breadcrumbs give chicken katsu its signature crunch. Regular breadcrumbs will not yield the same texture and may absorb too much oil during frying.
Salt and pepper – Simple seasoning brings out the flavor of the chicken without overpowering the crisp coating. Do not skip seasoning the chicken before breading—it makes a noticeable difference in every bite.
Vegetable oil – Use a neutral, high-smoke-point oil like canola or sunflower for frying chicken katsu. Avoid olive oil or butter, which can burn at high temperatures and alter the classic flavor.
How to Make Chicken Katsu
Follow this easy, reliable process to master chicken katsu.
1. Prepare the Chicken
Pound the chicken evenly using a meat mallet or rolling pin. This ensures even cooking and avoids dry spots.
2. Season
Sprinkle both sides of the chicken with salt and pepper. Keep it simple—you’ll get flavor from the crust and sauce.
3. Dredge
Create your coating station with three shallow bowls:
Bowl 1: Flour
Bowl 2: Beaten eggs
Bowl 3: Panko breadcrumbs
Dredge chicken in this order: flour → egg → panko. Press firmly into the panko so it adheres well.
4. Fry
Heat oil in a skillet (at least 1 inch deep) to 350°F (175°C). Fry the chicken for 3-4 minutes per side until golden brown and cooked through.
5. Rest
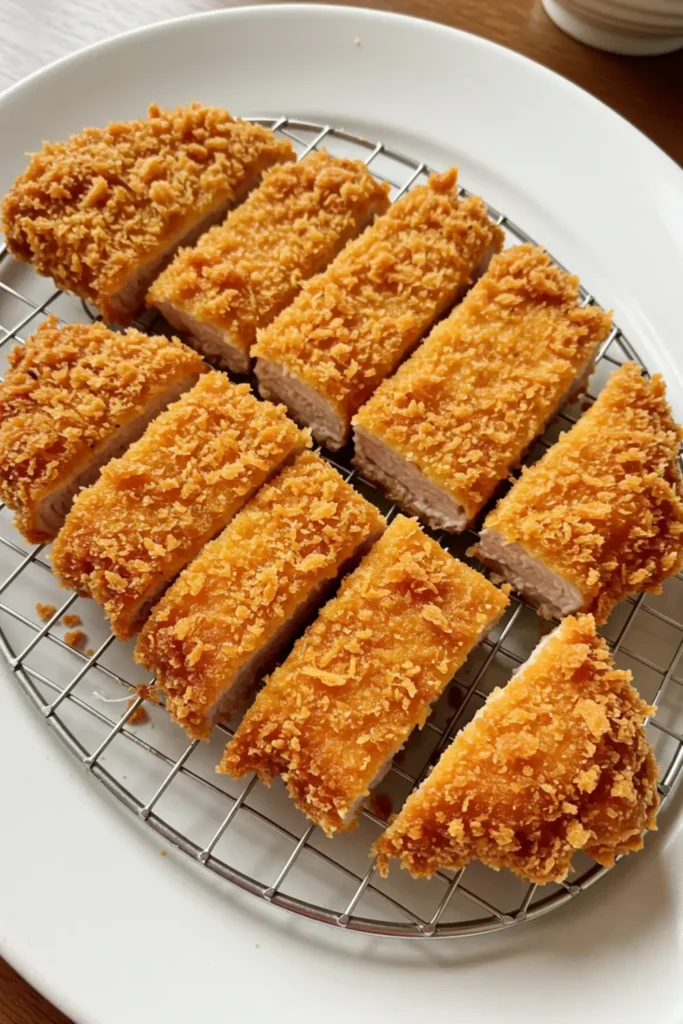
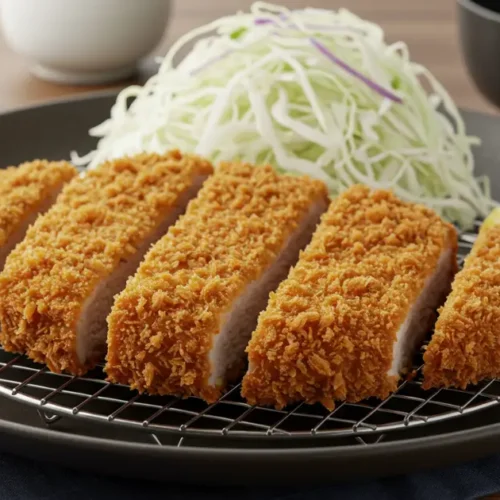
Drain the katsu on a wire rack or paper towels. Let it rest for 5 minutes before slicing.
Temperature Tip
Use a meat thermometer to check that the chicken reaches 165°F (74°C).
Expert Tips for Perfect Chicken Katsu
- Don’t skip pounding the meat – even thickness equals even cooking.
- Use a wire rack after frying to preserve crispness.
- Maintain oil temperature – too low and it gets soggy; too high and it burns.
- Double dip – for a thicker, crunchier crust, repeat the egg and panko steps.
- Chill after breading – 10 minutes in the fridge can help the coating set.
Variations of Chicken Katsu to Try
You can customize your chicken katsu in countless ways. Here are some creative twists:
- Katsu Curry: Serve with Japanese curry over rice for a hearty meal.
- Katsu Sando: Place in fluffy white bread with shredded cabbage and tonkatsu sauce.
- Spicy Katsu: Add chili flakes to the breadcrumbs or mix hot sauce in the egg wash.
- Air-Fried Katsu: Brush with oil and cook in the air fryer at 400°F (200°C) for 15-18 minutes.
Serving Suggestions for Chicken Katsu
Chicken katsu shines when paired with complementary sides and sauces. Try these ideas:
- Classic style: Sliced chicken katsu with rice, cabbage, and tonkatsu sauce
- Fusion plate: Pair with kimchi, pickled veggies, or a spicy mayo drizzle
- In a bowl: Add sliced katsu to a donburi rice bowl with egg or veggies
- As a sandwich: Stack in soft rolls with slaw and sriracha-mayo
Finish with a squeeze of lemon for brightness.
More Chicken recipes you will love!
Frequently Asked Questions About Chicken Katsu
What is chicken katsu made of?
Chicken katsu is made from breaded chicken cutlets, typically thighs or breasts, coated in panko breadcrumbs and deep-fried until golden and crispy.
What’s the difference between chicken katsu and tonkatsu?
Tonkatsu uses pork cutlets while chicken katsu uses chicken. The breading and cooking method remain the same.
Can I bake chicken katsu instead of frying?
Yes. Bake at 400°F (200°C) for 25-30 minutes, flipping halfway. For extra crispness, use a wire rack and spray the top with oil.
How do I keep chicken katsu crispy?
Drain on a wire rack and avoid stacking. Serve immediately after frying, or reheat in the oven to restore crunch.
What sauce goes best with chicken katsu?
Tonkatsu sauce is traditional. You can also try soy sauce, spicy mayo, or a garlic-based aioli.
Chicken Katsu
Equipment
- Skillet
- Wire Rack
- Tongs
Ingredients
Main Ingredients
- 4 boneless, skinless chicken thighs or breasts
- 1 cup all-purpose flour
- 2 large eggs beaten
- 1½ cups panko breadcrumbs
- salt and pepper to taste
- vegetable oil for frying
Optional for Serving
- steamed white rice
- tonkatsu sauce
- shredded green cabbage
- lemon wedges


Instructions
- Pound the chicken to an even thickness using a meat mallet or rolling pin.
- Season both sides with salt and pepper.
- Prepare three bowls: one with flour, one with beaten eggs, and one with panko breadcrumbs.
- Dredge each chicken piece in flour, then egg, then panko. Press to adhere.
- Heat oil in a skillet to 350°F (175°C). Fry chicken 3–4 minutes per side until golden and cooked through.
- Transfer to a wire rack or paper towels. Let rest for 5 minutes before slicing.
Send me this recipe!
Just enter your email below and get it sent straight to your inbox!