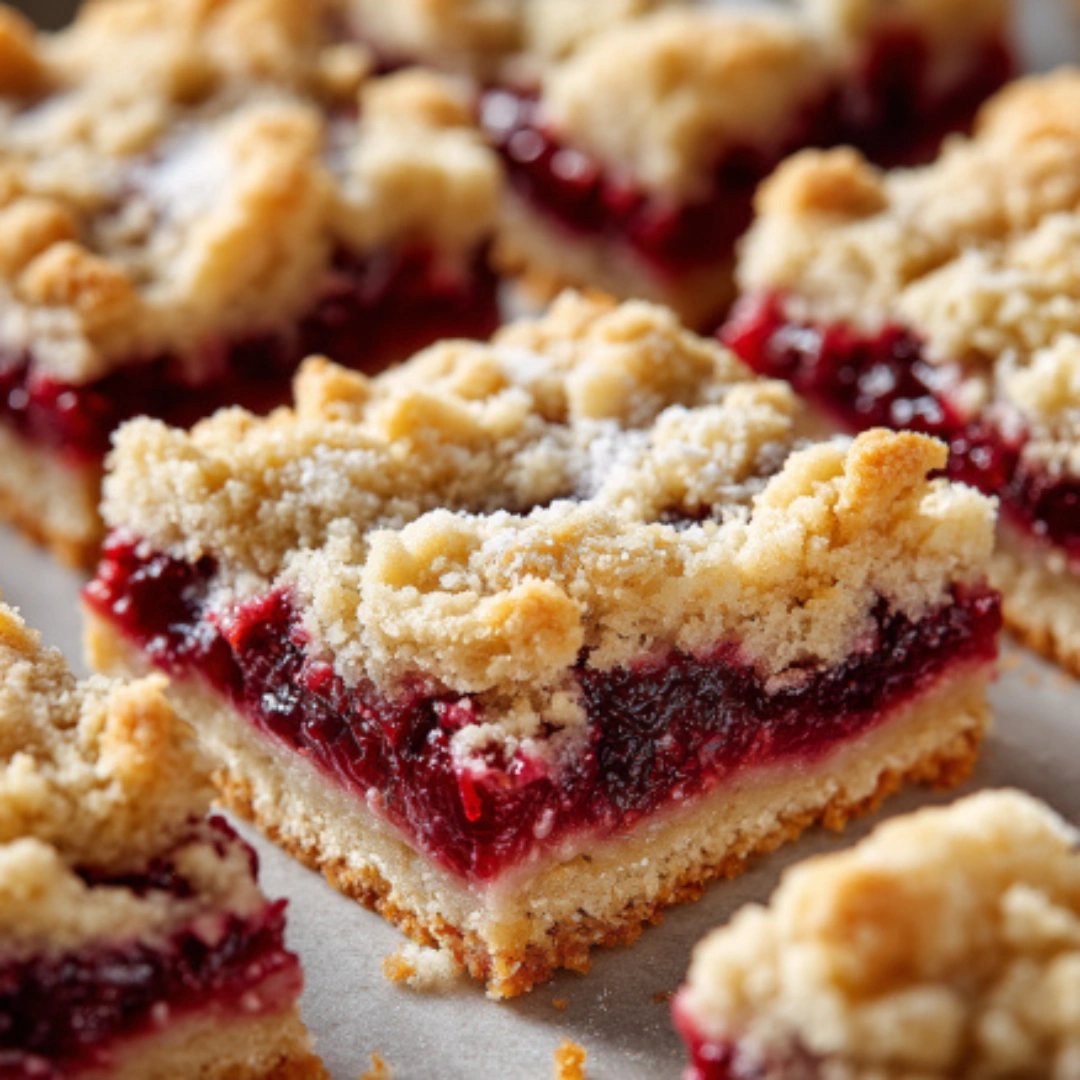
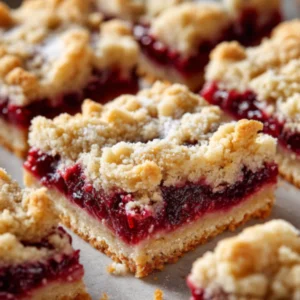
Cherry Pie Bars are a delightful treat that combines the best of a classic pie and a cookie bar. You get a sweet, buttery shortbread crust, a juicy cherry filling, and a crumbly topping that makes each bite irresistible. On top of that, a delicate almond glaze adds a finishing touch that enhances the flavor without overpowering it. These bars are perfect for gatherings, holidays, or simply enjoying with a cup of coffee or tea. By making them at home, you can control the sweetness and ensure every layer is fresh and flavorful. You’ll find that making Cherry Pie Bars is simpler than it seems, and the end result is a dessert that looks as good as it tastes.
Why We Love Cherry Pie Bars
There are so many reasons to love Cherry Pie Bars. First, the crust is buttery and slightly crisp, giving you a satisfying texture with every bite. The cherry filling is sweet and tangy, providing the perfect contrast to the rich base. And that crumbly topping adds a lovely crunch that makes these bars stand out from ordinary pies. Another reason you’ll love them is their versatility. You can make them ahead of time and store them, or bring them to a picnic or party. Their portability and ease of serving make them a practical choice for busy schedules. Finally, the almond glaze elevates the dessert, adding a hint of nuttiness that complements the cherry flavor beautifully.
Ingredients for Cherry Pie Bars
To make Cherry Pie Bars, you’ll need a few staple ingredients, most of which you probably already have in your pantry. The ingredients are divided into two main sections: the crust and topping, and the filling and glaze.
Crust & Topping Ingredients
- 3 cups (360 g) all-purpose flour, stirred, spooned, and leveled
- 1 cup (200 g) granulated sugar
- 1 tsp baking powder
- ½ tsp salt
- 1 cup (226 g) butter, room temperature (salted or unsalted)
- 1 large egg
Filling & Glaze Ingredients
- 21 oz (595 g) can cherry pie filling
- 1 tsp almond extract, divided
- 1 cup (120 g) powdered sugar
- 1-2 Tbsp milk
You’ll also need basic equipment such as a mini rolling pin, parchment paper, and a 13×9-inch pan. Having these on hand will make the process smoother and more enjoyable.
How to Make Cherry Pie Bars
Making Cherry Pie Bars involves creating a buttery crust, layering it with cherry filling, and topping it with crumbly dough. Begin by preheating your oven to 375 degrees Fahrenheit and preparing your pan with parchment paper or a light coat of cooking spray. This ensures your bars come out cleanly and maintain their shape.
Next, in a stand mixer, combine flour, sugar, baking powder, and salt. Add the butter gradually, mixing until the mixture resembles fine crumbs. Incorporate the egg, but avoid overmixing; the dough should remain slightly crumbly. Reserve about one-third of the mixture for the topping and press the rest into the prepared pan. Bake the crust for 10-12 minutes, until it looks matte and is lightly browned.
While the crust bakes, mix your cherry pie filling with half of the almond extract. Spread the filling evenly over the partially baked crust. Then, crumble the remaining dough over the top. You can press some crumbs together for larger pieces, adding texture to the topping. Bake for an additional 25-30 minutes, until the top is lightly golden and the filling bubbles in the center.
Once baked, let the bars cool completely. For the glaze, combine powdered sugar, milk, and the remaining almond extract. Adjust the consistency by adding a little more milk if needed. Drizzle over the cooled bars and let it set before cutting into squares. The result is a layered dessert with a golden crust, vibrant cherry filling, and a delicate glaze that adds visual and flavor appeal.
How to Serve Cherry Pie Bars
Serving Cherry Pie Bars is easy, but you can make it special with a few simple touches. Cut them into squares using a sharp knife, and for clean edges, wipe the knife between cuts. You can serve them on a platter for parties, or individually wrapped for on-the-go snacks. Pair them with a hot beverage like coffee, tea, or hot chocolate to complement the sweet and tangy flavors. You can also sprinkle a few extra crushed almonds on top of the glaze for added texture and a subtle nutty flavor. These bars are perfect for breakfast treats, dessert after dinner, or even as a sweet snack during the day.
Expert Tips for Cherry Pie Bars
Here are some tips to help you make the best Cherry Pie Bars every time:
- Butter Temperature: Use butter at room temperature, not melted. This ensures the crust is crumbly and holds together properly.
- Crumb Size: When adding the topping, mix some crumbs together for larger pieces and leave others small. This creates a pleasing texture contrast.
- Cherry Filling: For an extra flavor boost, lightly mash some cherries in the filling before spreading. This enhances the overall taste.
- Glaze Consistency: Make sure your glaze is not too runny. Start with 1 tablespoon of milk and add more if needed. A thick glaze will stay on top of the bars instead of dripping off.
- Cooling Time: Allow the bars to cool completely before drizzling the glaze. If they are too warm, the glaze will melt and lose its effect.
How to Store Cherry Pie Bars
Proper storage is key to keeping your Cherry Pie Bars fresh and delicious. Store them in an airtight container at room temperature for up to three days. If you want to keep them longer, place them in the refrigerator for up to a week. For extended storage, you can freeze the bars. Wrap them individually in parchment paper, then place them in a freezer-safe container. Thaw them at room temperature before serving. This way, you always have a sweet treat ready whenever you need it.
Variations of Cherry Pie Bars
Cherry Pie Bars are versatile, and you can experiment with different variations to suit your taste. Swap the cherry filling for other fruit fillings like blueberry, apple, or mixed berries. For the crust, try adding a teaspoon of cinnamon or nutmeg to give it a warm, spiced flavor. You can also mix in chopped nuts into the topping for added crunch. Another variation is to drizzle chocolate instead of the almond glaze, creating a chocolate-cherry combination that is irresistible. These tweaks allow you to customize the bars and make them uniquely yours.
Frequently Asked Questions about Cherry Pie Bars
Can I use frozen cherries instead of canned cherry pie filling?
Yes, you can use frozen cherries. Make sure to thaw and drain them before using, and you may need to add a little sugar or cornstarch to achieve the right consistency.
How long do Cherry Pie Bars stay fresh?
At room temperature, they last up to three days. Refrigerated, they can stay fresh for a week, and frozen bars can last up to three months.
Can I make these bars gluten-free?
Yes, substitute the all-purpose flour with a gluten-free flour blend. Keep in mind the texture may vary slightly.
What is the best way to cut Cherry Pie Bars?
Use a sharp knife and wipe it between cuts for clean edges. Cutting once the bars are completely cool prevents crumbling.
Can I prepare Cherry Pie Bars ahead of time?
Absolutely. You can assemble them and store them in the fridge before baking, or bake them in advance and drizzle the glaze just before serving.
Cherry Pie Bars
Equipment
- 13×9-inch pan
- Mixing Bowl
- Stand Mixer
- Parchment Paper
Ingredients
- 3 cups all-purpose flour (360 g, stirred, spooned, and leveled)
- 1 cup granulated sugar (200 g)
- 1 tsp baking powder
- ½ tsp salt
- 1 cup butter (226 g, room temperature, salted or unsalted)
- 1 large egg
- 21 oz canned cherry pie filling (595 g)
- 1 tsp almond extract divided
- 1 cup powdered sugar (120 g)
- 1-2 Tbsp milk


Instructions
- Preheat your oven to 375°F (190°C) and prepare a 13×9-inch pan with parchment paper or cooking spray.
- In a stand mixer, combine flour, sugar, baking powder, and salt. Add butter and mix until it resembles fine crumbs. Incorporate the egg without overmixing.
- Reserve about one-third of the mixture for the topping, then press the rest into the pan. Bake for 10-12 minutes until lightly browned.
- Mix cherry pie filling with half of the almond extract and spread over the baked crust. Crumble reserved dough on top.
- Bake for an additional 25-30 minutes until the top is golden and filling bubbles.
- Allow to cool completely. For the glaze, mix powdered sugar, milk, and remaining almond extract and drizzle over the cooled bars.
Send me this recipe!
Just enter your email below and get it sent straight to your inbox!