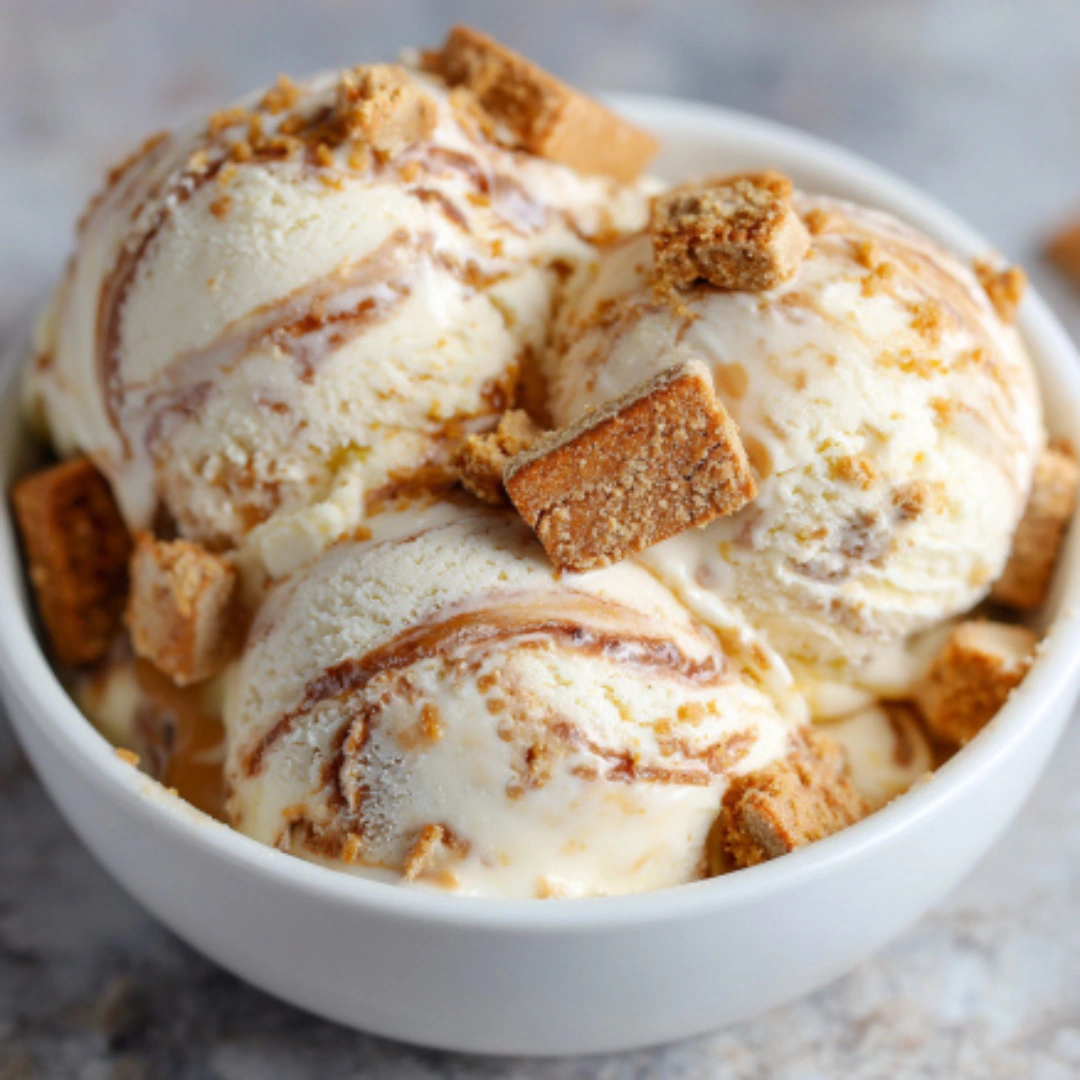
This Biscoff ice cream is a creamy, dreamy dessert that combines smooth vanilla ice cream with the rich, caramel-like flavor of cookie butter. As you scoop through it, you’ll discover chunks of Biscoff cookies adding a delightful crunch to every bite. The swirls of cookie butter create a marbled effect that makes each serving visually appealing as well as indulgent.
Why We Love This Biscoff Ice Cream
You will fall in love with this ice cream because it combines the creamy softness of homemade ice cream with the sweet and spiced flavor of Biscoff cookies. The chunks of cookies mixed throughout give texture, making each spoonful exciting. It’s a dessert that feels luxurious but is surprisingly simple to prepare. The sweet aroma of Biscoff as it melts with vanilla ice cream will fill your kitchen, making it impossible to resist tasting as soon as it’s ready. Whether you’re serving it at a party, enjoying it on a warm afternoon, or simply indulging in a quiet moment, this ice cream is a crowd-pleaser. It’s also customizable, so you can add more cookies, drizzle extra cookie butter, or even mix in chocolate chips for a personal touch.


Ingredients for Biscoff Ice Cream
To make this ice cream, you’ll need a handful of ingredients that come together to create a decadent dessert.
- 2 1/2 cups heavy cream
- 1 1/2 cups whole milk
- 1 cup granulated sugar
- 1/2 tablespoon vanilla extract
- 1 cup chopped Biscoff cookies
- 1/2 cup cookie butter
How to Make Biscoff Ice Cream
Making this Biscoff ice cream may seem like a project, but it is straightforward when you follow each step carefully. Begin by freezing the bowl of your 2-quart ice cream maker at least overnight. This ensures that your ice cream will churn properly and achieve the perfect creamy texture.
In a large mixing bowl, combine the milk, cream, sugar, and vanilla extract. Stir the mixture for a few minutes until the sugar fully dissolves. Pour this base into your ice cream maker and allow it to run for 25 to 30 minutes, following the directions of your specific machine.
Once the ice cream has thickened slightly, add the chopped Biscoff cookies. Let the ice cream churn for an additional 3 to 4 minutes to evenly distribute the cookies throughout the mixture. While the ice cream is churning, melt the cookie butter in a microwave for about 30 seconds until it becomes creamy and pourable.
To create the signature Biscoff swirls, scoop a quarter of the ice cream into a 2-quart pan. Drizzle a quarter of the melted cookie butter over the ice cream. Repeat this layering process until all the ice cream and cookie butter are used. You can sprinkle extra Biscoff cookie crumbs on top for added crunch and a decorative touch. Cover the pan with plastic wrap and freeze the ice cream for at least 6 hours, or overnight for a firmer texture.
Once frozen solid, your ice cream is ready to serve. The result is a rich, creamy dessert with a perfect balance of smooth ice cream, cookie chunks, and caramel-like swirls of cookie butter.
How to Serve Biscoff Ice Cream
Serving this ice cream can be as simple or as creative as you like. You can scoop it into bowls and enjoy it on its own, letting the flavors shine. For a special touch, serve it with additional crumbled Biscoff cookies sprinkled on top.
It also pairs well with other desserts. Consider serving it alongside brownies, warm chocolate cake, or even apple pie. The creamy texture and caramel notes of the Biscoff ice cream complement baked goods beautifully. For an elegant presentation, scoop the ice cream into a waffle bowl and drizzle more cookie butter or a light caramel sauce over it.
You can even add fresh fruit like strawberries or bananas for a refreshing contrast to the rich ice cream. This versatility makes it a great dessert for family gatherings, parties, or even as a sweet ending to a weeknight meal.
Expert Tips for Biscoff Ice Cream
To make the best Biscoff ice cream, follow these expert tips:
- Make sure your ice cream maker bowl is completely frozen before use. This is key to achieving a smooth, creamy texture.
- Use high-quality Biscoff cookies and cookie butter for the best flavor. The caramel and spice notes in these cookies make all the difference.
- Stir the ice cream base until the sugar is fully dissolved to prevent a grainy texture.
- When layering the ice cream and cookie butter, use a spoon or spatula to gently swirl, creating a marbled effect without overmixing.
- Freeze the ice cream for at least 6 hours to allow it to firm up properly. For a scoopable texture straight from the freezer, let it sit at room temperature for 5 to 10 minutes before serving.
- For extra crunch, reserve some chopped cookies to sprinkle on top just before serving.
Following these tips ensures that your ice cream is both visually appealing and irresistibly delicious.
How to Store Biscoff Ice Cream
Storing this ice cream properly is essential to maintain its flavor and texture. Keep it in an airtight container in the freezer to prevent ice crystals from forming. Place a layer of plastic wrap directly on the surface of the ice cream before sealing the container to keep it extra smooth.
Biscoff ice cream can be stored in the freezer for up to two weeks without losing its flavor. For best results, avoid refreezing melted ice cream as this can affect its creamy consistency. When you’re ready to enjoy it, let it sit at room temperature for a few minutes to make scooping easier.
Variations of Biscoff Ice Cream
There are many ways to make this ice cream uniquely yours. You can add chocolate chips, caramel swirls, or even peanut butter for a flavor twist. For a more decadent version, layer crushed chocolate cookies along with the Biscoff cookies.
Another variation is to make a no-churn version by whipping condensed milk with cream and folding in the cookie chunks and cookie butter. This version requires less equipment and still delivers creamy, flavorful results.
You can also turn it into a sundae by topping the scoops with hot fudge, caramel sauce, or whipped cream. For a lighter option, try serving smaller portions with fresh fruit or a sprinkle of granola for texture.
Frequently Asked Questions About Biscoff Ice Cream
Can I make Biscoff ice cream without an ice cream maker?
Yes, you can use a no-churn method by whipping cream and folding in condensed milk, cookie chunks, and cookie butter. Freeze until solid for a creamy, scoopable dessert.
How long can I store Biscoff ice cream?
It can be kept in the freezer for up to two weeks. Use an airtight container and cover with plastic wrap to prevent ice crystals.
Can I add extra cookie butter?
Absolutely. You can drizzle more cookie butter in layers or on top of the ice cream for a richer flavor and beautiful presentation.
Can I use low-fat milk instead of whole milk?
Whole milk is recommended for the creamiest texture. Using low-fat milk may result in a slightly less smooth consistency.
Can I make this ahead of time for a party?
Yes, you can prepare it a day or two in advance and store it in the freezer. Just remember to allow a few minutes at room temperature before serving for easier scooping.

Biscoff Ice Cream
Equipment
- Ice Cream Maker
- Large mixing bowl
- 2-quart pan
Ingredients
- 2 1/2 cups heavy cream
- 1 1/2 cups whole milk
- 1 cup granulated sugar
- 1/2 tablespoon vanilla extract
- 1 cup chopped Biscoff cookies
- 1/2 cup cookie butter
Instructions
- Freeze the bowl of your ice cream maker overnight. In a large bowl, combine cream, milk, sugar, and vanilla extract. Stir until sugar is dissolved.
- Pour the mixture into the ice cream maker and churn for 25-30 minutes.
- Once thickened, add chopped Biscoff cookies and churn for an additional 3-4 minutes.
- Melt cookie butter in the microwave until creamy. Layer a quarter of the ice cream in a pan, drizzle with cookie butter, and repeat until all ice cream and cookie butter are used. Sprinkle additional cookie crumbs on top.
- Cover with plastic wrap and freeze for at least 6 hours or overnight.
Send me this recipe!
Just enter your email below and get it sent straight to your inbox!