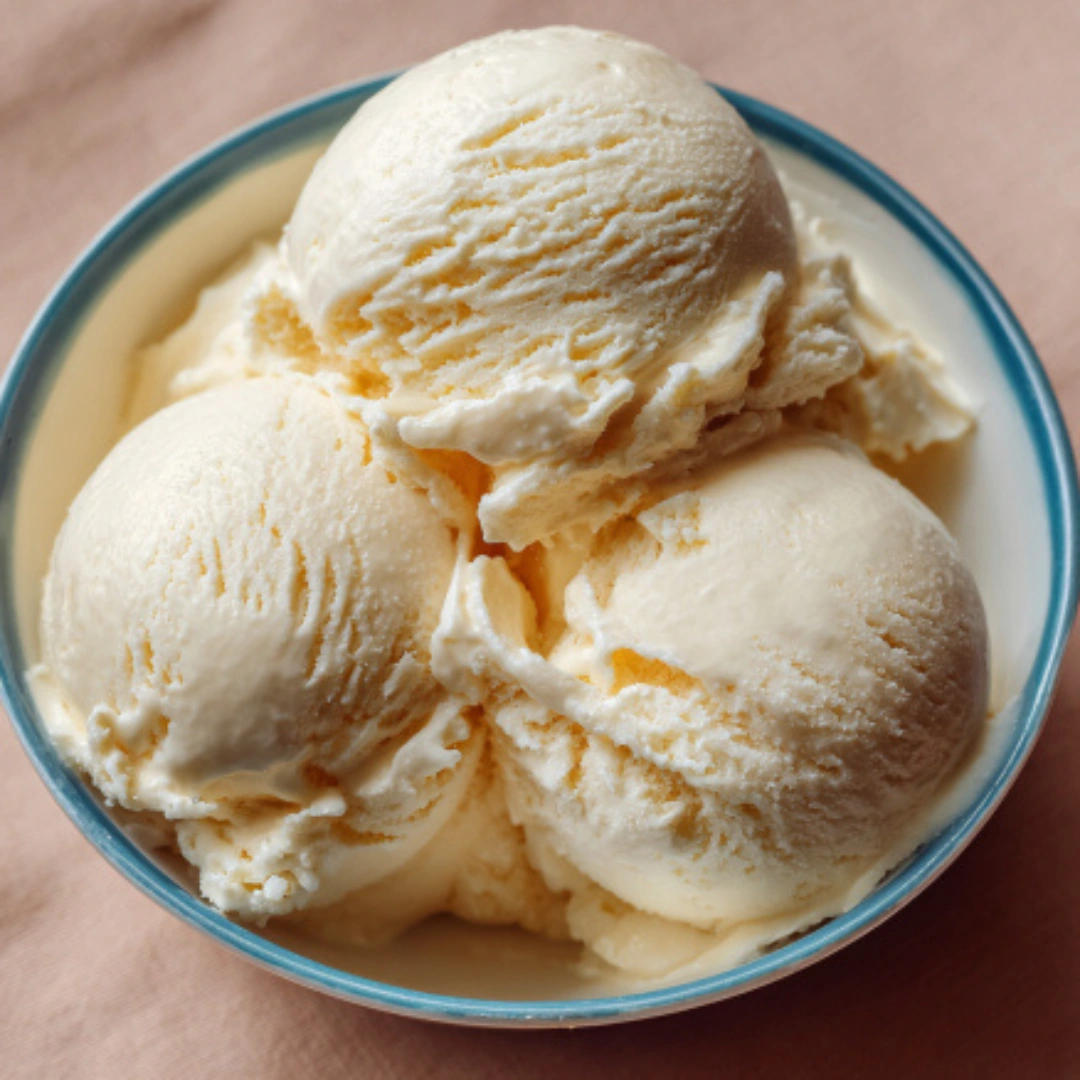
If you’ve been craving a creamy, delicious dessert that’s free from dairy, this Dairy Free Ice Cream recipe is exactly what you need. You’ll find it rich, smooth, and perfect for hot summer days or anytime you want a treat without using milk or cream. Made with coconut milk, it captures the classic ice cream texture while remaining vegan and gluten-free. You don’t need fancy ingredients or complicated steps to create a dessert that tastes like it came from an artisanal shop.
Why We Love This Dairy Free Ice Cream Recipe
You’ll love this Dairy Free Ice Cream for more than just its taste. First, it’s simple. You only need a handful of ingredients that you probably already have on hand, and the steps are straightforward. Second, it’s versatile. You can make chocolate, fruit, or nut variations easily. Third, it’s creamy and smooth, a texture that’s often hard to achieve in dairy-free desserts.
Because it uses coconut milk, it has a rich and luscious feel that mimics traditional ice cream almost perfectly. Even people who aren’t vegan or dairy-free will find it hard to believe it doesn’t contain any cream. Plus, it’s a treat you can feel good about serving to family and friends, knowing it’s free of dairy, gluten, and artificial flavors. Once you taste it, you’ll see why it quickly becomes a go-to recipe for dessert lovers.
Ingredients for Dairy Free Ice Cream
To make this recipe, you’ll need a few essential ingredients. Each one plays a key role in ensuring your ice cream has the perfect flavor and texture.
- 2 1/2 cups coconut milk (preferably boxed, not canned)
- 1/2 cup plus 2 tablespoons organic cane sugar
- 1/4 teaspoon xanthan gum (optional, for better texture)
- 3/4 cup water
- 1/8 teaspoon sea salt
- 2 teaspoons vanilla extract
How to Make Dairy Free Ice Cream
Start by preparing your coconut milk. Pour it into a medium bowl or a 4-cup glass measuring cup. If you are using boxed coconut milk, there’s no need for extra blending, but if you use canned, make sure it’s smooth.
Next, create a sugar mixture. In a small saucepan, whisk together the sugar and xanthan gum. Add water and stir constantly over medium heat until the sugar is fully dissolved. This should take about three minutes. Then, add the sea salt and vanilla extract, mixing until combined.
Pour this sugar mixture into the coconut milk and whisk thoroughly. This ensures the flavors are evenly distributed, creating a smooth ice cream base. For best results, chill this mixture for at least six hours if you are using an ice cream maker with a freezer bowl. If you want, you can store the base in the fridge for up to ten days or freeze it for later use.
When you’re ready to make ice cream, pour the chilled mixture into your ice cream maker and follow its directions. Churn until the mixture is creamy and frozen. You can enjoy it immediately as soft-serve ice cream, or transfer it to an airtight container and store it in the freezer for up to three months. Allow it to sit for about ten minutes before scooping to soften slightly.
The key to success is patience. The ice cream is at its best right after churning, so don’t rush the process. This base is versatile and can also be adapted for other flavors, allowing you to experiment with chocolate, berries, or nuts.
How to Serve Dairy Free Ice Cream
Serving this ice cream is simple but can be made extra special with a few tips. Scoop it into bowls or waffle cones for a classic presentation. You can top it with fresh fruit like strawberries or mango for a refreshing touch. Nuts, coconut flakes, or dairy-free chocolate chips add texture and make it look more appealing.
If you want a dessert that feels indulgent, drizzle some dairy-free caramel or chocolate sauce over the top. For a lighter approach, serve it with a small slice of fruit tart or alongside vegan cookies. You can even layer it in a glass with fruit and crushed nuts to make a dairy-free ice cream parfait. The possibilities are endless, and the creamy texture ensures it pairs well with almost any combination.
Expert Tips for Dairy Free Ice Cream
To get the best results, choose your coconut milk carefully. Boxed coconut milk has less fat than canned, which affects texture. If you must use canned, blend it first until smooth.
Chilling the base before churning is crucial for creamy ice cream. While it’s possible to skip this step, doing so may result in a grainy texture. Additionally, using xanthan gum helps the ice cream hold its shape better and prevents ice crystals from forming.
Another tip is to make a double batch of the base. This way, you can refrigerate or freeze half for later. You can also experiment with adding flavors like cocoa powder, coffee, or fruit puree to customize your ice cream. Always use an airtight container for storage to maintain freshness.
How to Store Dairy Free Ice Cream
Proper storage ensures your ice cream stays creamy and delicious. Store it in an airtight container in the freezer for up to three months. Avoid opening the container too often, as temperature changes can create ice crystals and affect texture.
If you make the ice cream base ahead of time, it can be refrigerated for up to ten days or frozen for later. Always give frozen ice cream a few minutes at room temperature before serving to soften it slightly. By storing it correctly, you can enjoy this homemade treat anytime without sacrificing flavor or texture.
Variation of Dairy Free Ice Cream
One of the best things about this recipe is how adaptable it is. You can add cocoa powder to make chocolate ice cream or mix in fruit purees like mango, blueberry, or strawberry for a fruity twist. Chopped nuts, chocolate chips, or cookie crumbs can also be stirred in after churning for extra texture.
For a tropical flavor, try adding shredded coconut or a hint of pineapple juice. If you prefer a coffee-flavored dessert, mix in a small amount of instant coffee or espresso powder. The base is versatile enough to experiment with any flavor combination you enjoy, making this recipe a staple in your dairy-free dessert collection.
FAQ About Dairy Free Ice Cream
Can I make this ice cream without an ice cream maker?
Yes! You can pour the base into a shallow container and freeze it. Stir every 30 minutes for a few hours to break up ice crystals until it reaches a creamy consistency.
Is boxed coconut milk necessary?
Boxed coconut milk works best because it creates a smooth texture. You can use canned coconut milk, but blend it first and note that fat content may affect creaminess.
How long does it last in the freezer?
Stored properly in an airtight container, it can last up to three months. Let it soften slightly before scooping.
Can I add flavors to the base?
Absolutely! You can add cocoa, fruit puree, nuts, or even coffee for customized flavors. Add after chilling the base for best results.
Is it possible to make it sugar-free?
Yes, substitute sugar with a sweetener of your choice, but this may slightly alter texture and sweetness.
Can this ice cream be made ahead of time?
Yes, the base can be refrigerated for up to ten days or frozen for later use. This makes it convenient for planning desserts in advance.
Dairy Free Ice Cream
Equipment
- Ice Cream Maker
- Mixing Bowl
- Saucepan
Ingredients
- 2 1/2 cups coconut milk (preferably boxed, not canned)
- 1/2 cup organic cane sugar
- 2 Tbsp. organic cane sugar
- 1/4 tsp. xanthan gum (optional, for better texture)
- 3/4 cup water
- 1/8 tsp. sea salt
- 2 tsp. vanilla extract


Instructions
- Pour coconut milk into a medium bowl or a 4-cup measuring cup. If using canned coconut milk, blend until smooth.
- In a saucepan, whisk together sugar and xanthan gum. Add water and stir over medium heat until the sugar dissolves (about 3 minutes). Add sea salt and vanilla extract, mixing well.
- Pour the sugar mixture into the coconut milk and whisk thoroughly to combine.
- Chill the mixture for at least 6 hours before using an ice cream maker. The base can be stored in the fridge for up to 10 days or frozen for later use.
- Pour the chilled mixture into your ice cream maker and churn according to the manufacturer’s instructions until creamy and frozen.
- Enjoy immediately as soft-serve or transfer to an airtight container and freeze for up to 3 months. Let sit for 10 minutes before scooping to soften.
Send me this recipe!
Just enter your email below and get it sent straight to your inbox!