If you find yourself in the mood for a dessert that combines the rich flavors of chocolate, caramel, and peanut butter, look no further than Butterfinger Cake. This delectable treat captures the essence of your favorite candy bar in a straightforward, scrumptious cake that is perfect for any occasion.
Why We Love This Butterfinger Cake Recipe
There are countless cake recipes available, but Butterfinger Cake stands out for several reasons. First and foremost, it combines beloved flavors that many people already know and love. The marriage of chocolate, caramel, and peanut butter resonates with our taste buds, making it an instant favorite.
Another reason to adore this cake is its straightforward preparation. You don’t need to be a professional chef to whip this up. The recipe calls for simple ingredients and easy-to-follow directions, making it accessible to bakers of all levels, from beginners to seasoned experts.
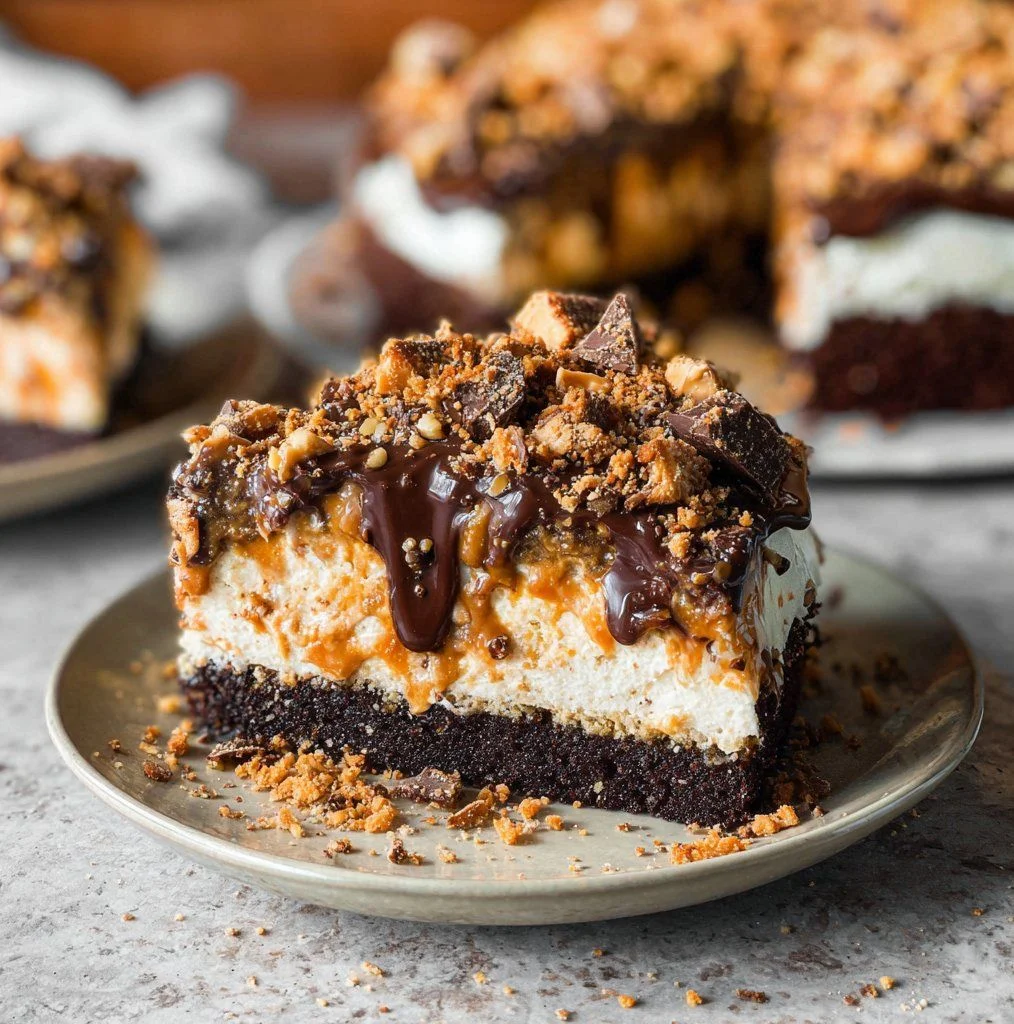
Moreover, Butterfinger Cake is visually stunning. With its rich chocolate base and eye-catching toppings of peanut butter whipped cream and crushed Butterfinger bars, it’s a feast for the eyes as much as it is for the palate. This cake is sure to be the centerpiece of any dessert table, drawing in guests with its irresistible charm.
Lastly, let’s not forget about how versatile this cake can be. Whether you enjoy it cold from the fridge or at room temperature, it’s a delightful dessert that adapts to your personal preferences. Plus, it’s incredibly easy to customize—adding nuts, drizzling more caramel, or serving it with a scoop of vanilla ice cream can be a fun twist!
Ingredients for Butterfinger Cake
To create this divine Butterfinger Cake, you will need the following ingredients:
- 1 chocolate cake, baked in a 9×13” pan
- 1 recipe caramel sauce or one 16oz jar caramel topping
- 7 ounces sweetened condensed milk
- 1 ½ cups heavy whipping cream
- 1 ½ tablespoons creamy peanut butter
- ¼ cup powdered sugar
- 3 Butterfinger bars, chopped
Gathering these ingredients is the first step on your journey to making a cake that will thrill your taste buds and those of your loved ones!
How to Make Butterfinger Cake
Let’s dive into the nitty-gritty of preparing this culinary masterpiece.
Prepare the Chocolate Cake: Start by baking your chocolate cake in a 9×13” pan according to the instructions provided in your cake recipe. After baking, allow the cake to cool for about 10-15 minutes.
Poke Holes: Once the cake has cooled slightly, take a fork or a wooden skewer and poke holes all over the surface of the cake. This will help the caramel and condensed milk seep into the cake, creating a moist and flavorful experience.
Add the Caramel & Condensed Milk: Pour your chosen caramel sauce, or the contents of the jar, generously over the top. Next, drizzle the sweetened condensed milk evenly across the cake. The combination of these sweet toppings will soak into the holes, leading to a melt-in-your-mouth experience later.
Cool Completely: Give the cake time to cool completely at room temperature. This may take an hour or so, depending on your kitchen temperature. Once cooled, it’s time to focus on the whipped cream topping.
Make the Peanut Butter Whipped Cream: In a mixing bowl, combine the creamy peanut butter with powdered sugar. Mix them together until smooth and well-combined. Gradually add in the heavy whipping cream while continuing to mix. Whip this mixture until you reach stiff peaks; this means that the whipped cream should hold its shape when you lift the mixer out.
Spread the Whipped Cream: Once your whipped cream is ready, spread it generously over the cooled cake. Make sure to cover the entire surface, allowing it to be beautifully decadent.
Add Toppings: Finally, sprinkle the chopped Butterfinger bars liberally over the top. This not only adds a delicious crunch but also makes the cake visually appealing.
Refrigerate: To allow all the flavors to meld together, place the cake in the refrigerator for at least one hour. You can refrigerate it for up to one day for an even firmer texture and improved flavors.
When the waiting period is over, slice yourself a piece and enjoy this mouthwatering creation.
How to Serve Butterfinger Cake
When it comes to serving Butterfinger Cake, you have plenty of options to delight your guests. For a simple presentation, cut the cake into squares and plate them individually. Consider adding a scoop of vanilla ice cream or a dollop of whipped cream alongside each piece for extra indulgence.
If you want to elevate the experience further, drizzle additional warm caramel sauce over each slice. This added touch will enhance the flavors even more, making each bite a little piece of heaven.
Don’t forget garnishing options! Sprigs of mint or a light dusting of cocoa powder can add a lovely visual contrast that draws the eye. You might also consider serving it with a side of fresh berries, which can provide a refreshing contrast to the richness of the cake.
No matter how you choose to serve it, Butterfinger Cake is bound to be a showstopper at your dessert spread!
Expert Tips for Butterfinger Cake
Creating the perfect Butterfinger Cake can be achieved with just a few expert tips:
Use Fresh Ingredients: Ensure your heavy whipping cream is fresh for optimal whipping. Stale ingredients can affect the texture and flavor.
Don’t Rush Cooling: Allow your cake and toppings to cool completely before assembling. This will prevent the whipped cream from melting and sliding off.
Customize the Toppings: Feel free to use almond butter instead of peanut butter if you prefer a different nutty flavor. You can also experiment with other candy toppings if you wish to explore variations.
Make-Ahead Option: You can bake the chocolate cake a day in advance. Just wrap it tightly in plastic wrap to keep it moist until you’re ready to finish the cake.
Check for Stiff Peaks: When whipping the cream, be careful not to over-whip it. Over-whipping can lead to a grainy texture. Stop whipping as soon as you see stiff peaks that hold their shape well.
Embrace these tips to ensure your Butterfinger Cake is as delightful as it can be!
How to Store Butterfinger Cake
Storing your Butterfinger Cake properly is important to maintain its freshness and flavor. If you have any leftover cake, you can cover it tightly with plastic wrap or aluminum foil, making sure no air can get in. This will keep the cake moist and prevent it from drying out.
You can also transfer leftover cake to an airtight container if you prefer. Butterfinger Cake can be stored in the refrigerator for up to three days. Keep in mind that the whipped cream may start to soften over time, so it’s best to try to consume it while it’s fresh.
If you want to store the cake for a longer period, consider freezing it. Slice the cake into individual portions, wrap them in plastic wrap, and then place them in a freezer-safe container. This way, you can thaw and enjoy a slice of Butterfinger Cake whenever the craving strikes!
Variations of Butterfinger Cake
While the classic Butterfinger Cake is delicious as-is, you might want to switch things up a bit! Here are some variations you can try:
Chocolate Peanut Butter Layers: Add an additional layer of chocolate ganache between the cake and the whipped cream topping for an even richer experience.
Nutty Crunch: Incorporate chopped nuts, such as pecans or walnuts, into the whipped cream for added texture and flavor.
Different Cake Bases: Experiment with different cake flavors. A vanilla or caramel cake can provide a new twist to the classic recipe.
Brownie Base: Substitute the chocolate cake with brownies for a denser dessert that packs a chocolate punch.
Optional Add-ins: You can fold in mini chocolate chips or other candy pieces into the whipped cream for an extra element of surprise.
With these variations, the possibilities for customizing Butterfinger Cake are endless!
FAQs About Butterfinger Cake
What is Butterfinger Cake?
Butterfinger Cake is a delightful dessert that incorporates a chocolate cake base topped with a combination of caramel, sweetened condensed milk, peanut butter whipped cream, and crushed Butterfinger candy bars.
How do I make Butterfinger Cake?
To make Butterfinger Cake, bake a chocolate cake, poke holes in it, and pour caramel and sweetened condensed milk on top. Then prepare the peanut butter whipped cream and spread it over the cooled cake. Finish with crushed Butterfinger bars and refrigerate before serving.
Can Butterfinger Cake be made ahead of time?
Yes, you can bake the cake in advance. Just store it properly and assemble it with toppings when you’re ready to serve. This dessert is perfect for making ahead of time!
How should I store leftover Butterfinger Cake?
Leftover Butterfinger Cake should be covered tightly and stored in the refrigerator for up to three days. You can also freeze it, sliced and wrapped, for longer storage.

Butterfinger Cake
Equipment
- 9×13-inch baking pan
- Mixing Bowl
- Whisk
- Fork or Wooden Skewer
Ingredients
- 1 count chocolate cake baked in a 9×13” pan
- 1 jar caramel sauce or 16oz jar caramel topping
- 7 oz. sweetened condensed milk
- 1½ cups heavy whipping cream
- 1½ Tbsp. creamy peanut butter
- ¼ cup powdered sugar
- 3 count Butterfinger bars chopped


Instructions
- Bake the chocolate cake in a 9×13” pan according to recipe instructions and allow it to cool for 10-15 minutes.
- Poke holes all over the surface of the cake with a fork or wooden skewer.
- Pour the caramel sauce generously over the top of the cake, followed by the sweetened condensed milk.
- Let the cake cool completely at room temperature for about an hour.
- In a mixing bowl, combine the creamy peanut butter and powdered sugar until smooth. Gradually add the heavy whipping cream and whip until stiff peaks form.
- Spread the peanut butter whipped cream over the cooled cake.
- Sprinkle the chopped Butterfinger bars evenly over the top.
- Refrigerate for at least one hour before serving to allow flavors to meld.
Send me this recipe!
Just enter your email below and get it sent straight to your inbox!