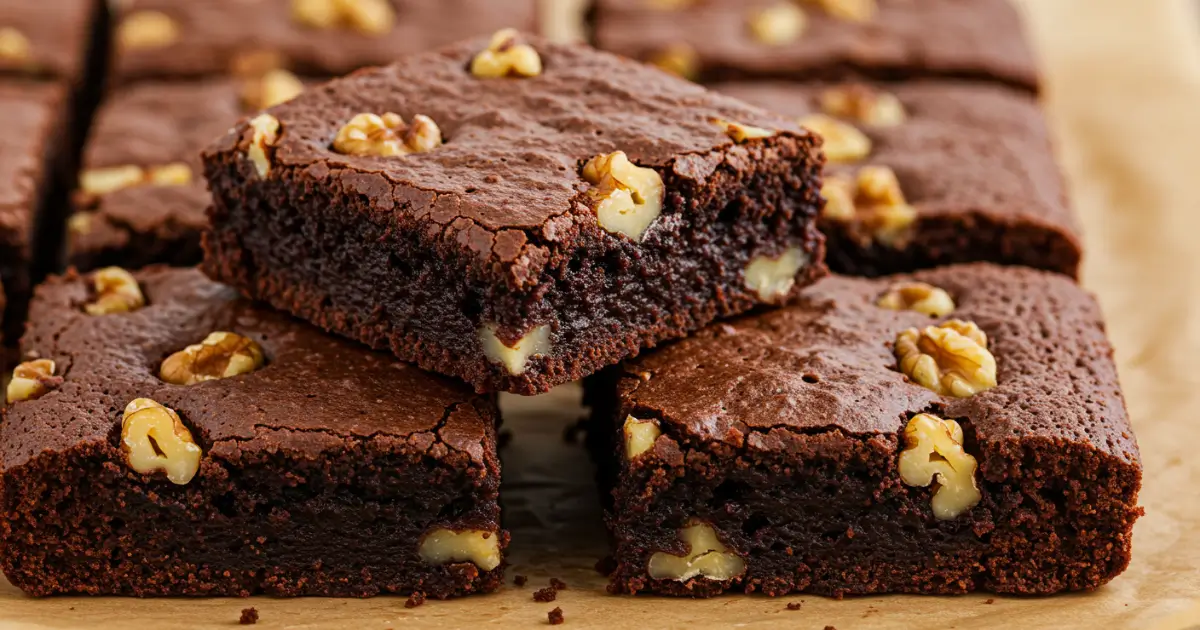
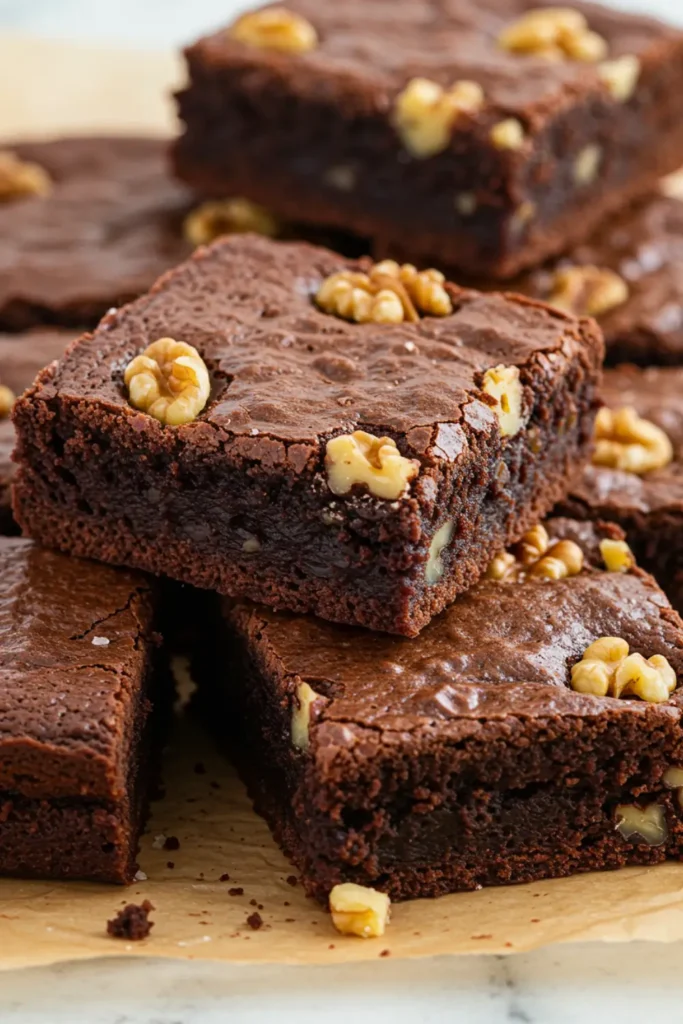
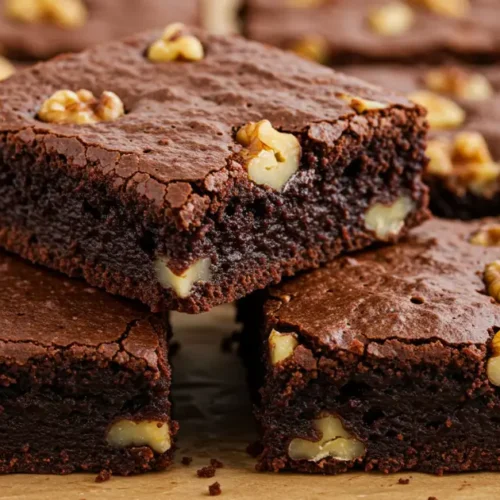
There’s something truly satisfying about biting into a walnut brownie. The rich, indulgent chocolate and crunchy walnuts make a perfect combination. If you’ve tried them, you know why walnut brownies are more than just a dessert—they’re a favorite. In this guide, you’ll discover why walnut brownies are so special, how to bake the perfect batch, plus expert tips and fun variations to try.
Why We Love Walnut Brownies
When you think of brownies, you likely imagine their rich, fudgy texture, warm aroma, and deep chocolate flavor. But walnut brownies offer something extra: the perfect balance of crunch and nuttiness. Walnuts bring more than texture—they add heart-healthy fats, protein, and essential nutrients like omega-3 fatty acids, making your brownie indulgence a little more nutritious.
Here’s why walnut brownies hold a special place in the hearts of many:
- Decadent Texture: The chewy, dense chocolate combined with the crunch of walnuts creates a perfect harmony. The contrast of textures in each bite is incredibly satisfying, whether you’re savoring a bite on its own or pairing it with ice cream.
- Nutrient Boost: Walnuts aren’t just for flavor; they’re packed with nutrients. These include healthy fats and antioxidants, which make walnut brownies slightly healthier than regular brownies.
- Versatile and Easy: Walnut brownies are simple to make but can be easily customized. You can add extra chocolate, spice them up with a pinch of cinnamon, or swap the walnuts for another nut variety if desired.
Whether you’re preparing them for a special occasion or just to satisfy a sweet craving, walnut brownies are always a great choice.
Ingredients for Walnut Brownies
Walnuts – Add crunch and nutty flavor. You can use other nuts, but walnuts are best.
Dark chocolate – Gives a rich chocolate flavor. Use at least 70% cocoa for the best taste.
Unsalted butter – Adds moisture and flavor. You can substitute with salted butter, just reduce the salt.
Granulated sugar – Sweetens the brownies and helps create a fudgy texture.
Eggs – Bind the ingredients and add moisture.
All-purpose flour – Provides structure for the brownies.
Cocoa powder – Enhances the chocolate flavor.
How to Make Walnut Brownies
Baking walnut brownies is easier than you might think. With just a few simple steps, you’ll have a tray of fresh brownies ready to enjoy in no time.
Step 1: Preheat the Oven
Start by preheating your oven to 350°F (175°C). Grease and line an 8×8-inch baking pan with parchment paper. This will make removing the brownies easier once they’re baked.
Step 2: Melt the Chocolate and Butter
In a heatproof bowl, melt the dark chocolate and butter together. You can do this either in a microwave-safe bowl or over a double boiler on the stovetop. Stir occasionally until the mixture is smooth and fully combined.
Step 3: Mix the Wet Ingredients
In a separate bowl, whisk together the granulated sugar, eggs, and vanilla extract until smooth and well incorporated.
Step 4: Combine with Chocolate
Gradually pour the melted chocolate-butter mixture into the egg-sugar mixture, stirring constantly until everything is fully mixed.
Step 5: Add the Dry Ingredients
Sift the flour, cocoa powder, and salt together. Gently fold the dry ingredients into the wet ingredients until just combined. Be careful not to overmix, as this can make the brownies dense.
Step 6: Add Walnuts
Now it’s time to add the walnuts! Gently fold in the chopped walnuts, ensuring they’re evenly distributed throughout the batter.
Step 7: Bake the Brownies
Pour the brownie batter into your prepared pan and smooth the top with a spatula. Bake for 25-30 minutes, or until a toothpick inserted into the center comes out with just a few moist crumbs. Keep in mind that the brownies will continue to set as they cool.
Step 8: Cool and Cut
Let the brownies cool completely in the pan before cutting them into squares. This helps them firm up and makes them easier to cut.
Expert Tips for the Best Walnut Brownies
To ensure your walnut brownies turn out perfectly every time, keep these expert tips in mind:
Use High-Quality Chocolate: The chocolate you choose will define the flavor of your brownies. Go for good-quality dark chocolate to get that rich, bittersweet taste.
Don’t Overmix the Batter: Overmixing can lead to dense brownies. Stir the ingredients until just combined for a light, fudgy texture.
Check for Doneness: Brownies continue to cook once removed from the oven. To avoid overbaking, pull them out when the center is just slightly undercooked. They’ll firm up as they cool.
Let Them Rest: Patience is key! Allow your brownies to cool in the pan for a firmer texture that’s easier to cut.
Variations to Try
Want to mix things up a little? Here are some fun variations on the classic walnut brownie recipe:
White Chocolate Walnut Brownies: Swap the dark chocolate for white chocolate to create a lighter, sweeter flavor that pairs wonderfully with the walnuts.
Vegan Walnut Brownies: Replace the eggs with flax eggs and the butter with dairy-free margarine or coconut oil to make these brownies vegan-friendly.
Caramel Walnut Brownies: Add a layer of gooey caramel in the middle of the brownies for a decadent surprise.
Nut-Free Walnut Brownies: If you or someone you know has a nut allergy, simply omit the walnuts and substitute with chocolate chips or dried fruit for a different texture.
Serving Walnut Brownies
Walnut brownies are delicious on their own, but you can take them to the next level by serving them in creative ways:
Warm with Ice Cream: Serve warm walnut brownies with a scoop of vanilla ice cream. The hot brownies will melt the ice cream, creating a rich, creamy dessert.
With Coffee or Tea: Pair walnut brownies with a hot cup of coffee or tea. The bitterness of the coffee balances out the sweetness of the brownies, making for the perfect afternoon treat.
Top with Whipped Cream: A dollop of freshly whipped cream on top of your walnut brownies adds a light, airy contrast to the dense, chocolatey base.
More brownie recipes you will love!
FAQ: All About Walnut Brownies
What makes walnut brownies different from regular brownies?
Walnut brownies are simply regular brownies that include chopped walnuts, which add a satisfying crunch and nutty flavor. The walnuts balance the rich chocolate and create a delightful contrast in texture.
Can I use other nuts in walnut brownies?
Absolutely! While walnuts are the traditional choice, you can replace them with other nuts such as pecans, almonds, or hazelnuts. Each nut will give your brownies a unique flavor and texture.
How do I store walnut brownies?
Store your walnut brownies in an airtight container at room temperature for up to 4 days. If you need to keep them for longer, freeze them for up to 3 months. Just be sure to let them cool completely before storing or freezing.
How can I make walnut brownies healthier?
To make walnut brownies healthier, use dark chocolate with a high cocoa content and reduce the sugar. You can also replace the butter with healthier fats, such as coconut oil, and use whole wheat flour instead of all-purpose flour for added fiber.
Walnut Brownies
Equipment
- 8×8-inch Baking Pan
- Mixing Bowls:
Ingredients
- 1 cup Dark Chocolate at least 70% cocoa content
- ½ cup Butter unsalted
- 1 cup Granulated Sugar
- 2 large Eggs
- 1 tsp Vanilla Extract
- ¾ cup All-Purpose Flour
- ¼ cup Cocoa Powder
- ¾ cup Chopped Walnuts
- ½ tsp Salt


Instructions
- Preheat your oven to 350°F (175°C). Grease and line an 8×8-inch baking pan with parchment paper.
- Melt the dark chocolate and butter together in a heatproof bowl. Stir occasionally until smooth.
- In a separate bowl, whisk together sugar, eggs, and vanilla extract until smooth.
- Pour the melted chocolate-butter mixture into the egg-sugar mixture, stirring until well combined.
- Sift the flour, cocoa powder, and salt together, then gently fold into the wet ingredients until just combined.
- Fold in the chopped walnuts evenly throughout the batter.
- Pour the batter into the prepared pan and smooth the top. Bake for 25-30 minutes or until a toothpick inserted into the center comes out with a few moist crumbs.
- Allow the brownies to cool completely before cutting them into squares.
Send me this recipe!
Just enter your email below and get it sent straight to your inbox!