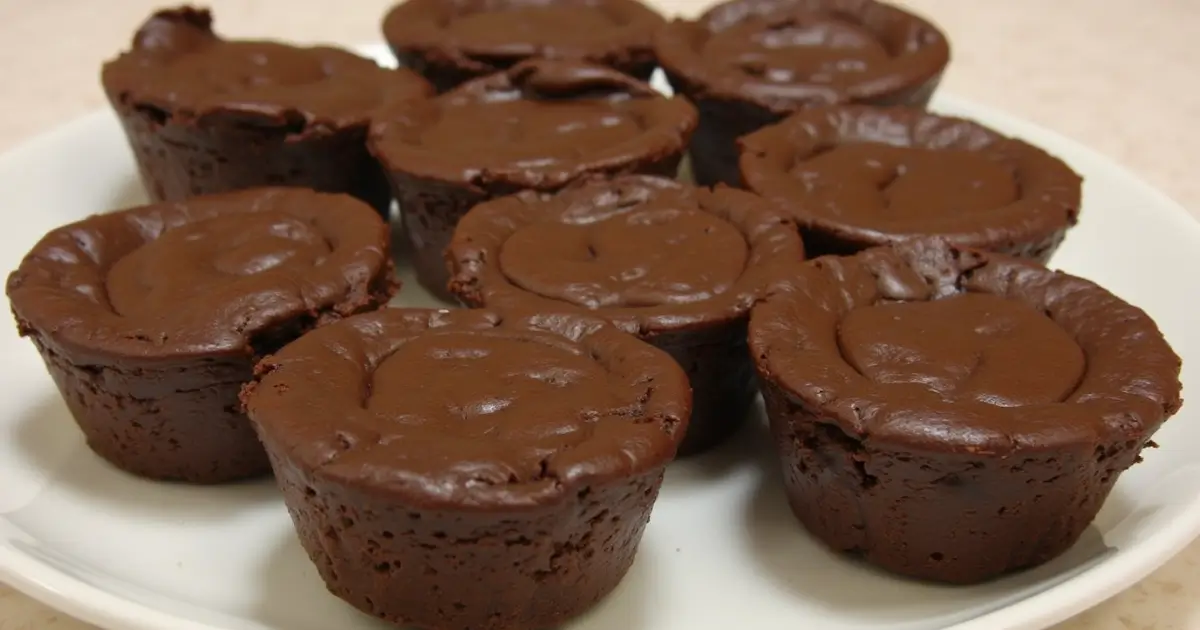
These brownies cups are a sweet, indulgent treat that’s easy to make and sure to satisfy your cravings. With a rich, fudgy base and a slightly crisp top, they’re the perfect balance of chewy and gooey. Whether you’re baking for yourself or sharing with others, these brownies cups are the ultimate comfort dessert.
Why We Love This
There’s something special about these brownies cups that makes them an absolute favorite. Whether you’re a seasoned baker or a beginner, these are the kind of treats that everyone will love. Here’s why:
- Decadent Flavor: The rich, chocolatey taste of these brownies cups is simply irresistible. With every bite, you get the perfect balance of fudgy and chewy—just like the best brownies should be.
- Easy to Make: You don’t need any fancy equipment or advanced baking skills. The ingredients are simple, and the process is quick, making these brownies cups an ideal choice when you’re craving a homemade dessert without the fuss.
- Customizable: One of the best things about this recipe is its versatility. You can add your favorite mix-ins—whether it’s chocolate chips, nuts, or even fresh fruit. Want them dairy-free or gluten-free? It’s easy to tweak the recipe to suit your dietary needs.
- Perfect Texture: These brownies cups strike the perfect balance. With a slightly crispy top and a moist, fudgy center, they are sure to satisfy your sweet tooth. You get that crackly top you love, with a gooey center that melts in your mouth.
- Individual Portions: Unlike a large pan of brownies, these brownies cups are the perfect individual serving size. It’s a great way to control your portions while still enjoying that indulgent treat.
Ingredients
For these brownies cups, you’ll need a handful of simple, pantry-friendly ingredients that come together to create something truly indulgent. Here’s what you’ll need:
Unsalted butter: Adds moisture and richness. You can use salted butter but reduce the salt.
Granulated sugar: Sweetens the brownies cup. Avoid substituting with brown sugar for texture changes.
Eggs: Bind the ingredients and give structure. Use room temperature eggs for best results.
Vanilla extract: Adds flavor to the brownies cup.
All-purpose flour: Provides structure. Measure carefully to avoid dry brownies.
Unsweetened cocoa powder: Gives the brownies cup its rich chocolate flavor.
Baking powder: Helps the brownies cup rise slightly. Don’t replace with baking soda.
Salt: Enhances flavor without making it salty.
Instructions
Now that you have all your ingredients ready, let’s get baking! These brownies cups come together quickly and easily. Here’s how to do it:
Preheat the oven to 350°F (175°C). Line a muffin tin with paper liners or grease each cup.
Mix wet ingredients: Whisk together melted butter and sugar until smooth. Add eggs, one at a time, then vanilla. Whisk until combined.
Mix dry ingredients: Sift flour, cocoa powder, baking powder, and salt in a separate bowl.
Combine: Gradually fold dry ingredients into the wet mixture until just combined.
Fill the tin: Divide the batter evenly, filling each cup about 3/4 full.
Bake: Bake for 18-22 minutes, until the top is crackly and a toothpick comes out with a few moist crumbs.
Cool: Let cool for 5 minutes in the tin, then transfer to a wire rack to cool completely.
Pro Tips
To make sure your brownies cups turn out perfectly every time, here are some expert tips that will help elevate your baking game:
Use Room Temperature Ingredients: For the best texture, make sure your eggs and melted butter are at room temperature. This helps them blend smoothly with the other ingredients, ensuring an even batter that bakes evenly.
Don’t Overmix the Batter: When combining the dry and wet ingredients, mix gently. Overmixing can lead to dense brownies, so stir just until everything is incorporated. The batter should be thick but smooth.
Check for Doneness: Brownies cups bake faster than traditional brownies. To check for doneness, insert a toothpick into the center of one cup. If it comes out with a few moist crumbs (but not wet batter), your brownies cups are ready.
Baking Time: Keep an eye on the clock and check the brownies a couple of minutes before the suggested time. Every oven is different, and brownies cups can easily go from perfectly fudgy to overbaked in a short window of time. Aim for that perfect crackly top!
Cool Before Enjoying: Allow the brownies to cool for a few minutes in the tin, and then transfer them to a wire rack. This gives them time to set and enhances that soft, fudgy texture we all love.
Don’t Skip the Resting Time: While it may be tempting to dig in right away, giving your brownies cups a few minutes to cool down helps them firm up and makes them easier to remove from the muffin tin without breaking.
Variations
One of the best things about these brownies cups is how versatile they are! You can easily switch things up to suit your taste or dietary preferences. Here are a few variations to make these brownies cups your own:
Add-ins for Extra Flavor:
Chocolate Chips: Stir in a handful of semi-sweet, milk, or dark chocolate chips for an extra burst of chocolate in every bite.
Nuts: Add chopped walnuts, pecans, or almonds for a delightful crunch that contrasts perfectly with the soft, fudgy texture of the brownies cups.
Marshmallows: For a gooey twist, add mini marshmallows into the batter right before baking. They’ll melt and create little pockets of sweetness.
Gluten-Free Option:
Swap the all-purpose flour with a 1:1 gluten-free flour blend to make these brownies cups gluten-free without sacrificing flavor or texture. Just make sure your other ingredients (like the cocoa powder) are gluten-free too.
Serving Suggestions
These brownies cups are a treat on their own, but you can elevate the experience with a few simple serving ideas. Here are some delicious ways to enjoy them:
A la Mode:
Top your brownies cups with a scoop of vanilla ice cream for a classic pairing. The creamy ice cream complements the warm, fudgy texture of the brownies perfectly. You can also try other flavors like chocolate or salted caramel for a fun twist.
Whipped Cream and Berries:
For a lighter, refreshing contrast, serve these brownies with a dollop of freshly whipped cream and a handful of fresh berries. Strawberries, raspberries, or blueberries work wonderfully for this combination.
Chocolate Ganache Drizzle:
If you’re a true chocolate lover, drizzle a rich chocolate ganache over your brownies cups. The smooth ganache adds an extra layer of decadence, making the brownies feel even more indulgent.
More brownie recipes you will love!
FAQs
Can I make brownies cups ahead of time?
Absolutely! These brownies cups are perfect for prepping ahead. You can bake them and let them cool completely, then store them in an airtight container for later enjoyment. If you need to reheat them, simply pop them in the microwave for a few seconds, and they’ll be just as delicious.
Why do my brownies cups taste dry?
If your brownies cups turned out dry, it could be due to overbaking or using too much flour. Make sure to measure your ingredients accurately, and check the brownies a few minutes before the suggested baking time to avoid overbaking. Every oven is different, so timing can vary.
Can I substitute the butter with something else?
Yes! If you need a dairy-free or lighter alternative, you can swap the butter for coconut oil or vegetable oil. If you prefer a healthier fat option, unsweetened applesauce can also work in place of butter for a softer, less rich texture.
Can I add a different flavor to these brownies cups?
Of course! You can infuse your brownies with a variety of flavors. Try adding a teaspoon of vanilla extract or almond extract to enhance the flavor, or experiment with citrus zest for a refreshing twist. You can also stir in caramel or toffee bits for a decadent addition.
brownies cup
Ingredients
- 1/2 cup unsalted butter melted
- 1 cup granulated sugar
- 2 large eggs
- 1 teaspoon vanilla extract
- 1/2 cup all-purpose flour
- 1/3 cup unsweetened cocoa powder
- 1/4 teaspoon baking powder
- 1/4 teaspoon salt


Instructions
- Preheat the oven to 350°F (175°C). Line a muffin tin with paper liners or lightly grease each cup to prevent sticking.
- Mix the wet ingredients: In a large bowl, whisk together the melted butter and sugar until smooth. Add the eggs, one at a time, followed by the vanilla extract. Whisk until everything is fully combined and smooth.
- Combine the dry ingredients: In a separate bowl, sift together the flour, cocoa powder, baking powder, and salt. Sifting helps ensure there are no lumps and gives the brownies a smooth texture.
- Add the dry ingredients to the wet ingredients: Gradually fold the dry ingredients into the wet mixture, stirring gently. Be careful not to overmix. Stir until just combined, and you’ll have a thick, luscious batter.
- Fill the muffin tin: Divide the batter evenly among the muffin cups. You should fill each cup about 3/4 full. Use a spoon or an ice cream scoop for even portions.
- Bake: Place the muffin tin in the preheated oven and bake for 18-22 minutes. The brownies should have a crackly top, and a toothpick inserted into the center should come out with a few moist crumbs.
- Cool: Let the brownies cups cool in the tin for about 5 minutes, then transfer them to a wire rack to cool completely.
Send me this recipe!
Just enter your email below and get it sent straight to your inbox!