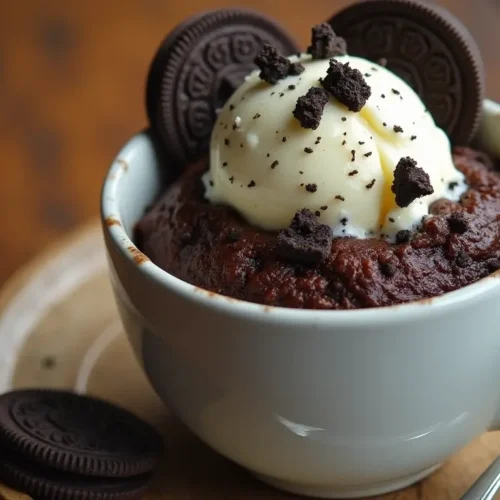
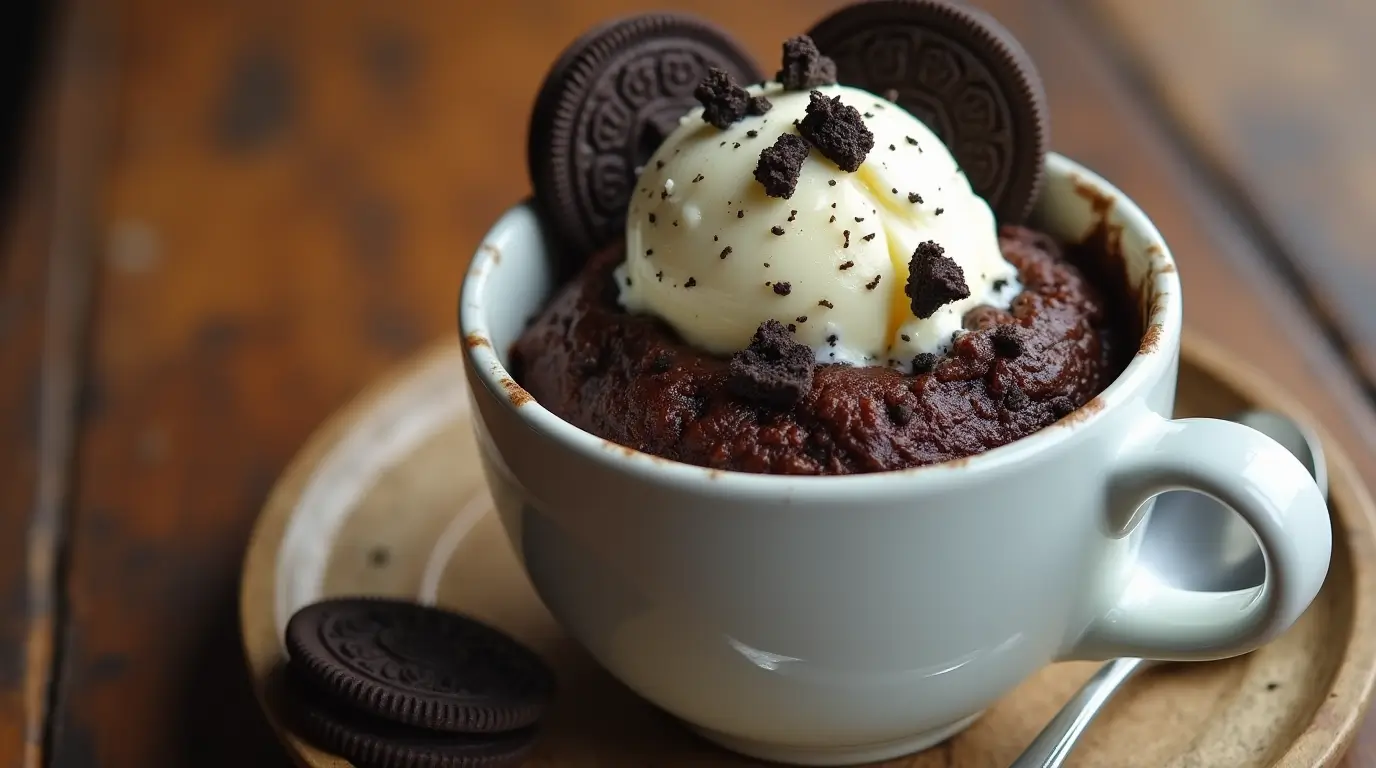
Sometimes, dessert cravings strike when you least expect them, and you need something quick, easy, and utterly satisfying. That’s where this Oreo mug cake recipe comes in. In just three minutes, you can transform everyday ingredients into a decadent treat that feels like a warm hug in a mug. Whether you’re indulging solo or sharing a moment of sweetness with loved ones, this recipe is bound to impress.
Why We Love This Oreo Mug Cake!
What’s not to love about a dessert that takes less time to make than your favorite coffee order? Here’s why this Oreo mug cake stands out:
- Quick Satisfaction: No need for a long prep or bake time—this cake is ready in minutes.
- Minimal Effort: With just one mug and a spoon, you’ll have minimal dishes to clean.
- Perfectly Portioned: It’s just the right size to satisfy your sweet tooth without going overboard.
- Familiar Flavors: Who doesn’t love the iconic combination of Oreos and chocolate?
Ingredients for Oreo Mug Cake
- 4 tablespoons of milk 60 ml
- 2 tablespoons of flour 30 g
- ¼ teaspoon of baking powder
- 2 tablespoons of cocoa powder 25 g
- 2 tablespoons of sugar
- 2 tablespoons of vegetable oil 30 ml
- 1 teaspoon of vanilla extract
- 4 Oreos crushed
How to Make Oreo Mug Cake
Step 1: Prepare Your Mug and Ingredients
Start with a 12-ounce microwave-safe mug and gather your ingredients. Make sure to measure everything out for the best results.
Step 2: Combine the Dry Ingredients
In the mug, mix the flour, sugar, baking powder, and cocoa powder until well combined.
Step 3: Add the Wet Ingredients
Pour in the milk, oil, and vanilla extract. Stir until the batter is smooth and free of lumps.
Step 4: Add the Oreos
Fold in the crushed Oreos. If you like chunks, save some to sprinkle on top after microwaving.
Step 5: Microwave the Mug Cake
Microwave the mug on high for 1–1.5 minutes. Check for doneness by inserting a toothpick— it should come out clean or with a few crumbs.
Step 6: Let It Cool and Serve
Let the cake cool for 1–2 minutes, then serve it as is or top it with whipped cream, ice cream, or chocolate syrup.
Expert Tips for a Perfect Oreo Mug Cake
To make sure your Oreo mug cake turns out perfectly every time, follow these expert tips:
Choose the Right Mug: A larger mug is essential to prevent overflow during microwaving.
Mix Thoroughly: Take your time mixing the batter to avoid dry pockets or lumps.
Check Microwave Wattage: If your microwave is more powerful than 800 watts, reduce the cooking time slightly to avoid overcooking.
Adjust to Taste: For an even richer flavor, substitute some of the milk with heavy cream or add a handful of chocolate chips.
Cool Slightly: Let the mug cake sit for a minute or two after cooking. This allows the cake to firm up and improves its texture.
Common Mistakes to Avoid
Overmixing the Batter: While thorough mixing is essential, overdoing it can result in a dense cake.
Using the Wrong Mug: A mug that’s too small can lead to messy spills.
Skipping the Baking Powder: Without it, your cake won’t rise and will end up dense.
Overcooking: Even a few extra seconds can dry out your cake, so keep a close eye on the microwave.
Variations to Try for Your Oreo Mug Cake
Here are some fun variations to try:
Peanut Butter Oreo Mug Cake: Swirl in a teaspoon of peanut butter before microwaving for a nutty twist.
Mint Chocolate Delight: Use mint-flavored Oreos and add a drop of peppermint extract to the batter.
Cookies and Cream Explosion: Top with crushed Oreos and a drizzle of white chocolate for extra indulgence.
Serving Suggestions For Oreo mug cake
While the Oreo mug cake is delicious on its own, there are plenty of ways to elevate its indulgence with a few creative additions. Here are some serving suggestions that can make your treat even more special:
With Ice Cream
Add a scoop of vanilla ice cream or cookies and cream ice cream on top of your warm mug cake. The cold, creamy texture of the ice cream complements the rich, soft cake, creating a delightful contrast of temperatures and flavors. The sweetness of the ice cream balances the chocolatey and Oreo-filled mug cake, turning it into a decadent dessert experience.
Topped with Whipped Cream
Light, fluffy whipped cream is the perfect companion for your Oreo mug cake. Its airy texture adds a refreshing lightness to the rich and dense cake. A generous dollop of whipped cream on top creates an indulgent treat that’s even more satisfying. You can also add a dusting of cocoa powder or a few extra Oreo crumbs for a fun garnish.
Drizzled with Syrup
For an extra touch of sweetness and flavor, drizzle your mug cake with caramel, chocolate, or strawberry syrup. Each syrup brings its unique flavor profile, enhancing the cake’s richness. A chocolate syrup drizzle pairs perfectly with the cocoa notes of the cake, while caramel syrup adds a buttery, sweet contrast. Strawberry syrup, on the other hand, can add a fruity sweetness that balances the dessert’s richness.
How to Store Oreo Mug Cake
While the Oreo mug cake is designed to be a quick, fresh treat, there are moments when you might need to store it. Here’s how to handle storage while maintaining as much of its quality as possible:
Enjoy It Fresh and Warm
The mug cake is at its absolute best when eaten immediately after cooking. Its warm, gooey texture and freshly baked aroma make it an indulgent dessert that’s hard to beat. If you plan to enjoy it later, know that it won’t retain the same level of freshness or softness.
Short-Term Storage Tip
If you must store your mug cake, cover it tightly with plastic wrap or transfer it to an airtight container. Keep it in the refrigerator for up to 1 day, To enjoy, allow the cake to come to room temperature before eating, as it will taste better than trying to reheat it.
Avoid Reheating
Reheating a mug cake can be tricky, as it often dries out the delicate crumb and results in a rubbery texture. Instead of reheating, it’s better to prepare a fresh batch, which only takes a few minutes and ensures the same delicious, soft texture you expect.
Freezing Is Not Recommended
Because the mug cake is made and served in a single portion, its structure doesn’t hold up well to freezing. The cake’s moisture and airy texture can change significantly when thawed, leading to a less satisfying dessert. If you have leftovers, it’s best to refrigerate them for a short time rather than attempting to freeze them.
FAQs About Oreo Mug Cake
Can I make this recipe without cocoa powder?
Yes, you can make the recipe without cocoa powder, but it’s essential to note that the cake will lose its signature chocolatey flavor. Cocoa powder is what gives the mug cake its rich, indulgent chocolate taste. Without it, the dessert will lean more toward a sweet vanilla profile with Oreo undertones. To compensate for the loss of depth from the cocoa, consider adding extra crushed Oreos to the batter. The additional Oreos will enhance the flavor and texture, ensuring the cake still feels indulgent and satisfying.
Can I use non-dairy milk?
Absolutely! Non-dairy milk options like almond milk, soy milk, or oat milk work wonderfully in this recipe. These alternatives are great for anyone who is lactose-intolerant, vegan, or simply prefers plant-based ingredients. Almond milk provides a subtle nutty flavor that complements the sweetness of the Oreos, while soy milk offers a neutral taste similar to cow’s milk. Oat milk, with its creamy consistency, can make the cake slightly richer in texture. Whatever non-dairy option you choose, won’t compromise the structure or taste of the cake, making this recipe versatile and inclusive.
How do I prevent the cake from overflowing?
To prevent your mug cake from overflowing during microwaving, it’s crucial to choose a larger mug that can accommodate the batter’s expansion. Opt for a mug that holds at least 12 ounces, even if the batter only fills it halfway. This extra space allows the cake to rise without spilling over the edges. Additionally, avoid overfilling the mug—leave some room at the top for the batter to expand as it cooks. If you’re using a smaller mug out of necessity, you can divide the batter between two mugs to avoid a messy microwave situation.
What if I don’t have baking powder?
If you don’t have baking powder on hand, baking soda can work as a substitute, but it requires an acidic component to activate it. Use half the amount of baking soda compared to baking powder, as it’s more potent. To activate the baking soda, add a drop of an acidic ingredient like lemon juice, vinegar, or even buttermilk to your batter. The acid reacts with the baking soda, producing the carbon dioxide needed to help your mug cake rise. While this substitution works well, ensure you measure accurately to avoid altering the flavor balance of the recipe.
More Cake recipes you will love!

How to make oreo mug cake Recipe in 3 minutes
Ingredients
- 4 tablespoons of milk 60 ml
- 2 tablespoons of flour 30 g
- ¼ teaspoon of baking powder
- 2 tablespoons of cocoa powder 25 g
- 2 tablespoons of sugar
- 2 tablespoons of vegetable oil 30 ml
- 1 teaspoon of vanilla extract
- 4 Oreos crushed
Instructions
Step 1: Prepare Your Mug and Ingredients
- Start with a microwave-safe mug that holds at least 12 ounces. This ensures the batter won’t overflow as it cooks. Gather your ingredients and measure them precisely for the best results.
Step 2: Combine the Dry Ingredients
- In your mug, mix the flour, sugar, baking powder, and cocoa powder. Use a spoon to stir until the ingredients are evenly blended.
Step 3: Add the Wet Ingredients
- Pour in the milk, vegetable oil, and vanilla extract. Stir until the mixture becomes a smooth, lump-free batter. Take your time to scrape the sides and bottom of the mug to ensure everything is well combined.
Step 4: Incorporate the Oreos
- Gently fold in the crushed Oreos. For a chunkier texture, reserve some pieces to sprinkle on top after microwaving.
Step 5: Microwave the Mug Cake
- Place your mug in the microwave and heat on high for 1–1.5 minutes. Every microwave is different, so start with 60 seconds and check for doneness. A toothpick inserted into the center should come out clean or with a few moist crumbs.
Step 6: Let It Cool and Serve
- Remove the mug from the microwave and let it cool for about 1–2 minutes. Serve as is, or elevate your dessert with whipped cream, a scoop of ice cream, or a drizzle of chocolate syrup.
Send me this recipe!
Just enter your email below and get it sent straight to your inbox!


